
Beginner
What the pattern's own author called it. Nothing here is graded again.
 Crochet·Rituals
Baby & Kids 5 Laid out for paper No account, no download
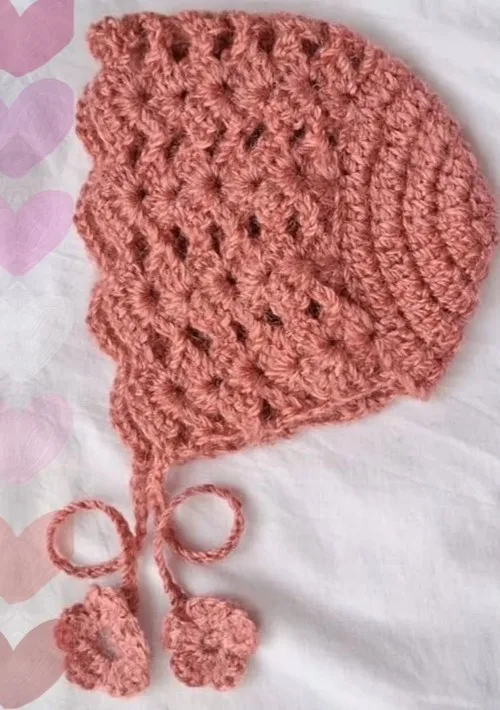
Baby bonnet worked in rounds from a magic circle, 11 rows, 4.5mm hook, finished with tie strings.
Crochet Rituals · retyped from the source and laid out for print · added 3 Oct 2026
What the pattern's own author called it. Nothing here is graded again.

What the sample was worked in. Any weight works; the size moves with it.

Each one is typed out whole and gets its own line.
This bonnet begins flat at the crown with a magic circle and builds outward through a run of double crochet increase rounds before the body is worked straight down to the brim. The open stitch structure gives the finished piece a light, airy look without any shaping tricks beyond counted increases. Have your yarn, a 4.5mm hook, and a stitch marker on hand, since every early round depends on knowing exactly where the first stitch sits. By Row 11 the crown shaping is finished and the piece moves into straight rounds before the tie strings are chained on and attached. This bonnet is sized for babies aged 0 to 6 months, and you can customize it with your favorite colors to match any outfit or season.
Listed by the pattern's own author, in their words.
Key to this pattern, 1 short form
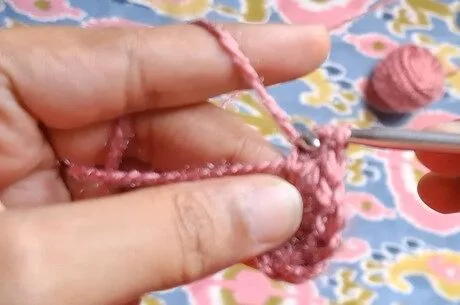
Magic Circle and Double Crochets Make a magic circle Chain 2 Make 10 double crochets into the magic circlePull to tighten the circle Slip stitch into the first stitch to close the round
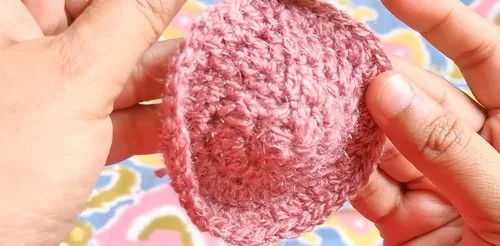
Increasing Double Crochets Chain 2 Make 2 double crochets in each stitch around Total of 20 double crochetsSlip stitch into the first stitch to close the round
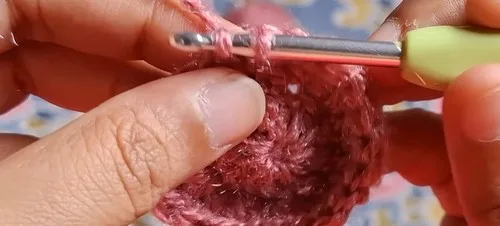
Patterned Increases Chain 2 In first stitch, make 1 double crochet In second stitch, make 1 double crochet In third stitch, make 2 double crochets Repeat this pattern (1 DC, 1 DC, 2 DC) aroundSlip stitch into the first stitch to close the round
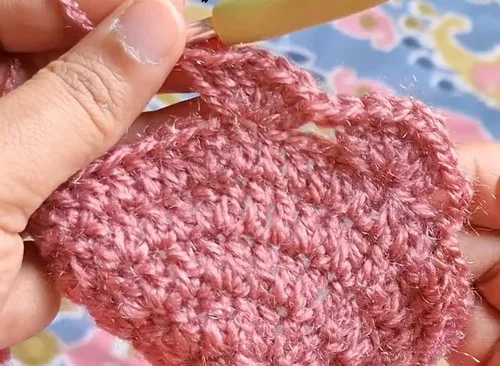
Free Stitch Pattern Chain 3 Skip 2 stitches In the 3rd stitch, make 3 double crochets, chain 1, 3 more double crochets (free stitch)Skip 4 stitches In the 5th stitch, make another free stitch Repeat this pattern across the row, making 9 free stitches in totalIn the last stitch, make one triple crochet
Repeating the Free Stitch Pattern Turn your work Chain 3 In the middle of each free stitch (chain-1 space), make a new free stitchRepeat this for every free stitch across the row In the last stitch of each row, make one triple crochet Continue this pattern through Row 11Finishing: Adding Strings After Row 11, make a chain to your desired string length Attach to both sides of the bonnet for tie strings
| Rounds | 5 |
|---|---|
| Level | Beginner |
| Time | 2-3 hours |
| Hook | 4.5 mm |
| Yarn | Worsted |
The piece doubles its stitch count in a single step between Round 1 and Round 2, going from 10 double crochets to 20 by working 2 double crochets into every stitch, which sets up the wider patterned increase in Round 3.
Round 3 shifts from working an increase into every stitch to a spaced repeat (1 DC, 1 DC, 2 DC), which slows the rate of growth so the crown can start rounding toward the sides of the head instead of continuing to flatten outward.
| Magic circle and Rounds 1-2 | about 15 minutes because the stitch count is small and the increases are worked into every stitch |
|---|---|
| Round 3 through Row 11 | about 1.5 to 2 hours because the patterned repeat in Round 3 and the straight rounds that follow make up most of the bonnet's bulk |
| Tie strings and finishing | about 20 minutes because the chains are quick but attaching them evenly on both sides takes care |
Every one was taken by whoever published the pattern, in the order the source listed them.
These answers came from whoever first published the pattern, kept word for word.