Skip to the patterns
Crochet·Rituals
Menu

Bags 23 Laid out for paper No account, no download

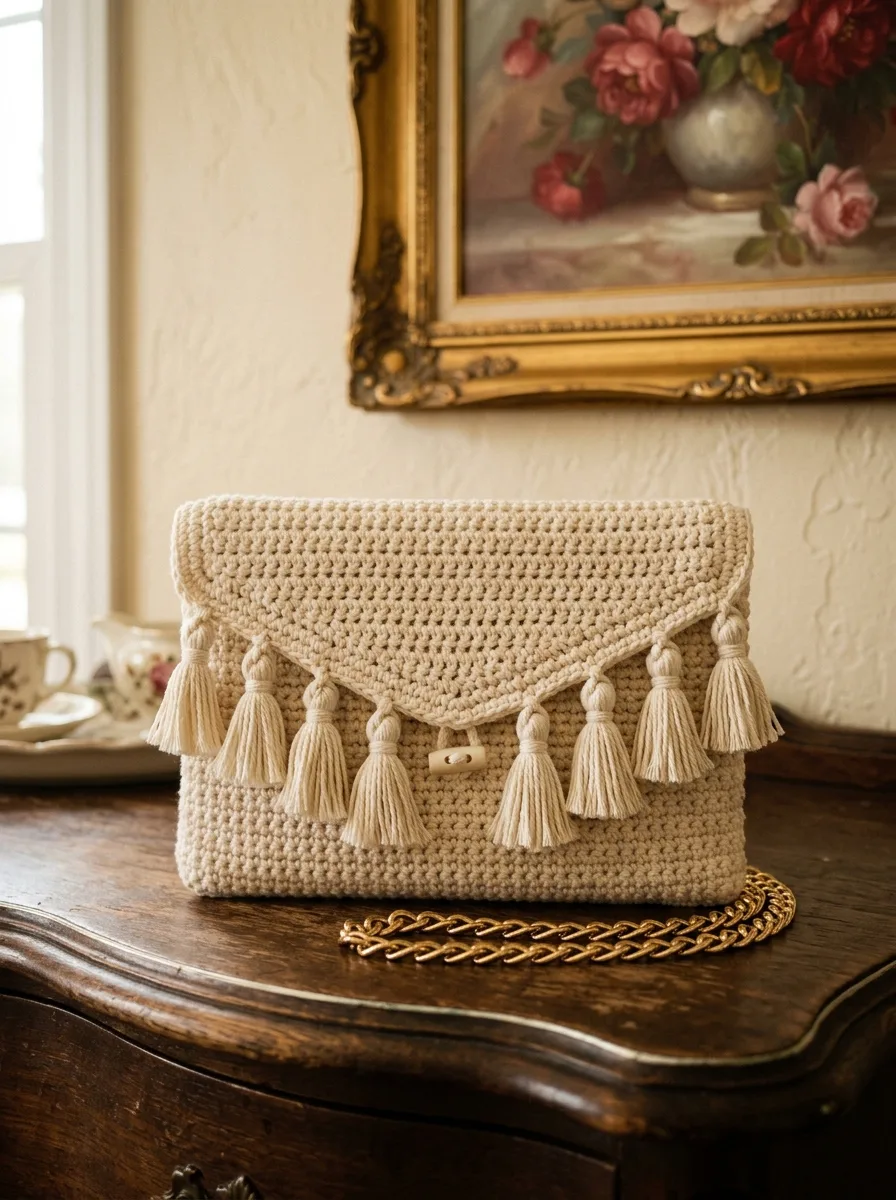
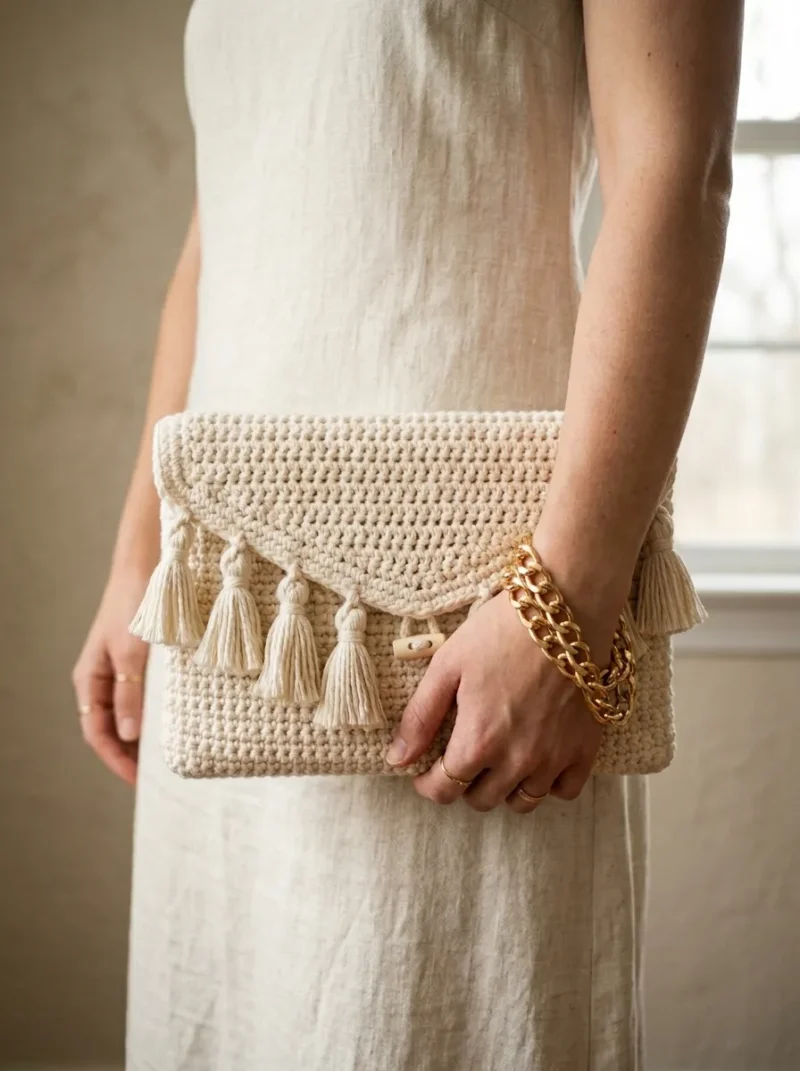
Boho tassel clutch with pointed envelope flap pattern

Cream cotton clutch built flat in single crochet: 52 base rows, 17-row pointed flap, 5.0mm hook.

Jump to the rounds Pin it
Boho tassel clutch with pointed envelope flap pattern
Bags · Worsted
Skill
Intermediate
Time
4-6 hours
Yarn weight
Worsted
Hook
5.0 mm
Rounds
23

Intermediate

What the pattern's own author called it. Nothing here is graded again.

Worsted

What the sample was worked in. Any weight works; the size moves with it.

23

Each one is typed out whole and gets its own line.

This clutch begins as a single flat rectangle: 26 rows for the back panel, 26 more for the front panel, worked straight from the same ball without fastening off. The last 17 rows shape a pointed envelope flap through paired decreases at both edges. A single crochet border frames the flap for tassel attachment, and the sides seam closed from the fold upward. Have your hook, cream cotton, yarn needle, and nine tassels' worth of fringe ready before seaming.

Common mistakes and their fixes

Seaming past the fold line
Stop whip stitch or mattress stitch seaming where the flap begins, not all the way to the top edge; the flap needs to hang free to close over the front panel.
Skipping the gauge swatch
Work a quick swatch at 14 sc and 16 rows per 4 inches before casting on; a looser or tighter gauge changes the yardage needed well before Row 52.
Uneven tassel spacing along the flap
Mark all nine tassel positions along the flap edge with pins before cutting any fringe, then check the spacing once more before tying anything off.

The materials list

Yarn

  1. Worsted weight cotton yarn (weight category 4), approximately 200 yards
  2. A smooth, tightly spun cotton or cotton blend is recommended for structure

Color shown

  1. natural cream or ecru

Hook

  1. 5.0mm (US H/8) crochet hook for the main body
  2. You may need to adjust based on your tension

Notions

  1. Yarn needle for weaving ends
  2. Scissors
  3. Stitch markers (optional but helpful)
  4. One small toggle button or wooden bead closure (approximately 1 inch)
  5. Gold chain strap, 45 to 50 inches long (available at craft stores or bag hardware suppliers), optional
  6. Two small D-rings or jump rings for attaching chain (optional)

Gauge

  1. 14 single crochet stitches and 16 rows = 4 inches square
  2. Gauge matters here for sizing: too loose and the clutch will be floppy, too tight and it will be stiff as cardboard

Listed by the pattern's own author, in their words.

Key to this pattern, 5 short forms

Back Panel

Row 1

Ch 36. Sc in the second ch from hook and in each ch across. (35 sc)

Row 2

Ch 1, turn. Sc in each st across. (35 sc)

Rows 3–26

Repeat Row 2.

You should have 26 rows total for the back panel. Take a breath here. You have just completed a rectangle measuring approximately 10 inches wide by 6.5 inches tall. This is the back of your clutch.

Front Panel

We continue directly from the back panel. No need to fasten off.

Rows 27–52

Ch 1, turn. Sc in each st across. (35 sc per row)

You now have another 26 rows. This section will fold up to become the front of the clutch. Your piece should measure roughly 10 inches wide by 13 inches long at this point.

Pointed Envelope Flap

Here is where we shape that beautiful triangular flap. We will decrease at both ends of every row to create the point.

Row 53

Ch 1, turn. Sc2tog over first 2 sts, sc in each st across until 2 sts remain, sc2tog over last 2 sts. (33 sc)

Row 54

Ch 1, turn. Sc2tog, sc across to last 2 sts, sc2tog. (31 sc)

Row 55

Repeat Row 54. (29 sc)

Row 56

Repeat Row 54. (27 sc)

Row 57

Repeat Row 54. (25 sc)

Row 58

Repeat Row 54. (23 sc)

Row 59

Repeat Row 54. (21 sc)

Row 60

Repeat Row 54. (19 sc)

Row 61

Repeat Row 54. (17 sc)

Row 62

Repeat Row 54. (15 sc)

Row 63

Repeat Row 54. (13 sc)

Row 64

Repeat Row 54. (11 sc)

Row 65

Repeat Row 54. (9 sc)

Row 66

Repeat Row 54. (7 sc)

Row 67

Repeat Row 54. (5 sc)

Row 68

Sc2tog, sc 1, sc2tog. (3 sc)

Row 69

Sc3tog. (1 sc)Fasten off and weave in this end securely. You have completed the main body piece. It should look like a long rectangle with a pointed triangle at one end.

Border & Closure

For a polished finish around the flap, join yarn at the bottom corner of one flap edge.

Border Round

Sc evenly along the side edge of the flap, work 3 sc in the point, then sc evenly down the other side edge. Sl st to join. Fasten off.

This border creates a clean frame for those tassels to hang from.

The toggle button sits at the center point of the flap. Sew it on using matching thread or a strand of yarn.

Closure Loop

Chain 10 to 12 stitches (test the fit around your button), slip stitch to join.Sew the loop securely where the flap naturally rests when closed.

Check these before you start

  • The 5.0mm hook is a starting point; tension varies, so check your swatch before committing to 200 yards of yarn.
  • Stitch markers are optional, but placing one at Row 26 and another at Row 52 makes the fold points easy to find later when seaming.
  • This clutch is worked in a single color with no color changes across all 69 rows, so any drift in stitch count or tension will show plainly in the finished rectangle.
  • Block your piece before assembly if needed; wet blocking helps even out stitches and relaxes the fabric slightly.
  • Choose quality hardware for the chain strap; thrift stores often have vintage chains perfect for this project, and the chain itself is entirely optional, as you can carry this as a true clutch or add a crocheted strap instead.

On one line

Rounds23
Parts4
LevelIntermediate
Time4-6 hours
Hook5.0 mm
YarnWorsted

Set-up

  • Check gauge: 14 sc and 16 rows should equal a 4-inch square with the 5.0mm hook; adjust hook size if your swatch runs off.
  • Confirm you have approximately 200 yards of worsted cotton on hand, since the back and front panels alone run 52 rows before the flap even begins.
  • Read through the flap shaping rows before starting Row 53, so the sc2tog placement at both edges is clear ahead of time. Test your decreases on a swatch first if sc2tog feels unfamiliar.
  • Mark Row 26 as it comes up, since this is the fold line between the back panel and the front panel.

Finishing

  1. Weave in all loose ends with the yarn needle before seaming, since the dense single crochet fabric makes later access difficult.
  2. Fold the piece at Row 26, then whip stitch or mattress stitch both side seams from the fold upward to where the flap begins; secure firmly, as this bag holds weight. Mattress stitch gives a nearly invisible seam, while whip stitch works fine and adds a subtle edge detail.
  3. Work the single crochet border around the flap, space and tie on the nine tassels along the flap edge, then attach the toggle button or wooden bead closure.
  4. Cut a piece of cardboard about 3 inches tall; wrap yarn around the cardboard 20 to 25 times; slide a 10 inch piece of yarn under all the wraps at the top and tie tightly; cut the bottom loops; wrap another piece of yarn around the tassel about half an inch from the top to create the head; trim the ends evenly. Repeat for approximately 9 tassels.
  5. Use the long ties at the top of each tassel to attach them to the flap border. Space them evenly, with one at the center point and four on each side. Pull the ties through a stitch, knot securely on the inside, and weave in the ends.

Construction

The front panel continues directly from the back panel without fastening off, so both pieces form one continuous rectangle that is folded, not seamed, at Row 26.

The flap decreases two stitches per row at both edges at once (sc2tog at each end), which is what narrows 35 stitches down to a point over 17 rows.

Time per section

Back and front panels (Rows 1-52)about 2-3 hours, because 52 rows of straight single crochet make up the bulk of the stitch count before any shaping starts.
Pointed envelope flap (Rows 53-69)about 1 hour, because paired decreases at both edges every row take close counting to land the point cleanly.
Border, seaming, and nine tasselsabout 1 to 1.5 hours, because seaming both sides by hand and cutting, tying, and trimming nine tassels takes longer than it looks.

Photographs of this one

Every one was taken by whoever published the pattern, in the order the source listed them.
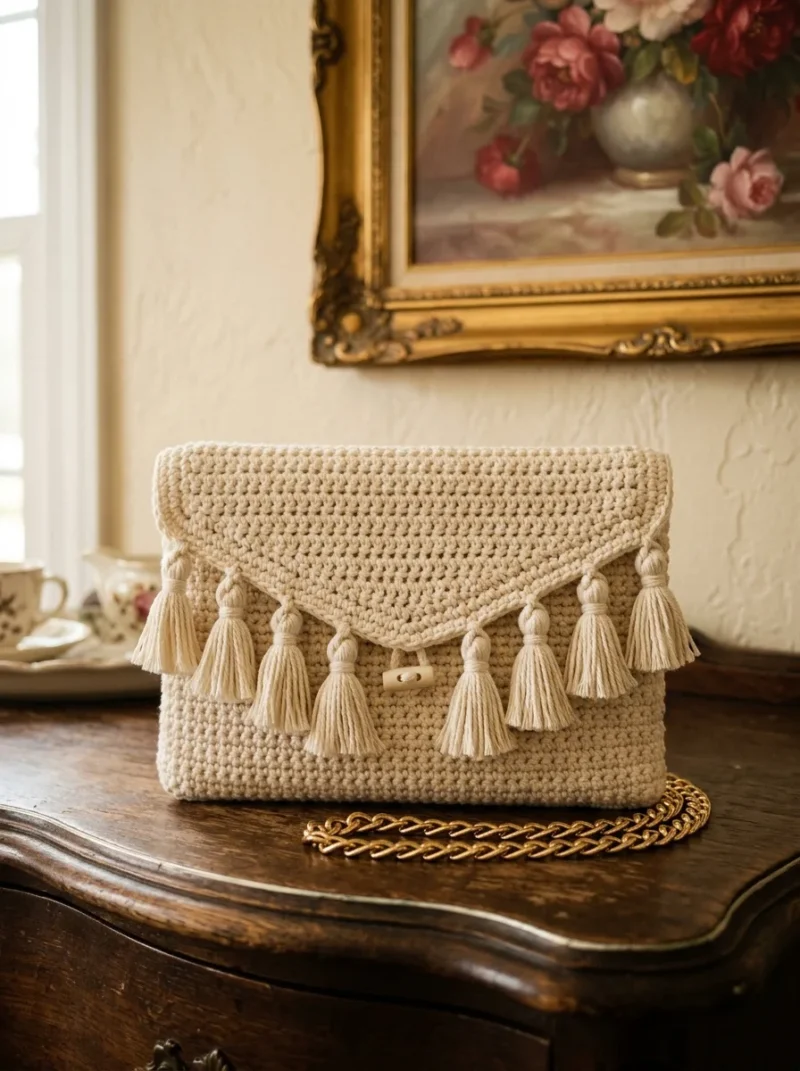
Boho tassel clutch with pointed envelope flap pattern — photo 2
Boho tassel clutch with pointed envelope flap pattern — photo 3

Common questions

Do you need to fasten off between the back panel and the front panel?
No. Row 52 ends the front panel and Row 53 begins the flap decreases without a break, so the whole body stays one continuous piece until the flap shaping starts.
How far up the sides should the seam run?
Seam from the folded bottom edge upward only to where the flap begins. Leaving the flap itself unseamed lets it fold down and close the bag.
Can you use a different tassel count than nine?
Nine is sized for this flap's width, but fewer or more tassels will work as long as the spacing stays even along the border edge.

These answers came from whoever first published the pattern, kept word for word.