
Intermediate
What the pattern's own author called it. Nothing here is graded again.
 Crochet·Rituals
Bags 11 Laid out for paper No account, no download
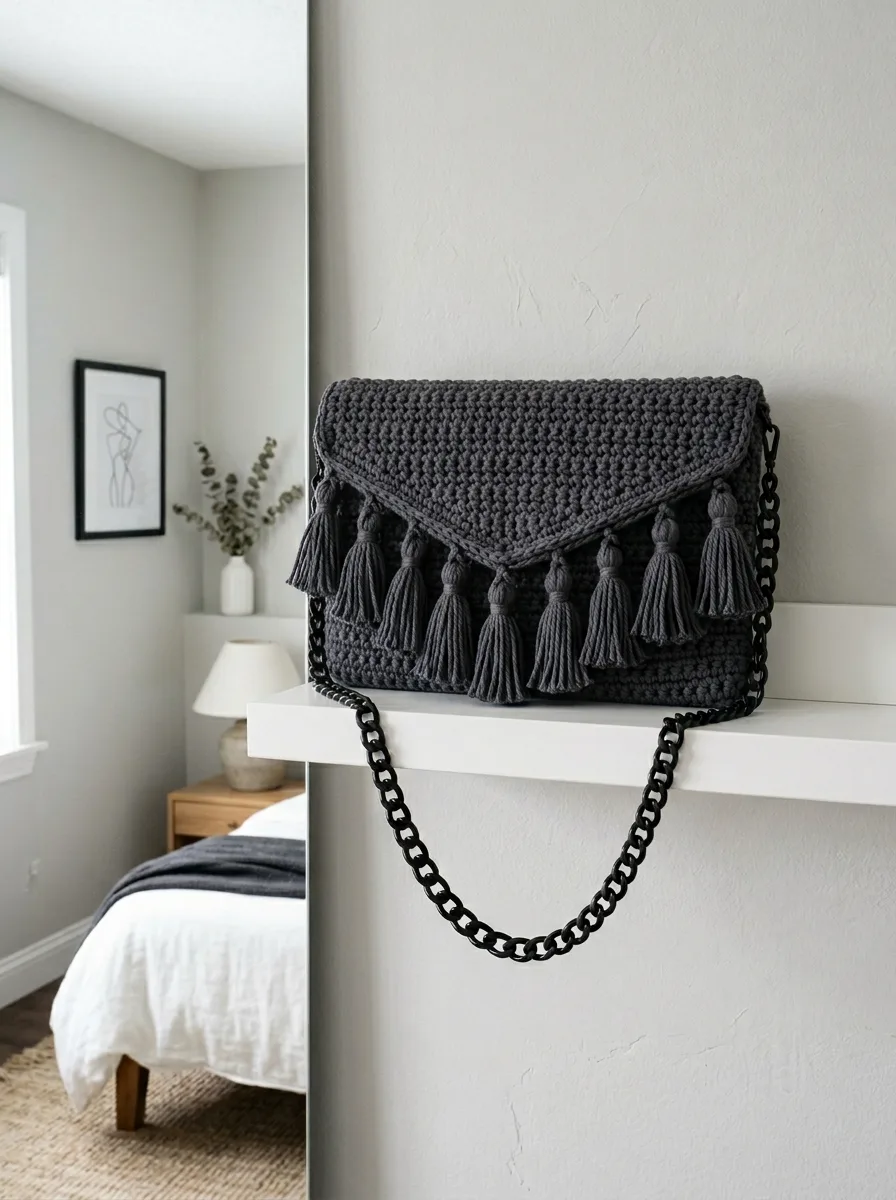
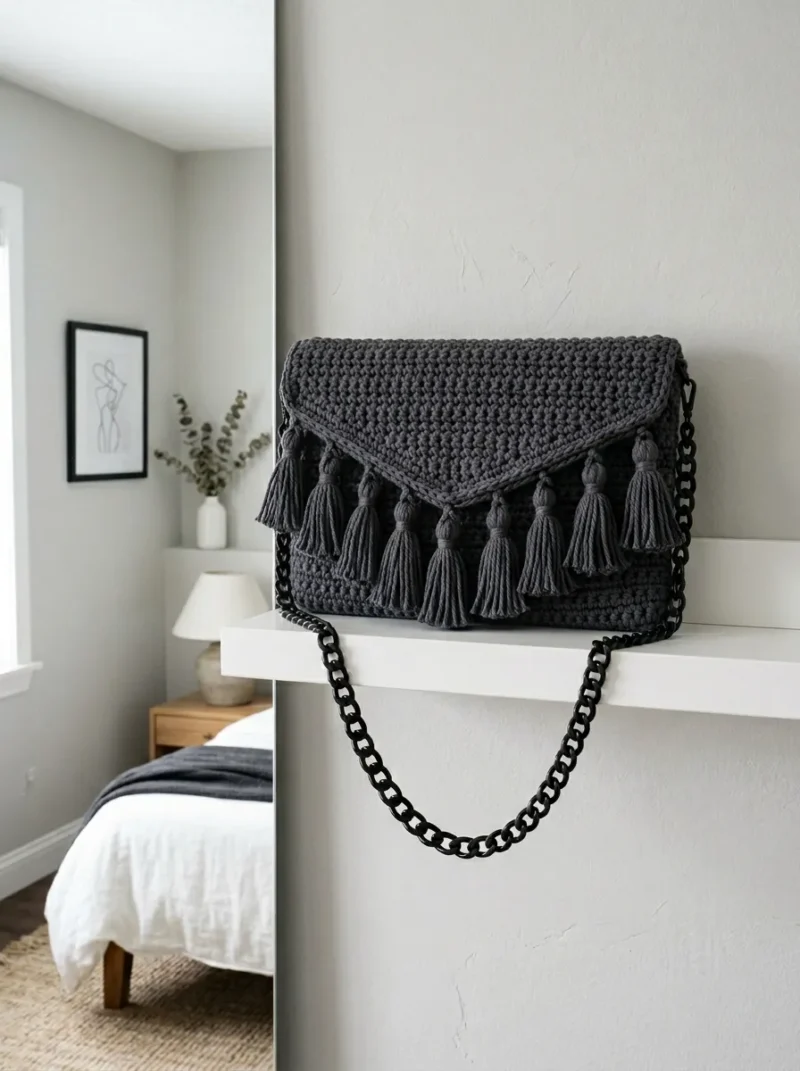
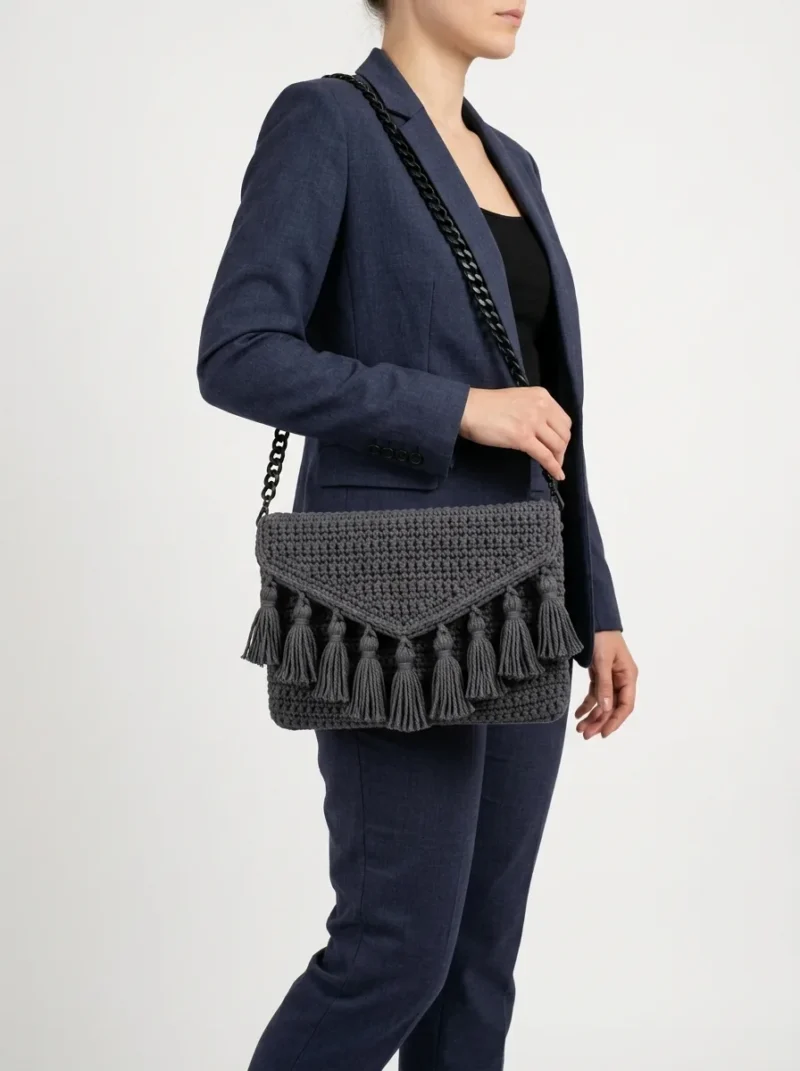
A crossbody bag in 3 parts: body, flap, tassels. Worked flat with a 5.0mm hook.
Crochet Rituals · retyped from the source and laid out for print · added 16 Sep 2026
What the pattern's own author called it. Nothing here is graded again.

What the sample was worked in. Any weight works; the size moves with it.

Each one is typed out whole and gets its own line.
This crossbody bag is built from three separate pieces worked flat in single crochet, then seamed together: a rectangular body of 35 stitches across 56 rows, a triangular envelope flap shaped with diagonal decreases, and eight small tasseled toppers made in the round. Before picking up a hook, have 250 to 300 yards of worsted weight cotton on hand, a 5.0 mm hook, a magnetic snap, and a scrap of cardboard for wrapping the tassel fringe. Every row of the body and most of the flap uses the same stitch, so the work is repetitive rather than technical.
Listed by the pattern's own author, in their words.
Key to this pattern, 6 short forms
The main body is one long rectangle that gets folded and seamed on the sides. Simple, right?
Foundation: Ch 36.
Sc in 2nd ch from hook and in each ch across. (35 sts)
Ch 1, turn. Sc in each st across. (35 sts)Rows 3 through 56: Repeat Row 2. (35 sts each row) You should have a rectangle approximately 10 inches wide and 14 inches tall.Fasten off and weave in your starting tail.
Folding and seaming:
Fold the rectangle in half with wrong sides together, bringing the short edges to meet. The fold becomes the bottom of your bag.
Using your tapestry needle and a length of yarn, whip stitch or mattress stitch the side seams closed. Work from the bottom fold up to the top edge on both sides.
Turn right side out. You now have a basic pouch shape.
The triangular envelope flap attaches to the back of the bag and folds over the front. This is where the asymmetrical style comes in.
Foundation: Ch 36.
Sc in 2nd ch from hook and in each st across. (35 sts)
Ch 1, turn. Sc in each st across. (35 sts)Rows 3 through 6: Repeat Row 2. (35 sts) Now we begin the diagonal shaping. This creates that sharp envelope point.
Ch 1, turn. Sc2tog, sc in each st to last 2 sts, sc2tog. (33 sts)
Ch 1, turn. Sc in each st across. (33 sts)
through 24: Repeat Rows 7 and 8, continuing to decrease 2 stitches every other row.
Your stitch counts will be: Row 9: 31 sts Row 11: 29 sts Row 13: 27 sts Row 15: 25 sts Row 17: 23 sts Row 19: 21 sts Row 21: 19 sts
Row 23: 17 sts
Ch 1, turn. Sc2tog, sc to last 2 sts, sc2tog. (15 sts)
Ch 1, turn. Sc in each st across. (15 sts) Continue decreasing every other row:Row 27: 13 sts Row 29: 11 sts Row 31: 9 sts Row 33: 7 sts Row 35: 5 sts Row 37: 3 stsRow 38: Ch 1, turn. Sc3tog (insert hook in first st, pull up loop, insert in second st, pull up loop, insert in third st, pull up loop, yarn over and pull through all 4 loops). (1 st)Fasten off, leaving a long tail.
Border (optional but recommended):
Join yarn at any corner of the flap. Sc evenly around all edges, working 3 sc in the point corner for a clean finish. Sl st to first sc to join. Fasten off.
Those chunky tassels are what take this bag from nice to “where did you buy that?” territory. You will make 8 tassels total.
How to crochet tassel toppers: Each tassel has a little crocheted ball on top. Here is how to make them: Magic ring: Ch 2, work 6 sc in the second ch from hook. Pull tail to tighten into a ring. (6 sts)
2 sc in each st around. (12 sts)
Sc in each st around. (12 sts)Round 3: Sc2tog around. (6 sts) Do not fasten off yet.
Making the tassel fringe:
Cut 12 to 14 strands of yarn, each about 6 inches long. Fold them in half and pull the folded loop through the bottom opening of your crocheted ball. Thread the cut ends through the loop and pull snug.
Finishing the tassel:
Wrap a separate strand of yarn around the tassel about half an inch below the ball, creating that distinctive wrapped neck. Secure with a knot and hide the tail inside the tassel.
Trim the tassel ends evenly.
Repeat to make 8 tassels total.
| Rounds | 11 |
|---|---|
| Parts | 3 |
| Level | Intermediate |
| Time | 4-6 hours |
| Hook | 5.0 mm |
| Yarn | Worsted |
The bag body is a single flat rectangle rather than a piece worked in the round, which is why it needs seaming on the sides after blocking — this keeps the stitch pattern simple across all 56 rows.
The envelope flap starts identically to the body, with six straight rows of 35 stitches, before diagonal decreases begin — this shared opening means both pieces block to the same width before the flap narrows to its point.
| Bag Body | about 2 to 3 hours because the 56 rows of single crochet are simple but numerous |
|---|---|
| Envelope Flap | about 1 to 1.5 hours because the diagonal shaping rows need closer attention than a straight repeat |
| Tassels and Assembly | about 1 hour because eight tassel toppers plus whip stitching the flap and installing the snap take steady hand work |
Every one was taken by whoever published the pattern, in the order the source listed them.
These answers came from whoever first published the pattern, kept word for word.