
Intermediate
What the pattern's own author called it. Nothing here is graded again.
 Crochet·Rituals
Amigurumi 26 Laid out for paper No account, no download
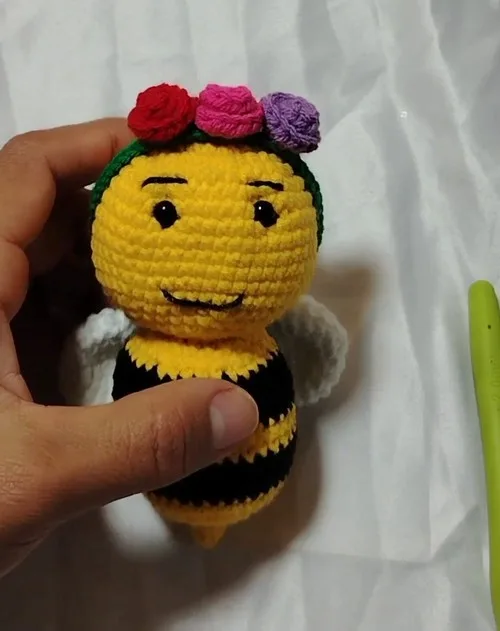
Amigurumi bee in 3 parts, 26 rounds total, worked in worsted weight with a standard hook.
Crochet Rituals · retyped from the source and laid out for print · added 8 Oct 2026
What the pattern's own author called it. Nothing here is graded again.

What the sample was worked in. Any weight works; the size moves with it.

Each one is typed out whole and gets its own line.
This bee is built in three worked pieces plus a short chain: a main body shaped from a 5-stitch magic ring up to 36 stitches, a second rounded piece that grows from a 6-stitch ring to 24 stitches, and a third piece worked the same way before leveling off into plain rounds. Color changes run through the body stripes without cutting yellow, so both shades stay live and ready to pick up again. Before the first stitch, have yellow and black worsted-weight yarn on hand, a hook sized to the yarn, a stitch marker, and stuffing for the body and head.
Listed by the pattern's own author, in their words.
Key to this pattern, 4 short forms
Make a magic ring with 5 sc. Close the ring and mark the start.
1 sc in each stitch (5 sc total). Flip the piece inside out. For Round 3: (1 sc, inc) × repeat = 7 sts.
(Inc, 2 sc) × repeat. End with 1 inc. = 10 sts.
(Inc, 2 sc) × 3 times = 14 sts. For Round 6: 14 increases = 28 sts.
Inc, 13 sc, inc, 13 sc = 30 sts.
(4 sc, inc) × repeat = 36 sts. For Round 9: 1 sc in each stitch = 36 sts.Rounds 10–17: Alternate colors without cutting yellow: 3 rows black, 2 rows yellow, 3 rows black.Cut black yarn.
(4 sc, dec) × repeat with yellow yarn. For Round 19: (3 sc, dec) × repeat.
(2 sc, dec) × repeat. Leave a long tail for sewing. Bee Head (Yellow Yarn)
Magic ring with 6 sc.
6 inc = 12 sts. For Round 3: (1 sc, inc) × repeat = 18 sts.
(2 sc, inc) × repeat = 24 sts.
(3 sc, inc) × repeat. For Round 6: 2 sc, inc, (4 sc, inc) × repeat, end with 2 sc.
(5 sc, inc) × repeat.
(6 sc, inc) × repeat = 48 sts. For Rounds 9–14: 1 sc in each stitch (6 rows).
(6 sc, dec) × repeat.
(5 sc, dec) × repeat. For Round 17: (4 sc, dec) × repeat.
(3 sc, dec) × repeat. Add safety eyes between rows 7 and 8, 6 sts apart.
(2 sc, dec) × repeat. Begin stuffing. For Round 20: (1 sc, dec) × repeat.
6 dec to close. Fasten off and sew hole shut. Bee Wings (White Yarn) – Make 2
Magic ring with 6 sc.
6 inc = 12 sts. For Round 3: (1 sc, inc) × repeat.
(2 sc, inc) × repeat.
1 sc in each stitch. For Round 7: (2 sc, dec) × repeat.
1 sc in each stitch.
(1 sc, dec) × repeat.
1 sc in each stitch. Do not stuff.
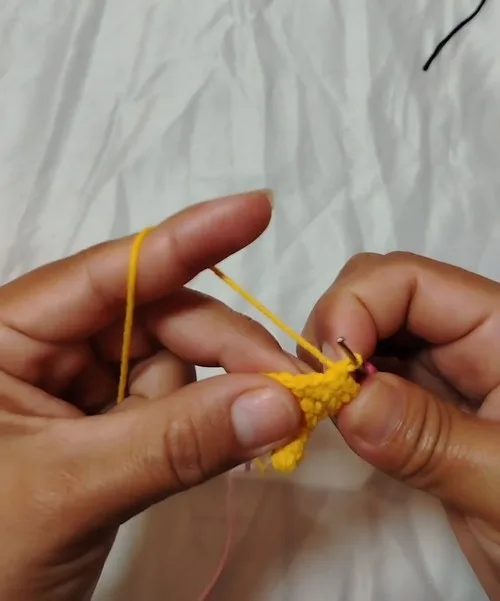
Chain 50 (or adjust for size), then 3 more chains.
Join with a slip stitch to make a ring.
Single Crochet: Work sc around the ring using X-stitch technique.
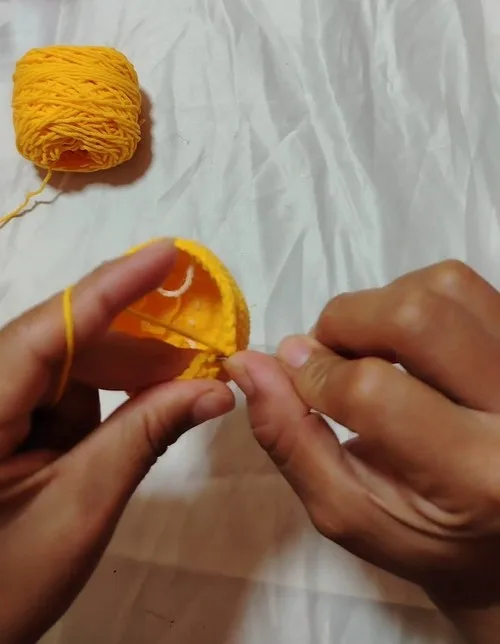
Assembly Stuff both the body and head.
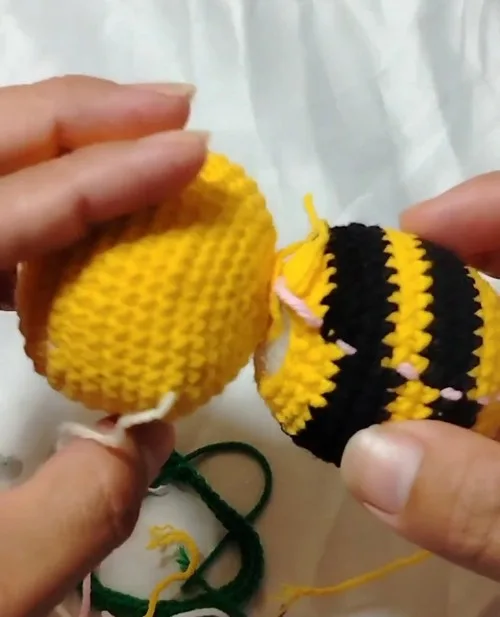
Sew the head to the body securely.
Sew wings on yellow body stripes.
Embroider the mouth with black yarn between rows 5 and 6 of the head.
Attach flower decorations and the crocheted headband.
Antennae instructions were not fully detailed in the source.
Visual reference needed for exact pattern.
| Rounds | 26 |
|---|---|
| Parts | 4 |
| Level | Intermediate |
| Time | 4-6 hours |
| Yarn | Worsted |
The Main Pattern increases on almost every round from the 5-stitch magic ring through Round 7, taking the piece from 5 to 30 stitches before settling into plain single crochet rounds — a standard amigurumi curve for a rounded body.
| Main Pattern (body) | about 1.5 to 2 hours because it runs 8 rounds with shaping changing almost every round |
|---|---|
| Part 2 (head) | about 2 to 2.5 hours because it is the longest piece at 11 rounds with several increase repeats to track |
| Part 3 and finishing (wings, embroidery, headband) | about 1 to 1.5 hours because the 7 rounds are shorter but the assembly, embroidery, and attaching steps add time |
Every one was taken by whoever published the pattern, in the order the source listed them.
These answers came from whoever first published the pattern, kept word for word.