
Confident Beginner
What the pattern's own author called it. Nothing here is graded again.
 Crochet·Rituals
Bags 8 Laid out for paper No account, no download
12 granny squares, 4 rounds each, joined into a tote. 4mm hook, two crocheted handles.
Crochet Rituals · retyped from the source and laid out for print · added 16 Oct 2026
What the pattern's own author called it. Nothing here is graded again.

What the sample was worked in. Any weight works; the size moves with it.

Each one is typed out whole and gets its own line.
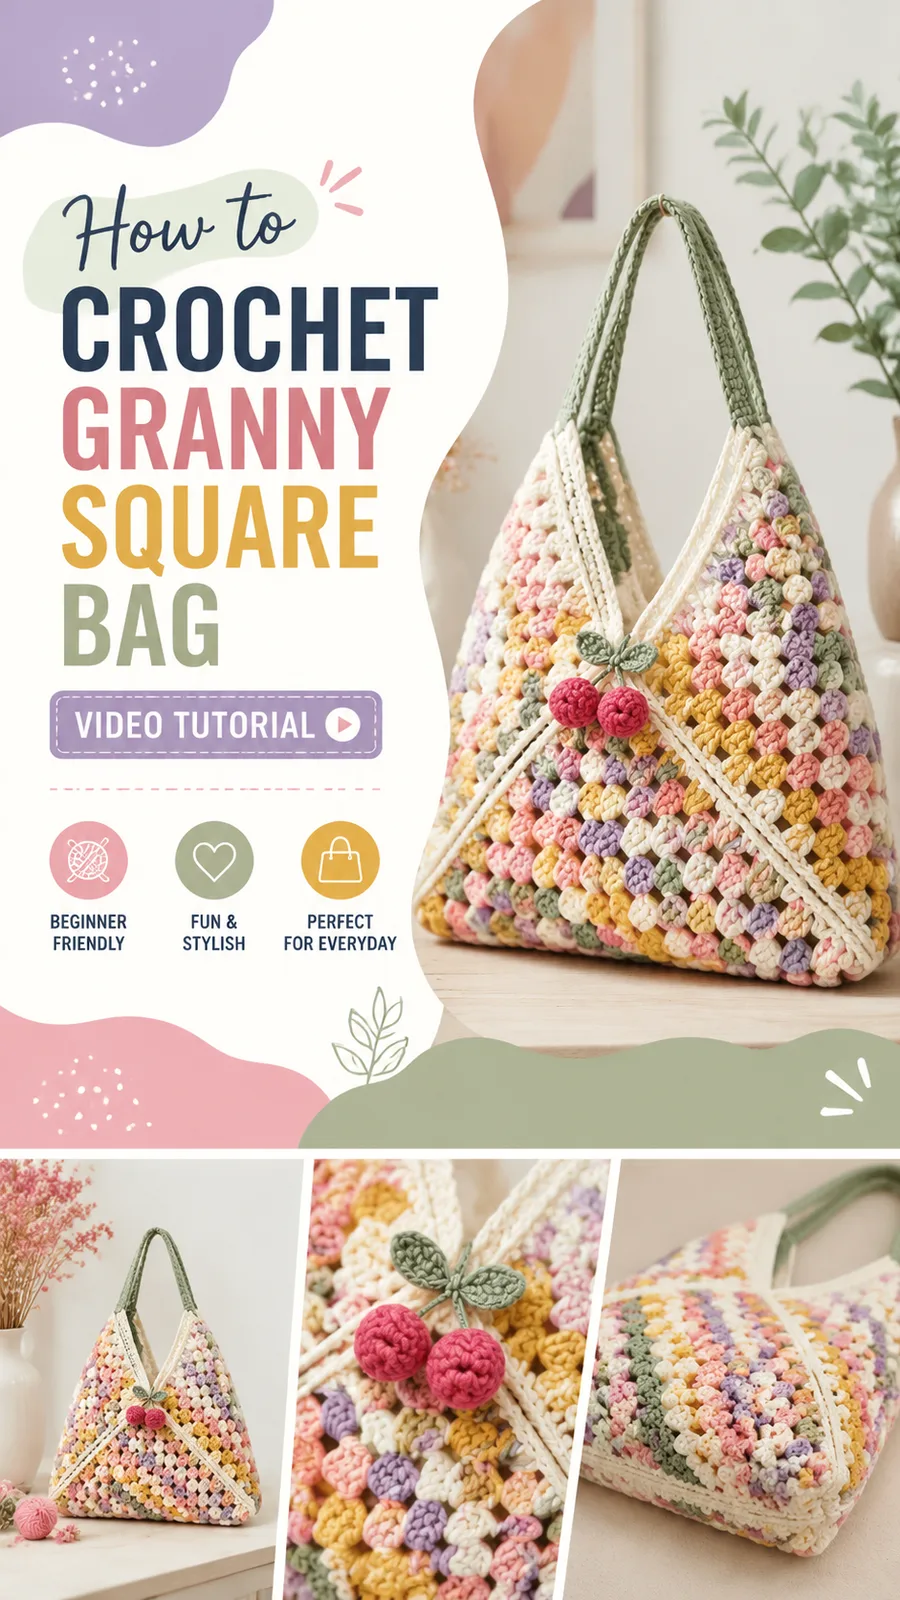
This tote grows from twelve granny squares, each worked in four rounds of classic clusters with chain-2 corners, then blocked to a matching 4.5-inch size before joining. Six squares join into each of two panels, arranged 3 squares wide by 2 squares tall and seamed with the wrong sides facing together. The joined squares form two large panels, finished with a side-and-bottom gusset for shape and a sc border at the top opening. Two crocheted handles, folded and seamed along the long edge, carry the weight. Have the four main colors wound and ready, a 4mm hook on hand, and stitch markers set aside for tracking corner spaces across rounds. The finished bag measures approximately 14 in wide x 12 in tall (35.5 x 30.5 cm), excluding handles, and the pattern uses US crochet terms throughout.
Listed by the pattern's own author, in their words.
Key to this pattern, 9 short forms
Make 12 squares total. Create 6 squares for the front panel and 6 squares for the back panel.
With Color A, ch 4. Join with sl st to form a ring. Ch 3 (counts as dc), work 2 dc into ring, ch 2, *(3 dc into ring, ch 2)* repeat 3 times. Join with sl st to top of beginning ch-3. (12 dc, 4 corner spaces)
Sl st into next 2 sts and corner space. Ch 3, 2 dc, ch 2, 3 dc in same corner space. In each corner space around, work (3 dc, ch 2, 3 dc). Join. (8 granny clusters)
Change color if desired. Sl st to corner space. Ch 3, 2 dc, ch 2, 3 dc in same corner. Work 3 dc in each side space and (3 dc, ch 2, 3 dc) in each corner. Join.
Change color if desired. Repeat Round 3. Fasten off and weave in ends.
Each completed square should measure approximately 4.5 inches (11.5 cm). Block all squares before joining.
Arrange 6 squares into a rectangle measuring 3 squares wide by 2 squares tall.
Join squares using a whip stitch or slip stitch seam with the wrong sides facing together.
Repeat for the second panel.
Place panels together with wrong sides facing inward.
Attach Color A to the top opening.
Work sc evenly around the entire top edge. Join with sl st.
Ch 1, sc in each stitch around. Join and fasten off.
Make 2 handles.
Ch 75.
Sc in second ch from hook and across. Ch 1, turn. (74 sc)
Sc across. Ch 1, turn. (74 sc)Fold the handle strip lengthwise and stitch the long edges together for extra strength.Attach handles evenly to the inside top edge of the bag using strong sewing stitches.
Granny Cluster: 3 dc worked into the same chain space.
Using Color A: Attach yarn at the bottom corner of one panel.
Work sc evenly along the bottom edge, around the side edge, and across the opposite side edge.
Place the second panel behind the first and join both panels together with sc through both layers.
Continue until the sides and bottom are fully closed. Fasten off.
With red yarn, make a magic ring.
Work 8 sc into the ring and join.
In each stitch work: sc, 2 dc, sc to create small petals.
Fasten off and sew the flower securely onto the bag.
| Rounds | 8 |
|---|---|
| Parts | 7 |
| Level | Confident Beginner |
| Time | 6-8 hours |
| Hook | 4 mm |
| Yarn | Worsted |
Each square increases from 12 dc with 4 corner spaces in Round 1 to a full ring of clusters by Round 2, because every corner gets a repeated (3 dc, ch 2, 3 dc) while side spaces take a plain 3-dc group — this is what keeps the motif square rather than round.
The handles are worked flat in rows rather than in the round because the strip is later folded lengthwise and seamed along its edge, which doubles the fabric for strength before it is sewn to the bag.
| Twelve granny squares | about 3-4 hours, because each square needs four rounds plus blocking time before joining |
|---|---|
| Panel joining and gusset | about 1-2 hours, because twelve squares must align into two panels and the side-and-bottom gusset adds a separate seaming pass |
| Top border and handles | about 1-2 hours, because each handle is 74 sc wide across four rows, folded, seamed, and then hand-sewn to the bag |
These answers came from whoever first published the pattern, kept word for word.