
Intermediate
What the pattern's own author called it. Nothing here is graded again.
 Crochet·Rituals
Bags & Purses 16 Laid out for paper No account, no download
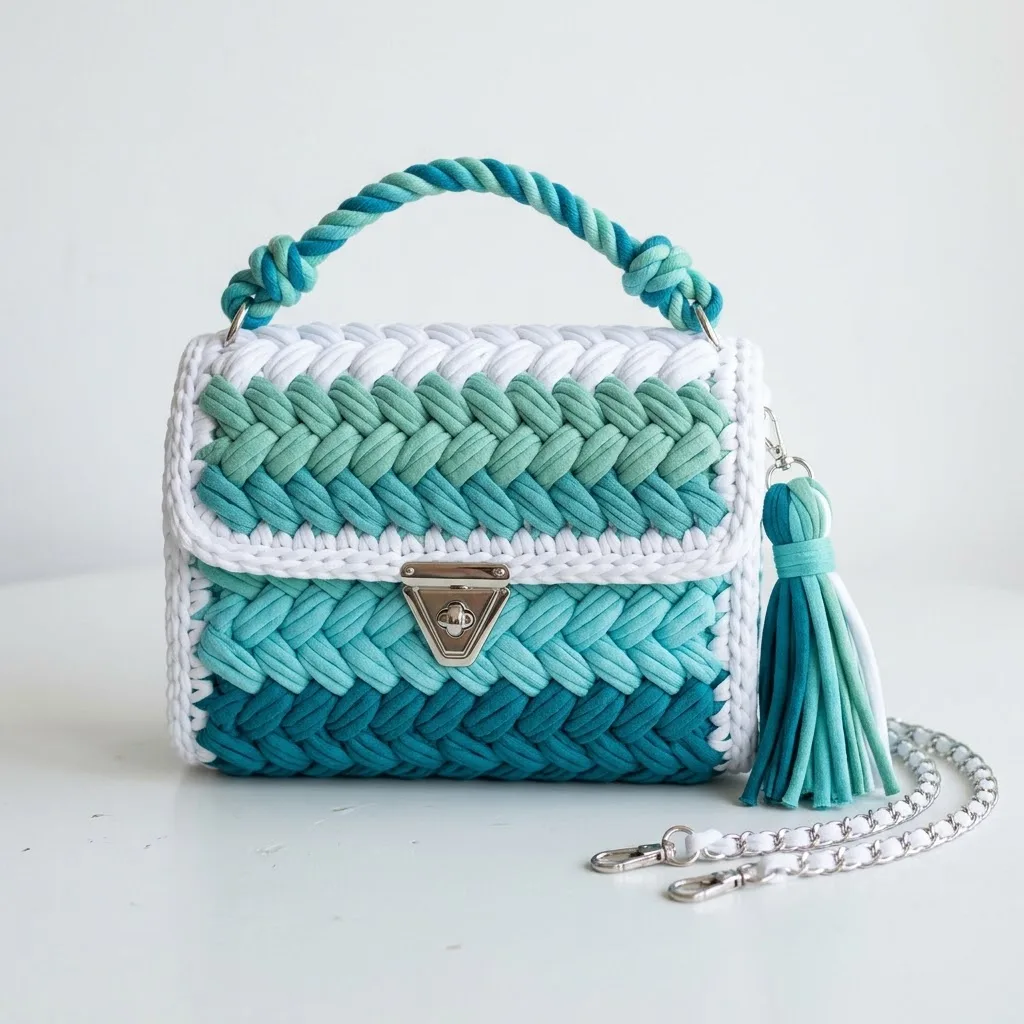
Braided ombre tote in t-shirt yarn: flat base, 52-st rounds, 10mm or 12mm hook.
Crochet Rituals · retyped from the source and laid out for print · added 20 Oct 2026
What the pattern's own author called it. Nothing here is graded again.

What the sample was worked in. Any weight works; the size moves with it.

Each one is typed out whole and gets its own line.
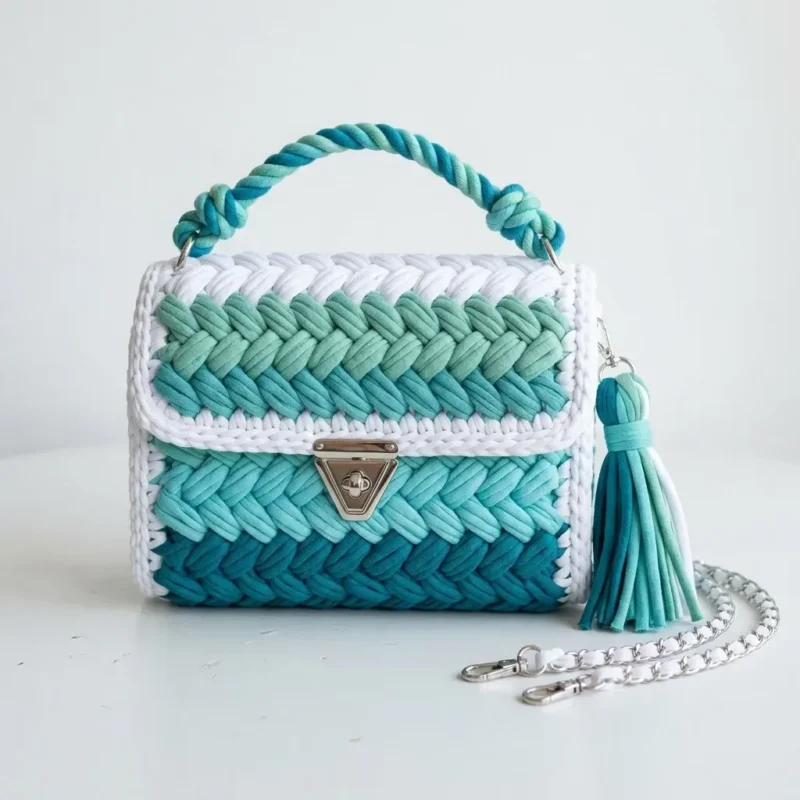
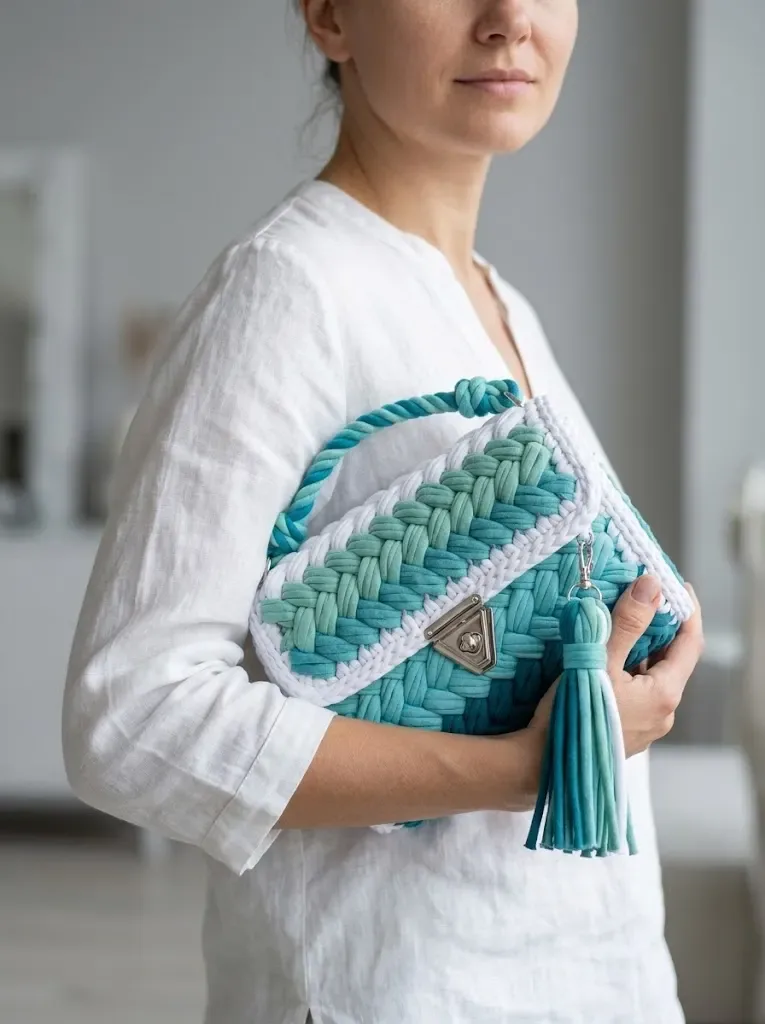
This purse starts flat as a 3 by 8 inch rectangle, then builds upward in continuous rounds around that base to form the body. Four shades of t-shirt yarn move from white at the floor to deep teal, medium teal, and light aqua as the rounds climb, with a braided stitch pattern worked in bands between plain hdc rounds. A second flat panel grows the same way in rows rather than rounds. Have your D-rings, metal chain strap, and a 10mm or 12mm hook on hand before you begin.
Listed by the pattern's own author, in their words.
Key to this pattern, 7 short forms
Ch 17, sc in 2nd ch from hook and in each ch across. (16 sc)
through 8: Ch 1, turn, sc in each st across. (16 sc) You now have a rectangular base approximately 3 inches by 8 inches. Fasten off white.
Bag Body
Now we work up from the base in continuous rounds, incorporating the color changes and braided stitch pattern.
Joining round With deep teal, join with sl st to any corner of the base. Ch 1, work sc evenly around the entire base perimeter. Work 16 sc along each long side and 8 sc along each short side, with 2 sc in each corner. Place marker at start of round. (52 sc)
Hdc in each st around. (52 hdc)
through 4: Work braided stitch pattern around. Remember to skip one stitch, FPdc around the next, then FPdc around the skipped stitch. (52 sts)
Change to medium teal. Hdc in each st around. (52 hdc)Rounds 6 through 7: Work braided stitch pattern around. (52 sts)
Change to sage green. Hdc in each st around. (52 hdc)Rounds 9 through 10: Work braided stitch pattern around. (52 sts)
Change to light mint. Hdc in each st around. (52 hdc)Rounds 12 through 13: Work braided stitch pattern around. (52 sts)
Change to white. Sc in each st around. (52 sc)
Sc in each st around. Sl st to first sc to join. Fasten off. (52 sc) The bag body is now complete. It should measure approximately 5.5 inches tall from base to top edge.
Bag Flap The flap is worked flat and attached to the back of the bag.
With white yarn:
Ch 17, sc in 2nd ch from hook and in each ch across. (16 sc)
Ch 1, turn, sc in each st across. (16 sc)
Change to light aqua. Ch 2 (counts as first hdc), turn, hdc in each st across. (16 hdc)Rows 4 through 5: Work braided stitch pattern across. (16 sts)
Change to medium teal. Ch 2, turn, hdc in each st across. (16 hdc)Rows 7 through 8: Work braided stitch pattern across. (16 sts)
Change to deep teal. Ch 2, turn, hdc in each st across. (16 hdc)
through 11: Work braided stitch pattern across. (16 sts) Border round: Change to white. Ch 1, do not turn. Work sc evenly around entire flap edge, working 3 sc in each corner for smooth turning. Sl st to first sc to join. Fasten off.
Twisted Handle The handle creates that gorgeous twisted rope effect.
Cut 6 strands of t-shirt yarn, each approximately 36 inches long. Use 2 strands each of deep teal, medium teal, and sage green.
1. Knot all 6 strands together at one end 2. Secure this end (clip it to something stable or have a friend hold it)
3. Twist all strands together tightly in one direction until the yarn starts to kink 4. Fold the twisted length in half, holding the middle
5. Let the two halves twist around each other naturally 6. Knot the loose ends together
Trim ends and attach to D-rings on each side of the bag using small wraps of matching yarn to secure.
Tassel
Cut 8 strips of t-shirt yarn, each approximately 8 inches long. Use a mix of sage green and light mint.
1. Fold strips in half 2. Use a separate small strip to wrap tightly around the folded end, about 1 inch from the top 3. Secure the wrap with a knot
4. Trim tassel ends evenly Attach tassel to a small jump ring or directly to the chain strap using a slip knot.
Assembly and Finishing Attaching the Hardware
Twist lock placement: Center the twist lock on the bag front, approximately 1 inch from the top edge. Mark the placement, then carefully cut small slits through the crochet fabric for the prongs. Push prongs through and secure on the inside by bending them flat. Attach the corresponding turn piece to the flap in the same manner.
D-ring attachment: Use white yarn to create small loops on each side of the bag opening, approximately 0.5 inch from the top edge. Thread the D-rings through these loops and secure tightly with several wraps and a firm knot.
Attaching the Flap
Position the flap along the back top edge of the bag, with the white border row aligned with the bag opening. Using white yarn and a tapestry needle, whip stitch the flap securely to the bag back, working through both layers.
Optional Lining
For a polished interior, cut fabric to fit inside the bag with a 0.5 inch seam allowance. Fold seams under, press, and hand stitch the lining inside the bag using small, invisible stitches.
Chain Strap
Clip the metal chain to the D-rings on each side. The chain provides a crossbody option while the twisted handle works perfectly for hand carrying.
Customization Ideas
Color variations: Try sunset shades (coral, peach, cream), monochromatic grays, or bold jewel tones. The ombre effect works with any palette.
Size adjustments: For a larger bag, increase your base chain and add more rounds to the body. For a clutch version, skip the handle and chain entirely.
Hardware swaps: Rose gold hardware creates a warmer feel. Matte black hardware gives an edgier vibe.
Care Instructions
T-shirt yarn bags can be spot cleaned with mild soap and cool water. Lay flat to dry, reshaping gently. Remove hardware before any cleaning. Store stuffed with tissue paper to maintain shape.
Troubleshooting Common Issues
Bag is too floppy: Your tension may be too loose. Try going down a hook size or adding a plastic canvas insert to the base.
Braided stitches look uneven: This gets easier with practice. Keep your tension consistent and make sure you are crossing the stitches in the same direction every time.
Colors pooling oddly: T-shirt yarn can be inconsistent in thickness. If one section looks different, embrace it as part of the handmade charm, or unravel and reposition.
I truly hope you love making this Ocean Breeze Ombre Braided Purse as much as I loved designing it. Thank you so much for choosing this pattern for your next project. I would absolutely love to see your finished bags, so please tag me on Instagram or share in our Facebook group when yours is complete!
If this pattern inspired you, go ahead and save it to your Pinterest boards so you can find it easily when you are ready to start. And please drop a comment below if you make one. I read every single comment and it genuinely makes my day to see your creations come to life!
| Rounds | 16 |
|---|---|
| Parts | 3 |
| Level | Intermediate |
| Time | 4-6 hours |
| Hook | 10 mm |
| Yarn | Super Bulky |
The joining round turns a flat rectangle into a tube by working 16 sc along each long side and 8 sc along each short side, with 2 sc worked into each corner so the perimeter turns without pulling in.
Part 3 is worked flat in rows of 16 stitches rather than in the round, which keeps it as a straight panel rather than a closed tube, matching the flat construction used for the base.
| Main Pattern (base) | about 30-45 minutes because it is only 7 rows of plain sc over 16 stitches |
|---|---|
| Part 2 (bag body) | about 2-3 hours because the 8 rounds mix color changes with the slower braided FPdc stitch pattern |
| Part 3 (flat panel) | about 1.5-2 hours because it runs 40 rows total across several color changes and braided stitch bands |
Every one was taken by whoever published the pattern, in the order the source listed them.
These answers came from whoever first published the pattern, kept word for word.