
Intermediate
What the pattern's own author called it. Nothing here is graded again.
 Crochet·Rituals
Bags & Totes 14 Laid out for paper No account, no download
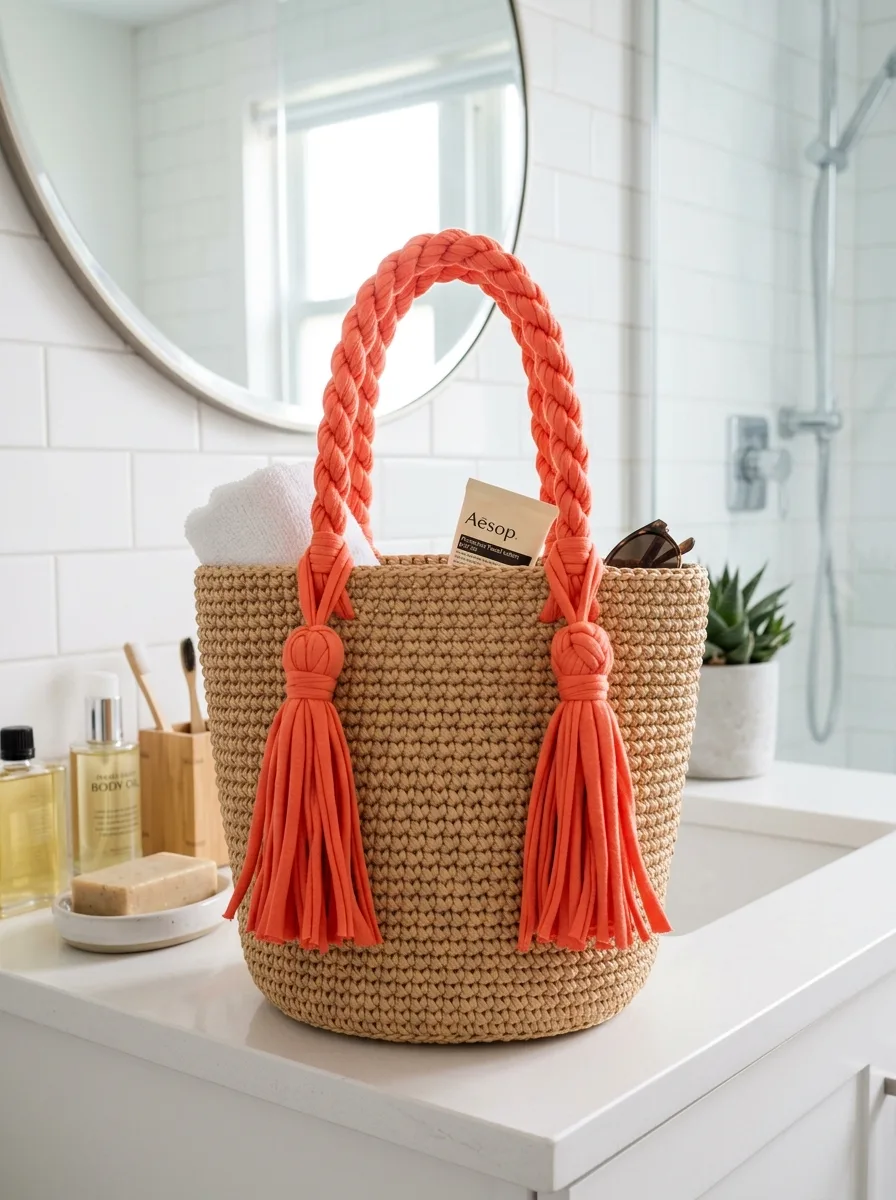
Structured raffia tote: 12-round base, 27 rounds of body, 8.0mm hook.
Crochet Rituals · retyped from the source and laid out for print · added 14 Sep 2026
What the pattern's own author called it. Nothing here is graded again.

What the sample was worked in. Any weight works; the size moves with it.

Each one is typed out whole and gets its own line.
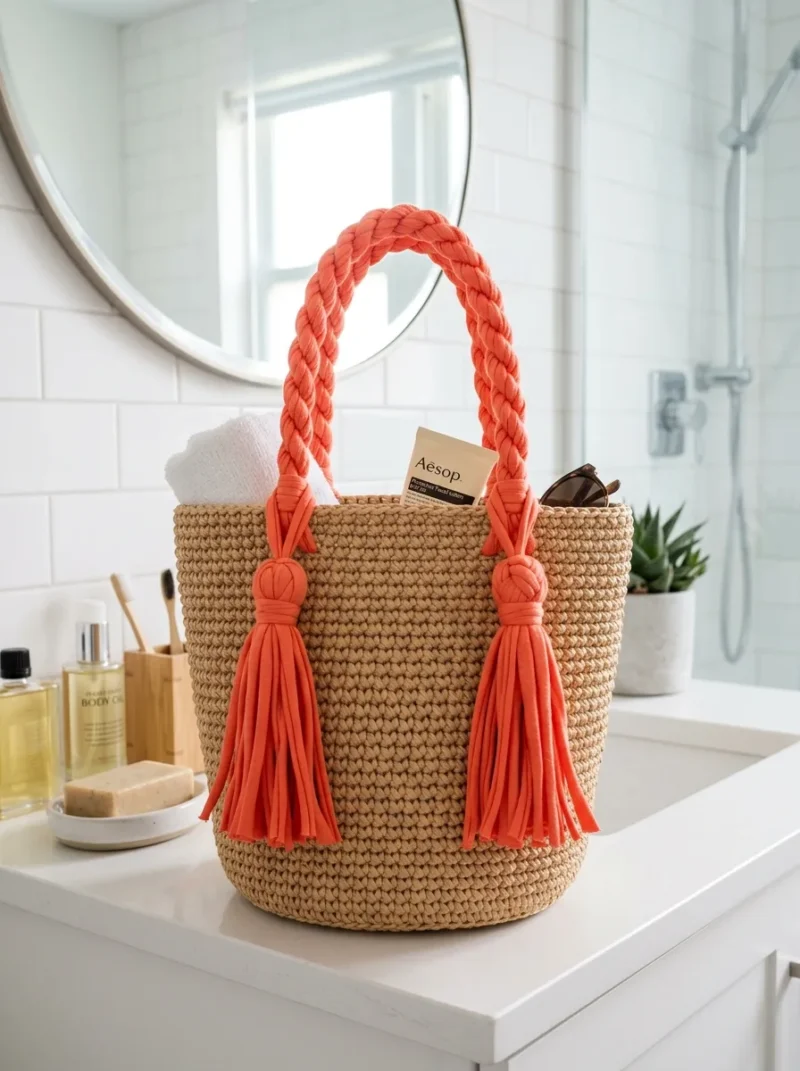
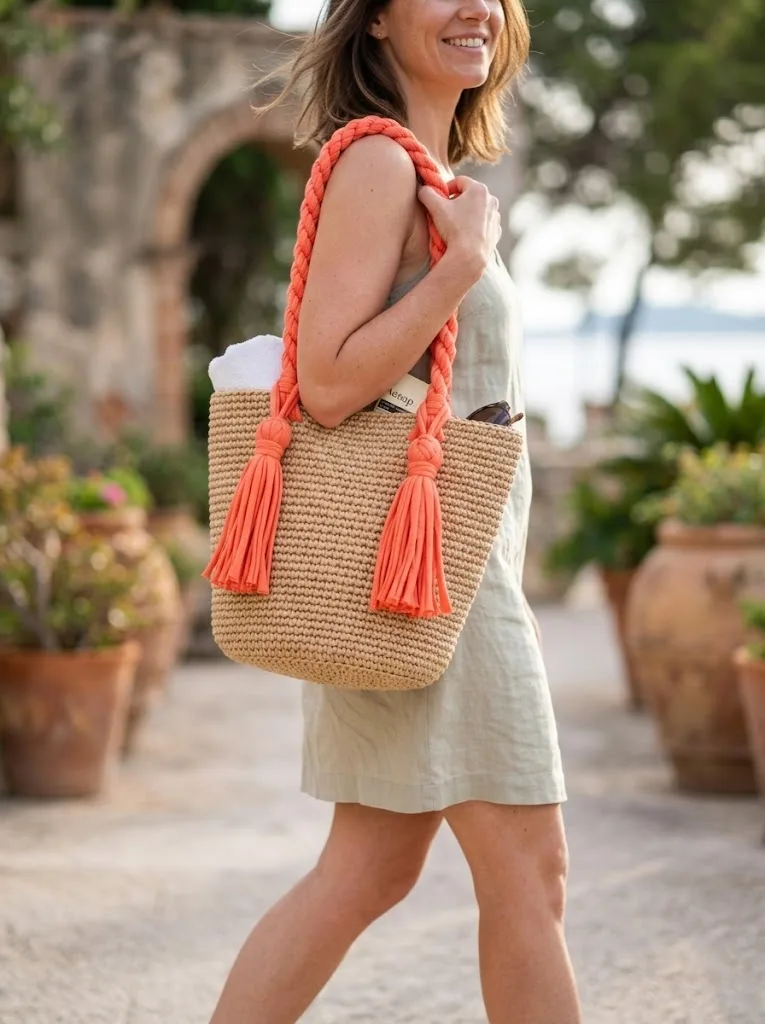
This tote builds from the center bottom out: a 12-round increase base worked in a magic ring, a single transition round in back loop only to set the corner, then 27 straight rounds in single crochet for the walls. Raffia or paper yarn gives the body its stiff, basket-like hand; coral fabric yarn supplies the braided handles and chunky tassels. Before starting, have 250 to 300 yards of raffia, about 150 yards of coral fabric yarn, an 8.0 mm hook, a locking stitch marker, and an 8-inch cardboard rectangle for wrapping tassels.
Listed by the pattern's own author, in their words.
Key to this pattern, 5 short forms
You will start at the center bottom and work outward in increasing rounds.
Magic Ring: Create a magic ring (also called magic circle or adjustable ring). This is how you start crocheting in the round with no hole in the center.
Work 6 sc into the magic ring. Pull the tail to close the ring tightly. Place stitch marker in first stitch. (6 sts)
Inc in each stitch around. (12 sts)
*Sc 1, inc* repeat around. (18 sts)
*Sc 2, inc* repeat around. (24 sts)
*Sc 3, inc* repeat around. (30 sts)
*Sc 4, inc* repeat around. (36 sts)
*Sc 5, inc* repeat around. (42 sts)
*Sc 6, inc* repeat around. (48 sts)
*Sc 7, inc* repeat around. (54 sts)
*Sc 8, inc* repeat around. (60 sts)
*Sc 9, inc* repeat around. (66 sts)
*Sc 10, inc* repeat around. (72 sts) Your base should measure approximately 7 inches across at this point. If it is significantly smaller, you may need a larger hook or looser tension. If it is larger, try going down a hook size.
Check your work: The base should lie flat without cupping or ruffling. If it cups, you are crocheting too tightly. If it ruffles, you may have too many stitches or too loose tension.
This round creates the sharp angle between the flat base and the upright sides. It is what gives the bag that structured bucket shape.
Working in BLO (back loop only), sc in each stitch around. (72 sts) You should see a distinct ridge forming on the outside of your work. This is correct. This ridge becomes the crisp edge where the base meets the sides.
Now you will work straight up without any increases. This builds the walls of your tote.
through 40: Sc in each stitch around. (72 sts per round) That is 27 rounds of straight single crochet. Yes, it is repetitive. Put on a podcast, watch a show, enjoy the rhythm. This is the meditative part of crochet.
Important: Continue working in both loops (normal single crochet) for all these rounds. Only Round 13 was in back loop only.
Height check: After completing Round 40, your bag body should measure approximately 9 to 10 inches from the base transition ridge to the top edge.
The handles are made from fabric yarn using a simple three-strand braid. This is not crochet, just basic braiding, but the thick yarn creates that gorgeous rope-like effect.
For each handle, you need: 3 strands of fabric yarn, each approximately 45 inches long To make one handle: 1. Cut three 45-inch lengths of coral fabric yarn.
2. Align the ends and tie them together in an overhand knot, leaving about 4 inches of tail below the knot.
3. Braid the three strands together. Keep consistent tension so the braid looks even and full. The fabric yarn is thick, so your braid will be chunky and substantial.
4. When you have braided to about 4 inches from the ends, tie another overhand knot to secure.
5. Repeat to create a second identical handle.
Each finished braided section should be approximately 22 to 24 inches long between the knots.
Each handle has two tassels, one at each attachment point. You need 4 tassels total.
For each tassel: 1. Cut approximately 16 to 20 strands of fabric yarn, each about 16 inches long.
2. Gather all strands and fold them in half.
3. Take a separate short piece of fabric yarn (about 12 inches). Wrap it tightly around the folded bundle about 1.5 inches down from the fold. Wrap several times and tie securely. This creates the tassel head.
4. Trim the ends so they are even, approximately 6 to 7 inches long below the wrapped section.
5. Repeat three more times for a total of 4 tassels.
This is the assembly step. Take your time here because placement affects both looks and function.
Positioning: Each handle attaches at two points on opposite sides of the bag Position the attachment points about 3 to 4 inches from center on each side
Both handles should be symmetrical Attachment method:
1. Thread the tail ends of one handle knot through the top edge of the bag from outside to inside. Position about 3.5 inches left of center on one side of the bag.
2. On the inside, separate the tail strands and weave them back out through different stitches, creating a secure anchor.
3. Take one tassel and position it so the folded loop is at the handle attachment point. Thread the handle tails through the tassel loop and pull tight, securing the tassel to the handle base.
4. Wrap any remaining tail ends around the connection point several times, then tuck and secure. You want a neat wrapped look that hides the attachment.
5. Repeat for the other end of the same handle, positioning it 3.5 inches right of center on the opposite side of the bag.
6. Repeat entire process for the second handle on the remaining two sides.
Final check: Both handles should have equal drop height and the tassels should hang evenly.
| Rounds | 14 |
|---|---|
| Parts | 6 |
| Level | Intermediate |
| Time | 4-6 hours |
| Hook | 8.0 mm |
| Yarn | Bulky |
All 12 increase rounds happen in the base before Round 13; from Round 14 onward the stitch count holds at 72 for the remainder of the body, so all the shaping work is front-loaded into the base.
Round 13 working in back loop only leaves the front loops exposed as a ridge on the outside, which is what creates the sharp bucket-bag corner between the flat base and the straight walls.
| The Circular Base | about 45 to 60 minutes, because 12 increase rounds require counting stitches carefully at each round |
|---|---|
| Transition round and Bag Body | about 2 to 3 hours, because 27 straight rounds of single crochet make up the bulk of the stitch count |
| Handles, tassels, and attaching | about 1 hour, because braiding, wrapping tassels on the cardboard rectangle, and attachment are hand-finishing steps rather than stitch counts |
Every one was taken by whoever published the pattern, in the order the source listed them.
These answers came from whoever first published the pattern, kept word for word.