
Beginner
What the pattern's own author called it. Nothing here is graded again.
 Crochet·Rituals
Amigurumi 9 Laid out for paper No account, no download
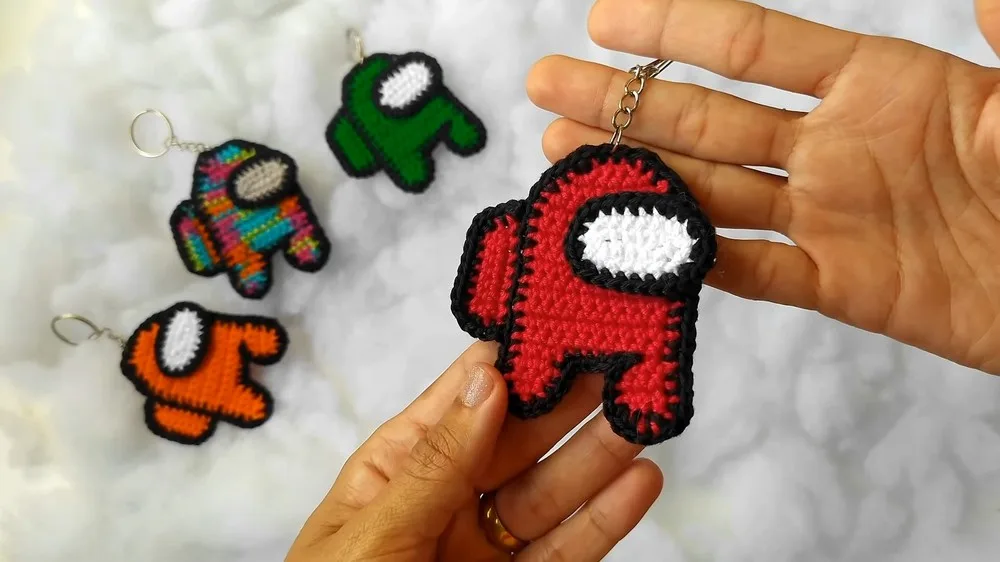
Flat-worked amigurumi keychain: 14-row trapezoid body, two 4-row legs, and a single crochet backpack accent.
Crochet Rituals · retyped from the source and laid out for print · added 15 Sep 2026
What the pattern's own author called it. Nothing here is graded again.

What the sample was worked in. Any weight works; the size moves with it.

Each one is typed out whole and gets its own line.
This keychain builds flat, in single crochet, from a small trapezoid body worked in fourteen rows and a matching pair of legs worked in four rows each. A backpack strip is added directly onto the body rather than crocheted apart, and two finished body panels are joined at the edges rather than stuffed and closed in the round. Have crochet thread in your chosen colors, a hook sized to that thread, a keychain ring, scissors, and a yarn needle on hand before starting.
Listed by the pattern's own author, in their words.
Key to this pattern, 5 short forms
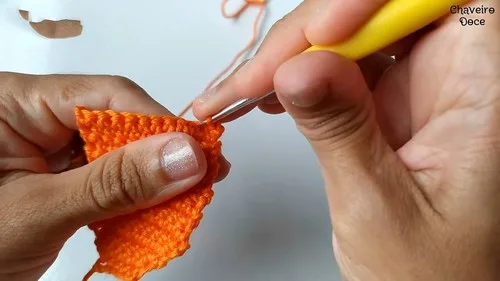
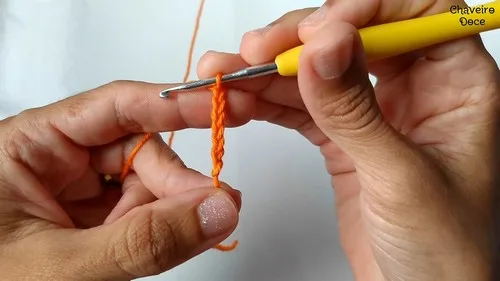
Start by making 6 chains. Skip a chain from the hook, and in the next one, make a single crochet. Continue making a single crochet for each chain. You will have 5 single crochets at the end of the row.
Chain 1 (counts as turning chain), turn. Start with 2 single crochets (increase) in the first stitch. Then make 1 single crochet in each of the next 3 base stitches. Finish with 2 single crochets (increase) in the last stitch. You will have 7 single crochets at the end.
Chain 1, turn. Insert the hook into the first stitch and make 2 single crochets (increase). Continue with 5 single crochets, one for each base stitch. Then make 2 single crochets (increase) in the last stitch, for a total of 9 single crochets.
Chain 1, turn. Make 2 single crochets in the first stitch. Continue with 7 single crochets, one for each base stitch. Finish with 2 single crochets in the last stitch. You will end with 11 single crochets.
Make 1 single crochet in each stitch across for 10 rows. Each row will have a total of 11 single crochets.
Chain 1, turn. Make 4 single crochets, one in each of the next 4 stitches.
Chain 1, turn, and make 4 single crochets, one in each stitch.
Chain 1, turn, and make 4 single crochets.
Do not chain, simply turn. Make a decrease over the first 2 stitches, then make 1 single crochet in the next stitch, and finish with a decrease over the last 2 stitches.
Repeat the steps for the first leg.
To make the backpack, count to the 5th row from the top of the body and insert the hook into one of the loops of the stitch. Use the main color, make a chain, and then 8 single crochets along the stitch line.
Turn the work without chaining and decrease in the first 2 stitches. Continue with single crochets until you reach the last 2 stitches of the row, then make another decrease.
Cut the thread and hide it behind the piece. Finally, outline the backpack with single crochet stitches as you did with the body.
Fasten off all the yarn ends, attach the keychain ring, and your Amangos crochet keychain from Among Us should be complete.
| Rounds | 9 |
|---|---|
| Parts | 4 |
| Level | Beginner |
| Time | 2-3 hours |
| Yarn | Thread |
The body's increase-at-both-edges structure (2 sc, then plain stitches, then 2 sc) each row is what turns four straight rows into a trapezoid — the shape widens because the increases sit only at the first and last stitch of every row, never in the middle.
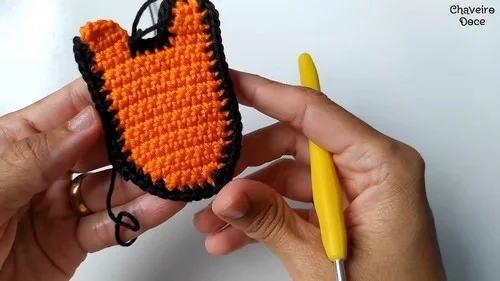
Working flat instead of in the round is what allows the piece to be doubled: two identical flat panels are made from the same row instructions and then joined by single crochet around the outside edge, which is how the amigurumi gets its finished thickness without stuffing.
| Body (two panels, 14 rows each) | about 45-60 minutes, because each of the first four rows increases at both edges and the stitch count must be checked every row |
|---|---|
| Legs (two, 4 rows each) | about 15-20 minutes per leg, because the three plain rows go quickly but the final decrease row needs close attention to placement |
| Backpack and assembly | about 30-40 minutes, because the backpack strip requires locating the correct row on the body, and joining the two panels around the full edge takes time to keep corners neat |
Every one was taken by whoever published the pattern, in the order the source listed them.
These answers came from whoever first published the pattern, kept word for word.