
Intermediate
What the pattern's own author called it. Nothing here is graded again.
 Crochet·Rituals
Amigurumi 80 Laid out for paper No account, no download
10in red panda amigurumi. Head, body, legs, arms, tail, ears. 4mm hook, spiral rounds.
Crochet Rituals · retyped from the source and laid out for print · added 27 Sep 2026

What the pattern's own author called it. Nothing here is graded again.

What the sample was worked in. Any weight works; the size moves with it.

Each one is typed out whole and gets its own line.
This 10-inch red panda builds from seven separate pieces — head, body, two legs, two arms, tail, and ears — each worked in continuous spiral rounds and stuffed before assembly. Color carries the likeness: rust for the body and head, white for face and belly, brown and dark brown for shading and limbs, sand for the tail stripe. Have five yarn colors sorted before the first round, along with 11mm safety eyes, fiberfill, and embroidery-weight thread in black, white, and beige for the facial and claw details worked after assembly.
Listed by the pattern's own author, in their words.
Key to this pattern, 5 short forms
Begin with white.
6 sc in MR. (6)
6 inc. (12)
(sc, inc) around. (18)
sc around. (18)
(2 sc, inc) around. (24)
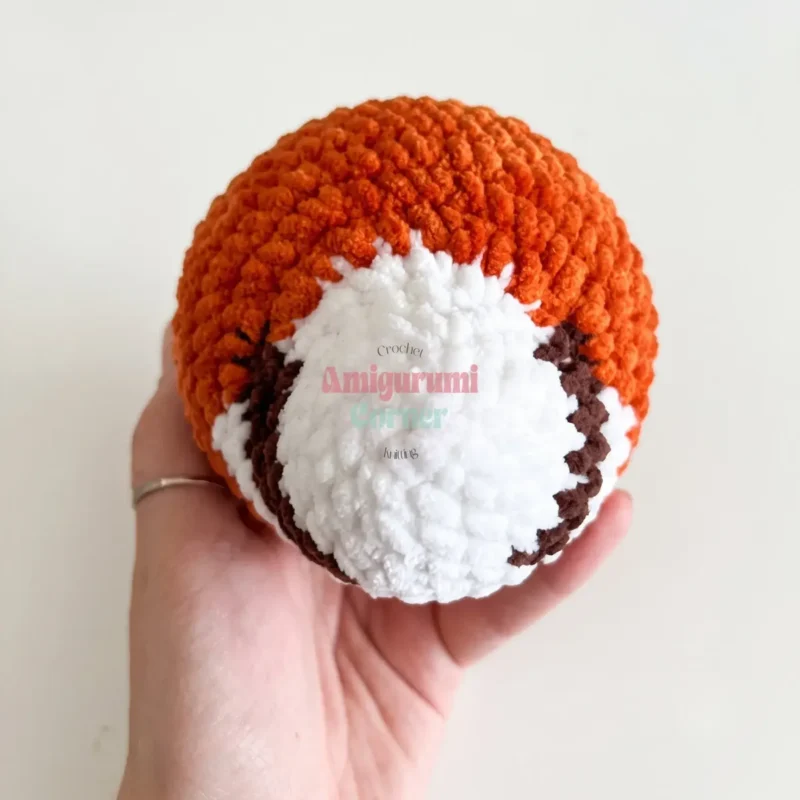
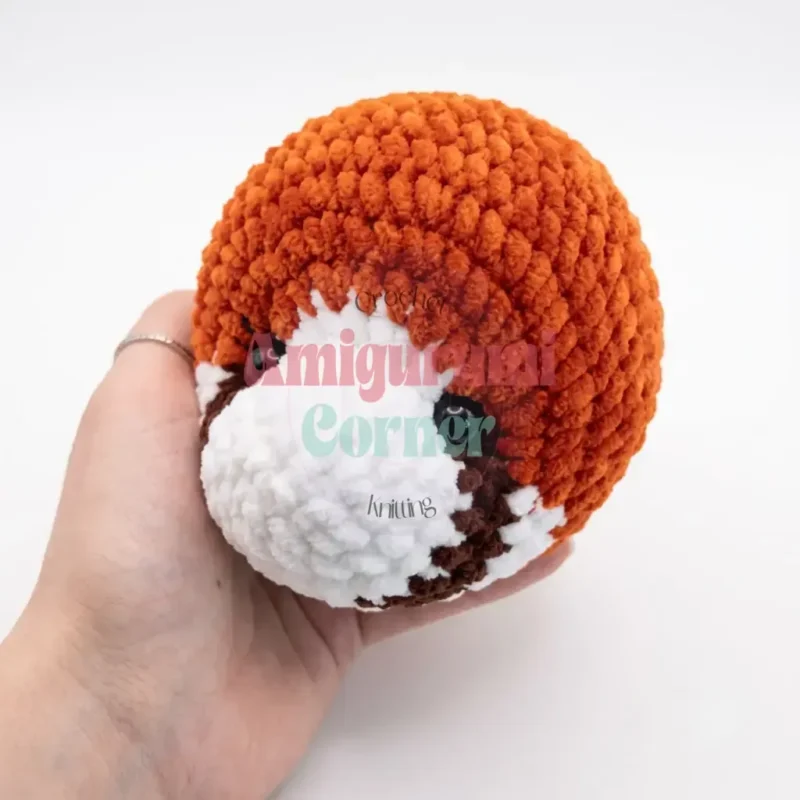
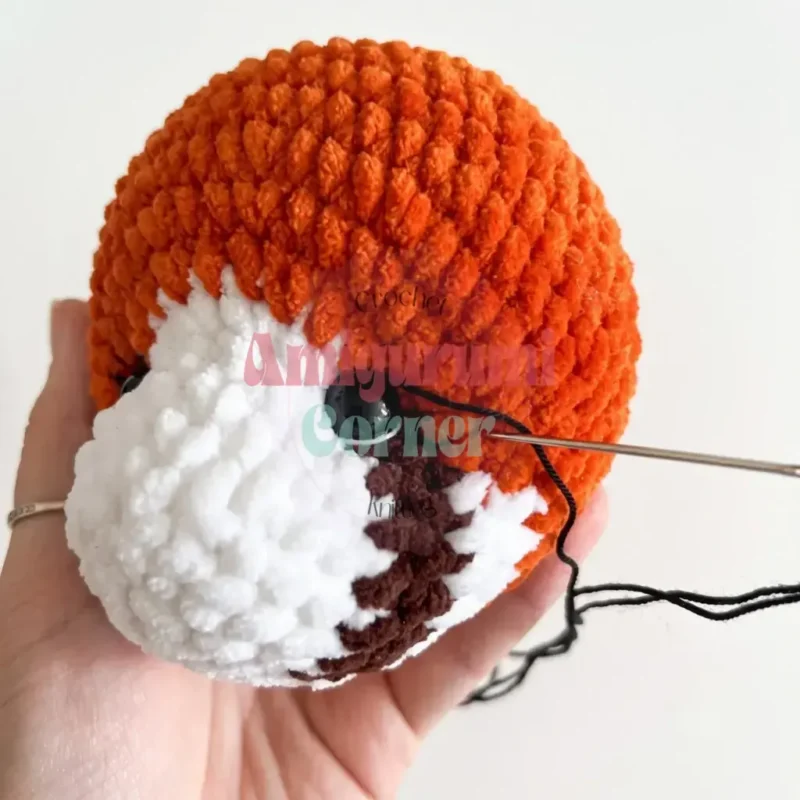
2 sc, change to brown: 7 sc, change to white: 6 inc, change to brown: 7 sc, change to white: 2 sc. (30) If using safety eyes, insert them now, between the two sc sts of each outer increase of this round.
3 sc, change to brown: 6 sc, inc, change to rust: (sc, inc) twice, 2 sc, (inc, sc) twice, change to brown: inc, 6 sc, change to white: 3 sc. (36)
9 sc, change to rust: (2 sc, inc) around, change to white: 9 sc. (42)
9 sc, change to rust: (3 sc, inc) around, change to white: 9 sc. (48)
Change to rust. sc around. (48)
(6 sc, dec) around. (42)
(5 sc, dec) around. (36) Begin stuffing the head firmly. Continue stuffing as you work the remaining rounds.
(4 sc, dec) around. (30)
sc around. (30)
(3 sc, dec) around. (24)
(2 sc, dec) around. (18)
(sc, dec) around. (12)
6 dec. (6)Finish off, leaving a tail for weaving in. Close the opening using the BLO of the final round, then weave in the end.
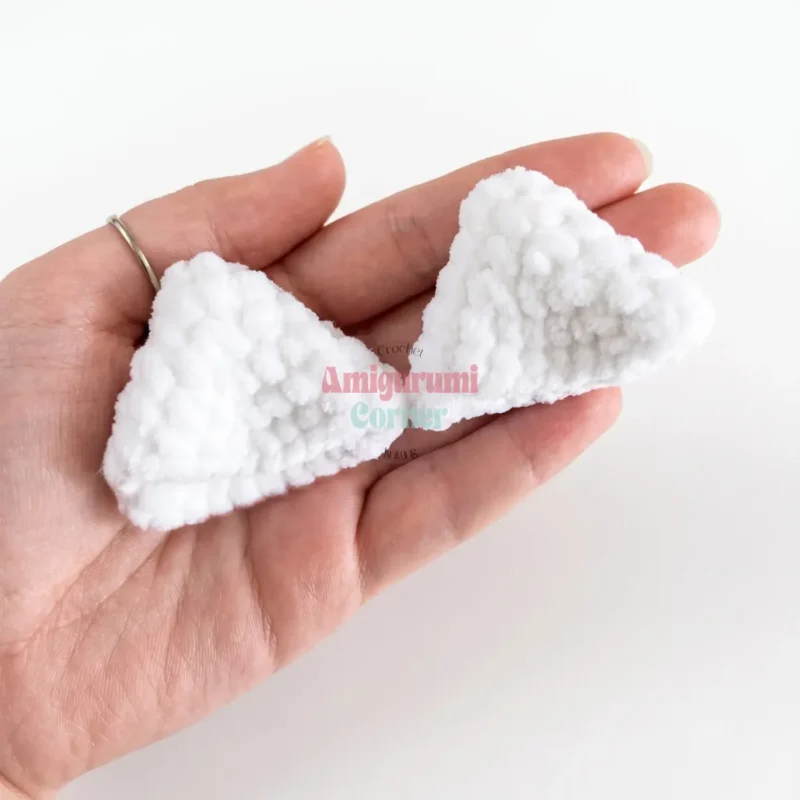
Work in white.
6 sc in MR. (6)
(sc, inc) around. (9)
(2 sc, inc) around. (12)
(sc, inc) around. (18)
(5 sc, inc) around. (21)
(6 sc, inc) around. (24)Finish off, leaving a long tail for sewing.
Begin with brown.
7 sc in MR. (7)
7 inc. (14)
(sc, inc) around. (21)
(2 sc, inc) around. (28)
Change to dark brown. sc around. (28)
7 sc, 7 dec, 7 sc. (21)
7 sc, 3 dec, 8 sc. (18)
sc around. (18) Firmly stuff the foot through approximately Round 10; do not stuff beyond this point.
(4 sc, dec) around. (15)
sc around. (15)
(3 sc, dec) around. (12)Finish off, leaving a long tail for sewing.
Work in dark brown.
6 sc in MR. (6)
6 inc. (12)
(sc, inc) around. (18)
sc around. (18)
6 sc, 3 dec, 6 sc. (15)
6 sc, dec, 7 sc. (14)
6 sc, dec, 6 sc. (13)
6 sc, dec, 5 sc. (12) Firmly stuff the paw through this round; do not stuff beyond this point.
sc around. (12)
(4 sc, dec) twice. (10)Finish off, leaving a long tail for sewing.
Begin with dark brown.
6 sc in MR. (6)
6 inc. (12)
(3 sc, inc) around. (15)
sc around, change to sand. (15)
sc around, change to dark brown. (15)
sc around, change to sand. (15)
sc around, change to dark brown. (15)
sc around, change to sand. (15)
sc around, change to dark brown. (15)
sc around, change to sand. (15)
sc around, change to dark brown. (15)
sc around. (15)
(3 sc, dec) around. (12)Finish off, leaving a long tail for sewing.
Begin with rust.
6 sc in MR. (6)
6 inc. (12)
(sc, inc) around. (18)
(2 sc, inc) around. (24)
(3 sc, inc) around. (30)
(4 sc, inc) around. (36)
Attach the legs in this round. Fold the left leg in half and work through both layers of the leg together with the body: (5 sc, inc) across the left leg and body, (5 sc, inc) twice, then repeat for the right leg: (5 sc, inc) across the right leg and body, (5 sc, inc) twice. (42)
sc around. (42)
Begin attaching the tail. Fold the tail in half and work through both layers: 31 sc, 3 sc across the tail and body (leave the remaining 3 tail stitches unworked for now), 8 sc. (42)
sc around. (42)
Continue attaching the tail’s remaining 3 stitches: 34 sc, 3 sc across the tail and body, 5 sc. (42)
sc around. (42)
(5 sc, dec) around. (36)
sc around. (36) Begin stuffing the body firmly. Continue stuffing as you work.
(4 sc, dec) around. (30)
sc around. (30)
(3 sc, dec) around. (24)
Change to dark brown. sc around. (24)
(2 sc, dec) around. (18)
Attach the arms in this round. Fold the left arm in half and work through both layers: sc, 5 sc across the left arm and body, 4 sc, then fold the right arm and work: 5 sc across the right arm and body, 3 sc. Check that both arms sit symmetrically with the legs; work a few offset stitches to correct placement if needed. (18)
(4 sc, dec) around. (15)
sc around. (15)Finish off, leaving a long tail for sewing.
Sew the eyes between Rounds 6 and 7: the left eye between the two sc of the first increase of Round 6, and the right eye between the two sc of the last increase of Round 6. Bring your needle out at the bottom-center of the head, thread on the eye, and pull the anchor thread tight to seat the eye at your desired depth before knotting off inside the head.
Embroider the lower eyelid in white thread and the upper eyelid in black thread for a lively, expressive look.
Embroider the nose as a small triangle in black thread, with the bottom edge one round above the magic ring and the top edge two rounds above that. Add a short vertical line beneath the nose.
Embroider soft eyebrows above each eye using white plush yarn.
| Rounds | 80 |
|---|---|
| Parts | 7 |
| Level | Intermediate |
| Time | 4-6 hours |
| Hook | 4 mm |
| Yarn | Worsted |
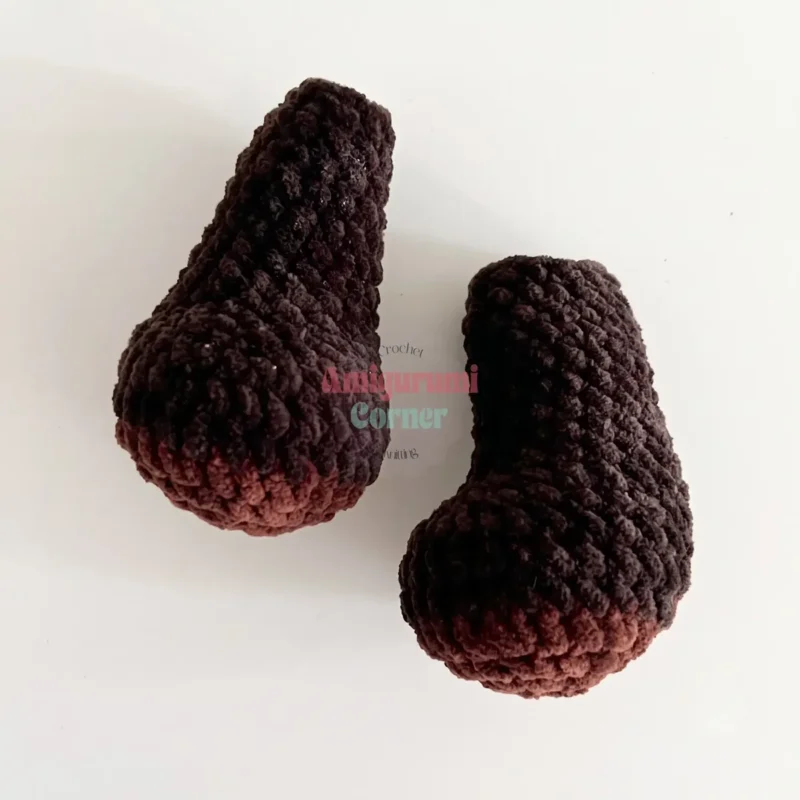
The Legs begin with 7 sc rather than 6, then increase every round through Round 4 to reach 28 stitches — a wider base shaping that gives the legs enough circumference to stand the finished body upright.
| Head | about 60-75 minutes because it runs 18 rounds and includes a color change from white to rust partway through |
|---|---|
| Body, Legs, and Arms | about 90-120 minutes total because the Body alone is 22 rounds and the paired Legs and Arms each need two matching copies |
| Tail, Ears, and finishing | about 45-60 minutes because the Tail's 13 rounds carry the sand stripe, and assembly includes sewing Ears in place, closing the Head to the Body, and embroidering face and claw details |
Every one was taken by whoever published the pattern, in the order the source listed them.
These answers came from whoever first published the pattern, kept word for word.