
Intermediate
What the pattern's own author called it. Nothing here is graded again.
 Crochet·Rituals
Amigurumi 38 Laid out for paper No account, no download
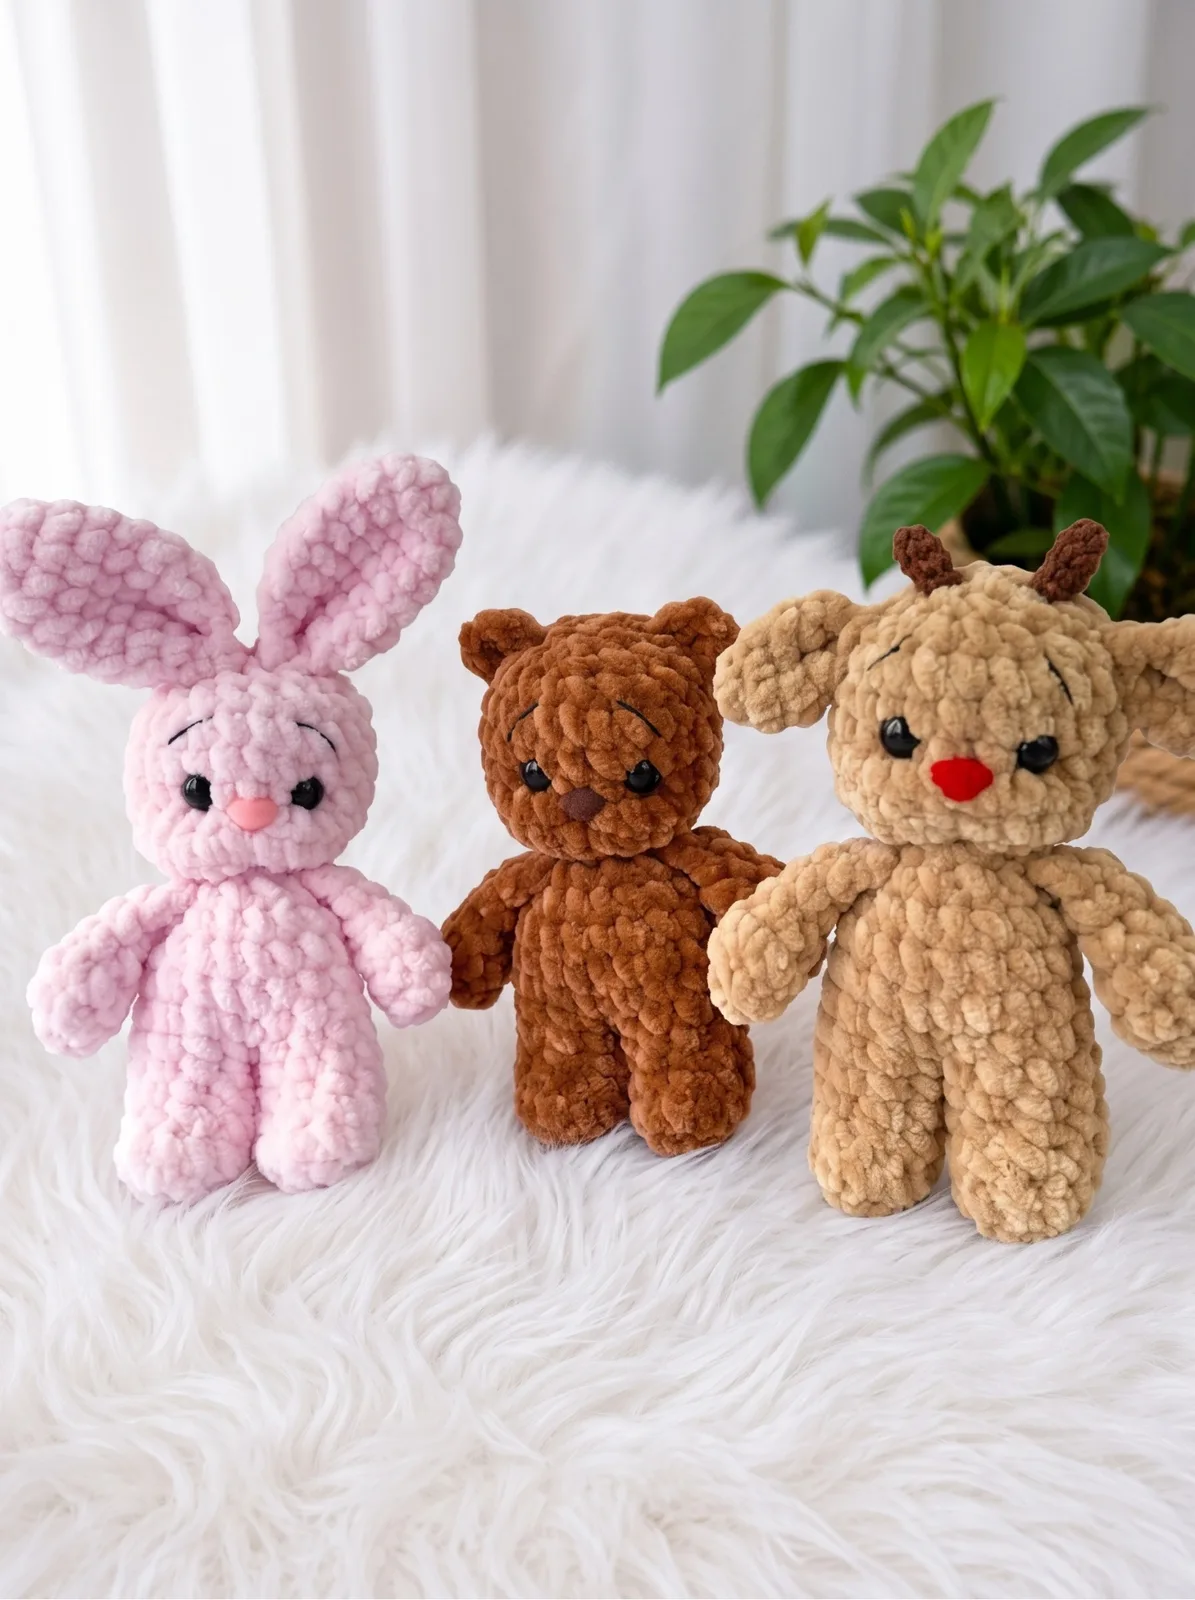
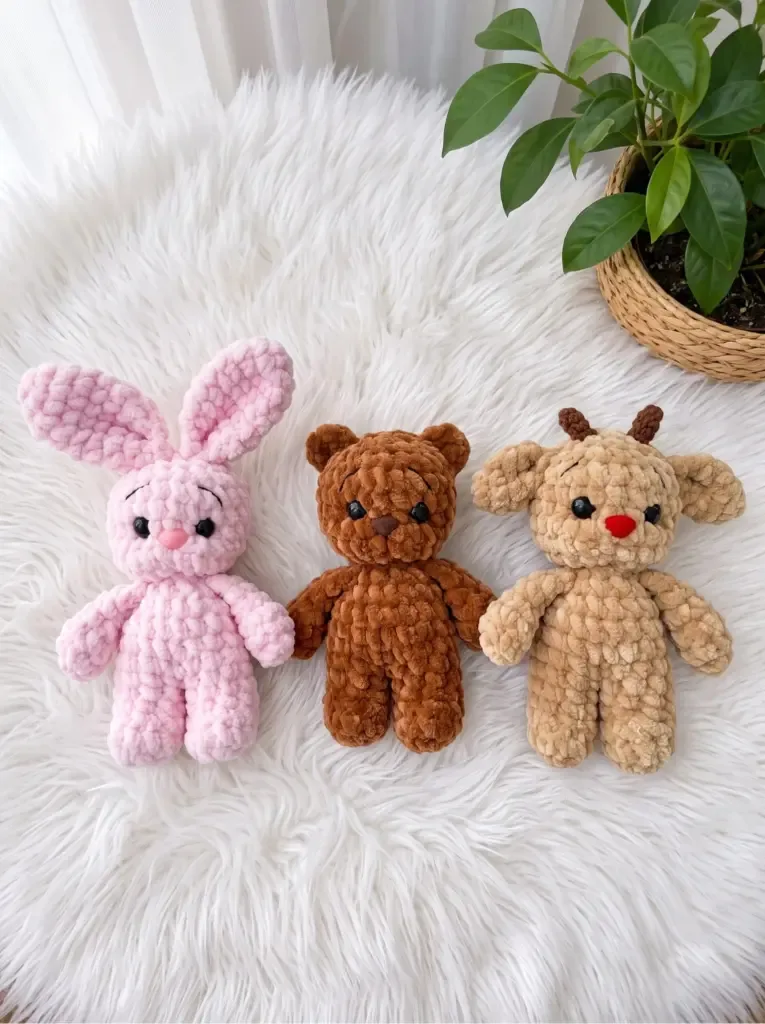
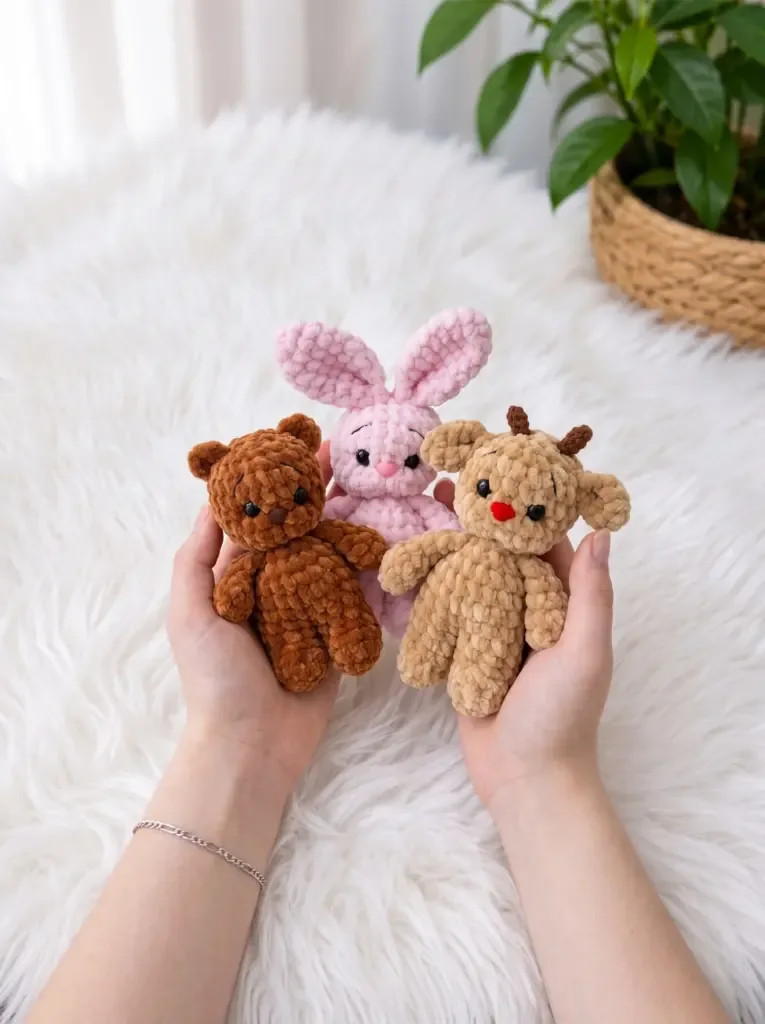
A mini amigurumi trio: bunny, bear, deer, worked in rounds with a US G-6 / 4.0 mm hook.
Crochet Rituals · retyped from the source and laid out for print · added 15 Sep 2026
What the pattern's own author called it. Nothing here is graded again.

What the sample was worked in. Any weight works; the size moves with it.

Each one is typed out whole and gets its own line.
This trio builds from the same small parts — a six-round Head, two five-round Legs, two six-round Arms, a four-round Body, and a two-round Tail — with Bunny Ears at eight rounds, Bear Ears at a single round, or Deer Ears at four rounds (plus a pair of four-round Antlers) swapped in depending on the animal. Every piece works in a continuous spiral in bulky chenille, with brown DK-weight cotton reserved for antlers and black for embroidered eyebrows. Before picking up the hook, have both yarn weights, safety eyes, a safety nose, polyfill, and a stitch marker within reach, since no round is joined and the marker is the only way to track where each one starts. Finished size is approximately 13 cm (5 in) tall, not including ears or antlers.
Listed by the pattern's own author, in their words.
Key to this pattern, 9 short forms
8 inc in MR. (16)
sc, inc repeat 8 times around. (24)
sc in each st around. (24)After Round 5, insert 10 mm safety eyes between Rounds 5 and 6. Insert the 11 × 8 mm safety nose between Rounds 4 and 5.
sc in each st around. (24)
2 sc, dec repeat 6 times around. (18)
sc, dec repeat 6 times around. (12)Close the head by continuing to decrease until the opening is shut. Fasten off and weave in ends.
Foundation: Chain 4. Starting in the 2nd chain from the hook:
2 sc along one side, then 4 sc in the last ch; continue along the opposite side with 2 sc, then 4 sc in the first ch. (12)
sc in each st around. (12)
2 sc, dec 3 times, 4 sc. (9)
sc in each st around. (9)
sc in each st around. (9)For the Right Leg: fasten off, leaving a short tail. Set aside.For the Left Leg: after Round 5, work 6 additional sc, then join the Right Leg directly to the Left Leg to begin the Body.
6 sc in MR. (6)
sc, inc repeat 3 times around. (9)
sc in each st around. (9)
sc, dec repeat 3 times around. (6)
sc in each st around. (6)
sc in each st around. (6)Flatten the arm and work 3 sc through both layers to close. Sl st and fasten off. Do not stuff the arms.
The body begins directly from the legs. After joining the Right Leg to the Left Leg (see Legs section):
Work 9 sc across the Right Leg, then 9 sc across the Left Leg. Use the yarn tail from the Right Leg to close the gap between the two legs. Fasten off that tail. Place a stitch marker at the beginning of the round. (18)
sc in each st around. (18)
sc, dec repeat 6 times around. (12)Attach arms on the next round:
2 sc, then work 3 sc joining the first arm (inserting your hook through the body stitch and the corresponding arm stitch simultaneously), 3 sc across the body, then work 3 sc joining the second arm in the same way. Do not complete the round — move the stitch marker to mark the new beginning of round. Stuff the legs and body firmly before continuing.
sc, dec repeat 4 times around. (8)Fasten off, leaving a long tail to sew the head onto the body.
6 sc in MR. (6)
sc in each st around. (6)Fasten off, leaving a long tail. Sew the tail to the back of the body.
6 sc in MR. (6)
inc in each st around. (12)
sc in each st around. (12)
sc in each st around. (12)
5 sc, inc repeat 2 times around. (14)
sc in each st around. (14)
sc in each st around. (14)
5 sc, dec repeat 6 times around. (12)Flatten the ear and work 6 sc through both layers. Fold in half again and work 3 more sc through both layers. Sl st and fasten off, leaving a long tail for sewing.
6 sc in MR. (6)Sl st to close. Fasten off, leaving a long tail for sewing.
6 sc in MR. (6)
2 sc, inc repeat 2 times around. (8)
sc in each st around. (8)
sc in each st around. (8)Flatten and work 4 sc through both layers. Fold in half again and work 2 sc through both layers. Sl st and fasten off, leaving a long tail for sewing.
Work in brown DK-weight cotton-blend yarn.
6 sc in MR. (6)
sc in each st around. (6)Fasten off, leaving a long tail for sewing.
Once the head is complete and stuffed, shape the muzzle and eye area using the yarn tail or a length of matching yarn:
Insert your needle at the center front of the neck (point 1) and bring it out at the outer corner of one eye (point 2).
Re-insert at the inner corner of the same eye (point 3) and bring the needle back out at point 1.
Repeat for the second eye.
Pull both yarn ends gently to create a subtle eye indent, then secure and hide the ends inside the head.
Thread one end of yarn under the safety nose and bring it out at the center back of the neck to pull the nose inward slightly.
Bring both ends together, knot securely, and hide inside the head.
Using black embroidery thread, embroider small eyebrows above the safety eyes.
| Rounds | 38 |
|---|---|
| Parts | 10 |
| Level | Intermediate |
| Time | 4-6 hours |
| Hook | 4.0 mm |
| Yarn | Bulky |
All of the Head's shaping happens in the first two rounds — 8 inc in a magic ring to 16 stitches, then an sc/inc repeat to 24 — after which Rounds 3 through 6 work even, so the rounded crown forms early and the rest of the Head is a straight tube.
The Legs start from a chain of 4 rather than a magic ring, worked 2 sc along one side and 4 sc into each end, which produces a flat oval foot base before Round 3 decreases it down to 9 stitches to shape the leg.
| Head, face shaping, and embroidery | about 45-60 minutes because the crown shapes twice in the first two rounds and the eyebrows need careful embroidery afterward |
|---|---|
| Legs and Arms (each made in pairs) | about 40-50 minutes because each piece is worked twice — 5 rounds for Legs, 6 for Arms — before stuffing |
| Body, Ears, Tail, and assembly | about 45-60 minutes because the 4-round Body, chosen Ear set, and Tail all need whipstitching in place and stuffing checked as you go |
Every one was taken by whoever published the pattern, in the order the source listed them.
These answers came from whoever first published the pattern, kept word for word.