
Beginner
What the pattern's own author called it. Nothing here is graded again.
 Crochet·Rituals
Blankets 16 Laid out for paper No account, no download
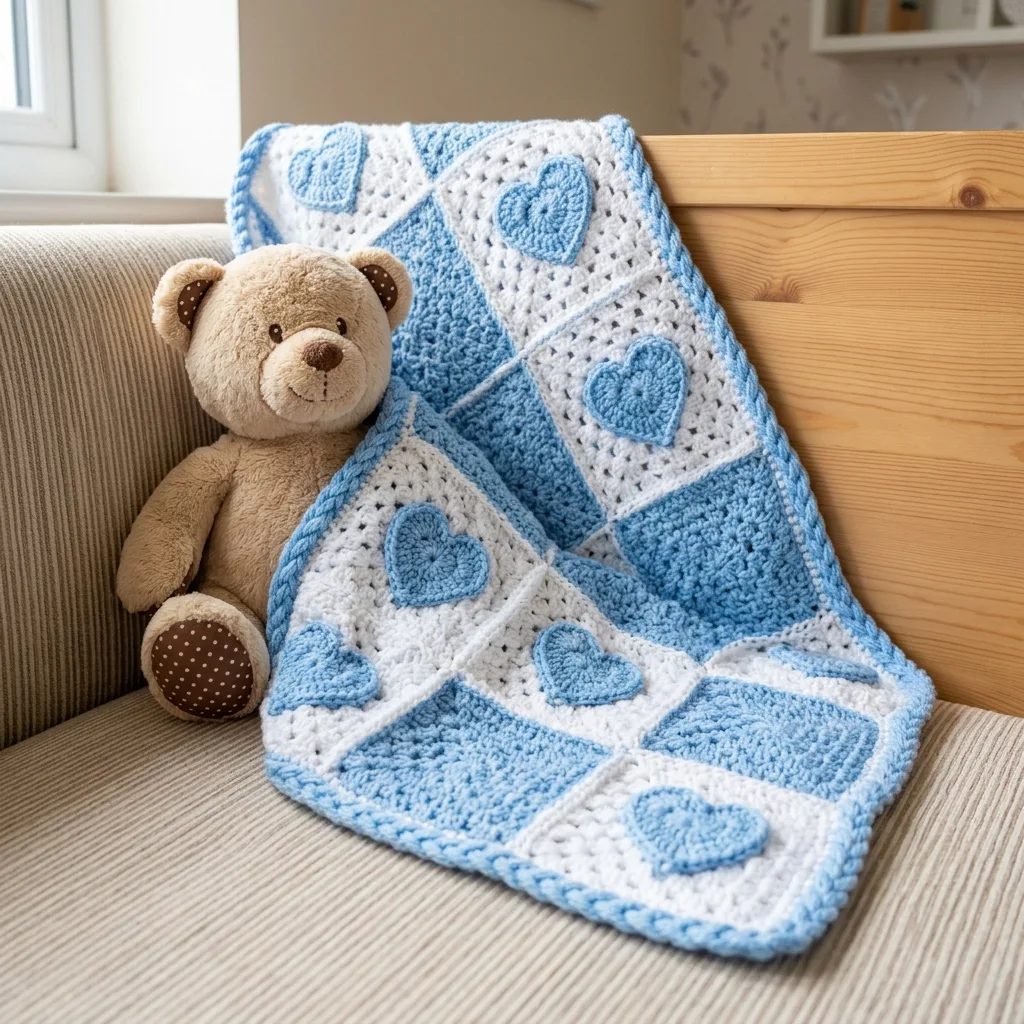
A 20-square granny blanket with heart appliqués, 5.0mm hook, finished 22x28 in.
Crochet Rituals · retyped from the source and laid out for print · added 1 Oct 2026
What the pattern's own author called it. Nothing here is graded again.

What the sample was worked in. Any weight works; the size moves with it.

Each one is typed out whole and gets its own line.
This blanket is built from 20 granny squares, worked in light blue and white and joined into a 4 by 5 grid before a four-round border ties the whole piece together. Small heart motifs, worked flat and shaped with simple increases, are whip stitched onto chosen white squares once the border is finished. Have worsted weight yarn in both colors on hand, a 5.0mm hook, and a tapestry needle for joining and sewing. The result is a stroller-size piece, finished around 22 by 28 inches.
Listed by the pattern's own author, in their words.
Key to this pattern, 9 short forms
One completed granny square should measure approximately 5 inches (12.5 cm) square after blocking. Your gauge may vary slightly, which will affect the final blanket size.
Finished Measurements
This blanket consists of 20 granny squares arranged in a 4 by 5 grid. The finished dimensions are approximately 22 inches wide by 28 inches long (56 cm by 71 cm), making it perfect for strollers, car seats, or tummy time.
Skill Level
This beginner friendly crochet pattern is perfect for those who have mastered basic stitches and want to try their first motif project. If you can chain, single crochet, and double crochet, you have all the skills you need.
Abbreviations and Stitch Definitions Let me walk you through every stitch you will use in this pattern:
Ch (Chain): The foundation stitch. Yarn over, pull through the loop on your hook. Think of it like creating links in a chain.
Sl st (Slip Stitch): Insert hook, yarn over, pull through both the stitch and the loop on your hook in one motion. Used for joining rounds.
Sc (Single Crochet): Insert hook, yarn over and pull up a loop (2 loops on hook), yarn over and pull through both loops. A short, tight stitch.
Dc (Double Crochet): Yarn over, insert hook, yarn over and pull up a loop (3 loops on hook), yarn over and pull through 2 loops (2 loops remain), yarn over and pull through remaining 2 loops. This creates a taller stitch and is the main stitch in granny squares.
3-dc cluster: Work 3 double crochets into the same stitch or space. This forms the signature "puff" of granny square construction.
Ch-2 sp (Chain 2 Space): The gap created by chaining 2. You will work into these spaces, not into individual stitches.
Corner space: The chain space at each corner of the granny square where you work two 3-dc clusters separated by a chain 2.
Pattern Notes Before You Begin
Read through the entire pattern first. I know that sounds tedious, but it really helps you understand how everything fits together.
All squares are worked in the round from the center outward. You can work in a spiral without joining, but I prefer joining each round for neater results. The choice is yours.
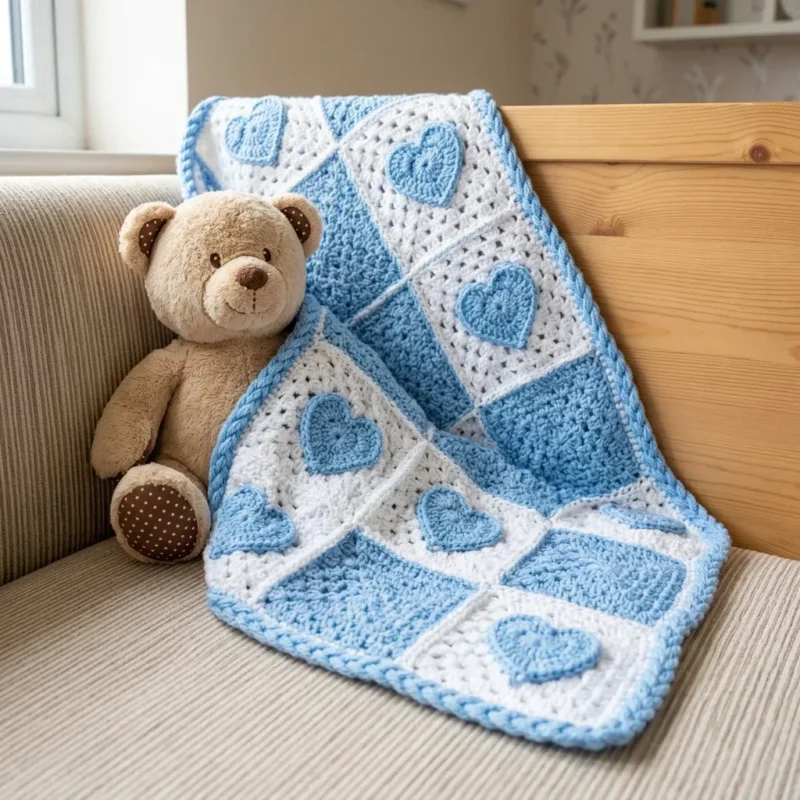
The blanket shown alternates between solid blue squares, solid white squares, and white squares with blue heart appliqués. You will make:
10 blue granny squares 10 white granny squares 12 blue heart appliqués (placed on select white squares)
When counting your granny squares, remember that each corner has a ch-2 space flanked by two 3-dc clusters. Each side has a consistent number of 3-dc clusters depending on how many rounds you work.
How to Crochet the Granny Squares Blue Granny Square (Make 10)
Using blue yarn, make a magic ring (or ch 4 and sl st to first ch to form a ring). Ch 3 (counts as first dc throughout), work 2 dc into ring, ch 2, *3 dc into ring, ch 2* repeat 3 more times. Sl st to top of beginning ch-3 to join. (4 corner spaces, 12 dc total)
Sl st across to first corner ch-2 space. Ch 3, 2 dc in same space, ch 1, (3 dc, ch 2, 3 dc) in same corner space. *Ch 1, (3 dc, ch 2, 3 dc) in next corner space* repeat around. Ch 1, sl st to top of beginning ch-3. (4 corners with ch-2 spaces, 4 ch-1 spaces on sides, 24 dc total)
Sl st to corner space. Ch 3, 2 dc in same space, ch 2, 3 dc in same corner space. *Ch 1, 3 dc in next ch-1 space, ch 1, (3 dc, ch 2, 3 dc) in corner space* repeat around. End with ch 1, 3 dc in last ch-1 space, ch 1, sl st to beginning ch-3. (4 corners, 8 side clusters, 36 dc total)
Sl st to corner space. Ch 3, 2 dc in same space, ch 2, 3 dc in same corner. *Ch 1, 3 dc in each ch-1 space across side, ch 1, (3 dc, ch 2, 3 dc) in corner* repeat around. Sl st to join. (4 corners, 12 side clusters, 48 dc total)Fasten off and weave in ends. Block square to 5 inches.
White Granny Square (Make 10)
Follow the exact same instructions as the blue square, but use white yarn throughout all 4 rounds.
Fasten off and weave in ends. Block to 5 inches.
How to Crochet the Heart Appliqués These sweet little hearts are simpler than they look. Do not be intimidated by the shape.
Blue Heart (Make 12)
Starting at the bottom point: Using blue yarn, ch 2.
Work 2 sc in second ch from hook. Turn. (2 sts)
Ch 1, 2 sc in first st, 2 sc in second st. Turn. (4 sts)
Ch 1, 2 sc in first st, sc in next 2 sts, 2 sc in last st. Turn. (6 sts)
Ch 1, 2 sc in first st, sc in next 4 sts, 2 sc in last st. Turn. (8 sts)
Ch 1, 2 sc in first st, sc in next 6 sts, 2 sc in last st. Turn. (10 sts)
Ch 1, sc in first 5 sts. Turn, leaving remaining stitches unworked. (5 sts)
You are now working on the first bump of the heart.
Ch 1, skip first st, sc in next 3 sts, skip last st. Turn. (3 sts)
Ch 1, skip first st, sc in next st, skip last st. (1 st) Fasten off. Second bump: Join yarn with sl st in 6th stitch of Row 5 (the first unworked stitch). Ch 1, sc in same st and remaining 4 sts. Turn. (5 sts)Repeat Rows 7 and 8 to complete the second bump.Fasten off, leaving a long tail for sewing.
Assembling Your Baby Blanket
Now comes the satisfying part. Lay out your squares in a 4 by 5 grid, alternating colors in a checkered pattern. Play around with the arrangement until you are happy.
Joining Method I recommend the single crochet join for durability and a clean look.
Hold two squares together with right sides facing. Using white yarn, insert hook through both corner spaces. Sl st to join yarn. Ch 1, then work sc through both layers across the edge, working into corresponding stitches on each square.
When you reach the corner, fasten off or continue to the next seam if you are working in rows.
Join all squares into strips first (4 squares each), then join the strips together to form the blanket.
Join blue yarn in any corner. Ch 1, work 3 sc in corner space. Sc evenly around the entire blanket, working 3 sc in each corner and approximately 3 sc per granny cluster along the sides. Sl st to join.
Ch 1, sc in each st around, working 3 sc in each corner stitch. Sl st to join.
Ch 3, dc in each st around, working 3 dc in each corner. Sl st to join.
Repeat Round 2.Fasten off and weave in all ends. Attaching the Heart Appliqués Pin hearts onto your chosen white squares before sewing. The blanket shown has hearts scattered across multiple squares, some centered and some slightly offset. Arrange them until the placement feels balanced.Using the long tail left on each heart, whip stitch around the edges to secure each heart to its square. Take small stitches and work slowly. Press gently with your fingers as you go to keep the heart flat.
Care Instructions
This blanket is designed for real life, which means it needs to be washable. Machine wash on a gentle cycle with cold water. Tumble dry on low or lay flat to dry. The acrylic yarn will hold up beautifully through countless washes.
Customization Ideas Want to make this crochet pattern your own? Here are some ideas:
Change the color scheme to pink and white for a girl, yellow and grey for a gender neutral option, or rainbow hearts on a cream background for something bold.
| Rounds | 16 |
|---|---|
| Parts | 3 |
| Level | Beginner |
| Time | 6-7 hours |
| Hook | 5.0 mm |
| Yarn | Worsted |
The border in Part 5 runs in four rounds directly around the assembled 4 by 5 grid rather than around each square separately, which is why the 3 sc/3 dc corner increases only fall at the four outer corners of the whole blanket.
Part 4 is worked flat in turned rows with increases at both ends of every row (2 sc in the first stitch, 2 sc in the last), the usual way to shape a curved heart lobe before it's appliquéd on rather than worked in the round.
| Granny squares (20 total) | about 4-5 hours, because each of the 20 squares has to be worked and blocked to the same 5-inch gauge. |
|---|---|
| Heart appliqués (Part 4) | about 1 hour, because each heart is worked flat in multiple rows with increases at both ends, a small project in itself per heart. |
| Border and attaching hearts (Part 5) | about 1 to 1.5 hours, because the border runs four rounds around the entire joined blanket, plus hand whip stitching for each heart. |
Every one was taken by whoever published the pattern, in the order the source listed them.

These answers came from whoever first published the pattern, kept word for word.