
Intermediate
What the pattern's own author called it. Nothing here is graded again.
 Crochet·Rituals
Accessories 6 Laid out for paper No account, no download
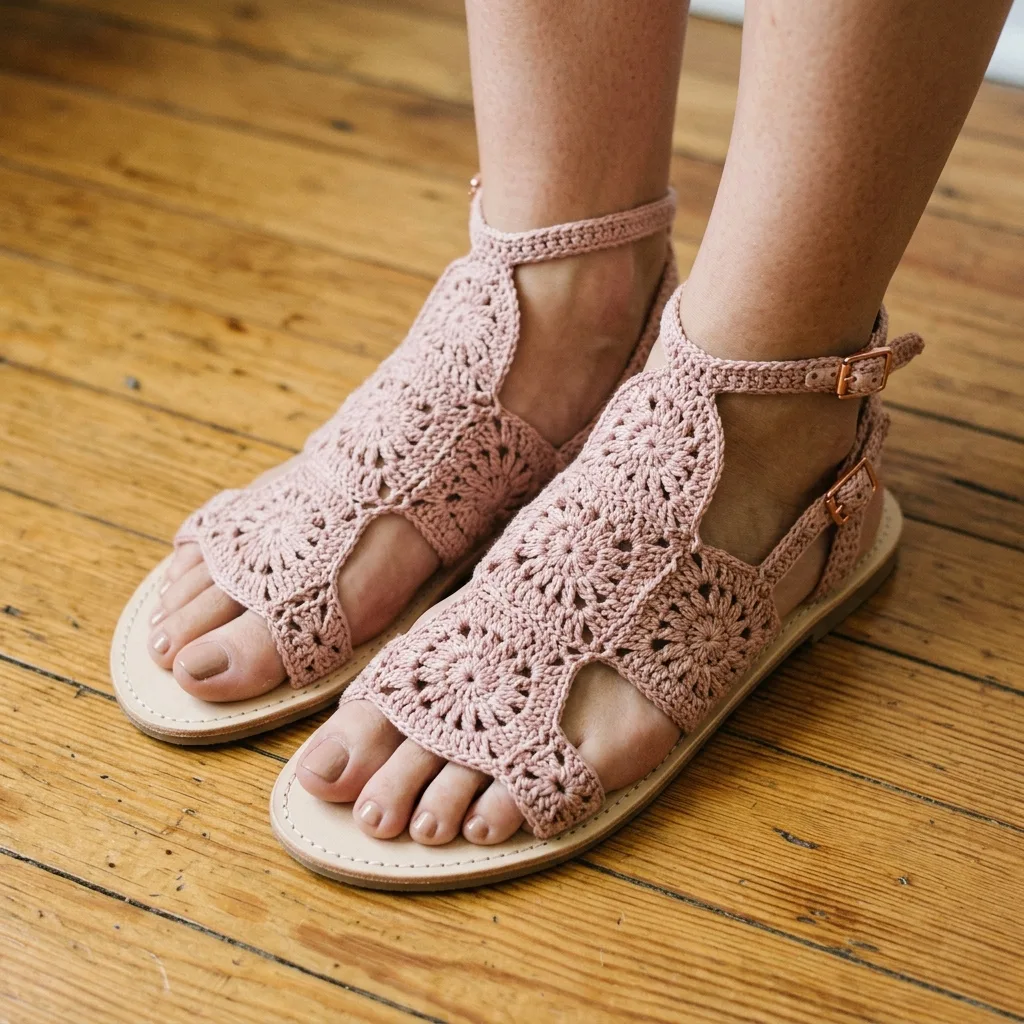
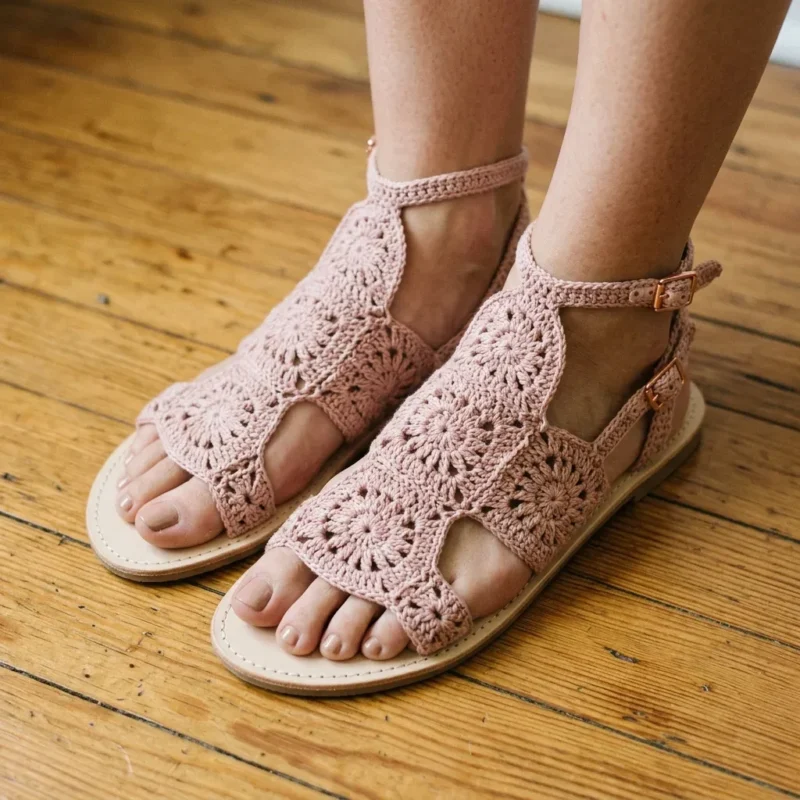
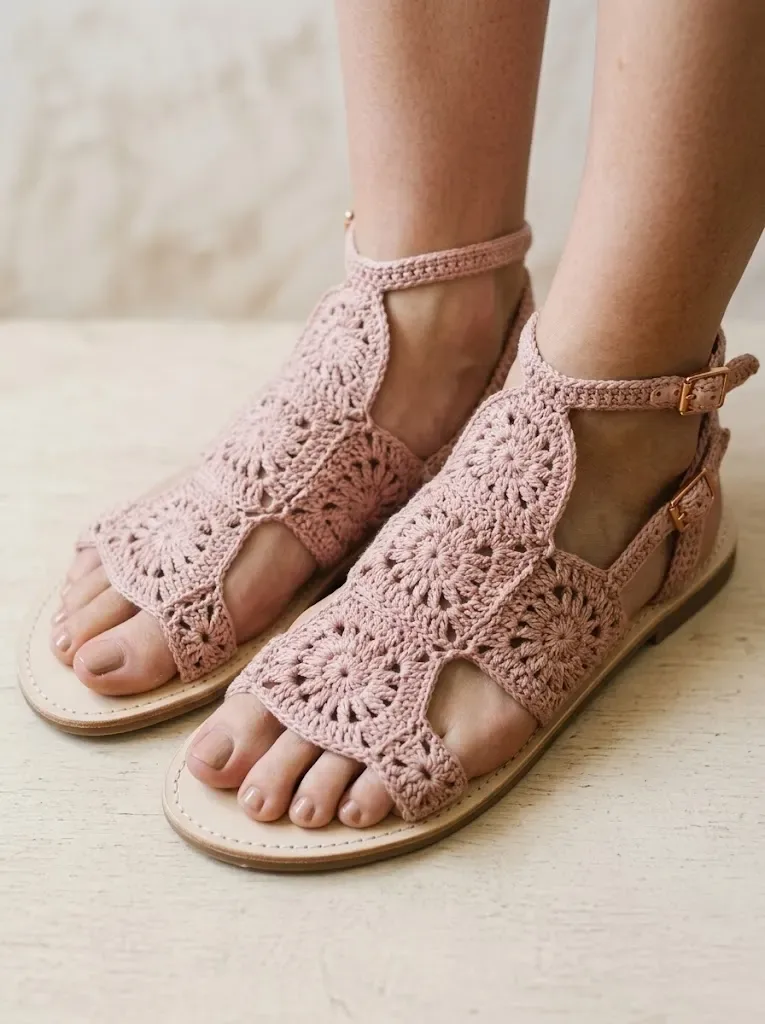
Floral crochet sandals in DK cotton, 3.5mm hook, built from joined 2-inch motifs and a flat strap.
Crochet Rituals · retyped from the source and laid out for print · added 18 Oct 2026
What the pattern's own author called it. Nothing here is graded again.

What the sample was worked in. Any weight works; the size moves with it.

Each one is typed out whole and gets its own line.
These sandals pair crocheted floral motifs with pre-made leather or faux-leather soles and buckle ankle straps. Each motif works up in DK weight cotton to a fixed two-inch diameter, then joins with its neighbors to cover the sole and curve around the toe. A separate flat strip, worked in single crochet rows, forms the ankle strap. Have cotton yarn, a 3.5mm hook, sandal soles, a leather punch or awl, and strong thread or waxed cord on hand before starting, along with at least four stitch markers for tracking motif joins.
Listed by the pattern's own author, in their words.
Key to this pattern, 9 short forms
Pre-made leather or faux leather sandal soles with buckle ankle straps (available at craft stores or online shoe supply shops)
Tapestry needle for weaving ends Stitch markers (at least 4)
Leather punch or awl for creating holes in soles if not pre-punched Strong thread or waxed cord for attaching crochet to soles
Sharp scissors Gauge One completed floral motif should measure 2 inches (5 cm) in diameter after blocking.
Gauge matters here because your motifs need to fit together properly and cover the sandal sole correctly. Make one test motif before starting. If it’s too large, go down a hook size. If it’s too small, go up a hook size.
Abbreviations and Stitch Definitions
Let me walk you through every stitch you’ll need. I’ll define each one completely so there’s no guessing.
ch = chain: Yarn over, pull through loop on hook. This creates the foundation for most crochet work.
sl st = slip stitch: Insert hook into stitch, yarn over, pull through both the stitch and the loop on your hook in one motion. Used for joining and moving across stitches invisibly.
sc = single crochet: Insert hook into stitch, yarn over and pull up a loop (2 loops on hook), yarn over and pull through both loops. The shortest and tightest basic stitch.
hdc = half double crochet: Yarn over, insert hook into stitch, yarn over and pull up a loop (3 loops on hook), yarn over and pull through all 3 loops. Slightly taller than single crochet.
dc = double crochet: Yarn over, insert hook into stitch, yarn over and pull up a loop (3 loops on hook), yarn over and pull through 2 loops (2 loops remain), yarn over and pull through remaining 2 loops. A tall, versatile stitch.
tr = treble crochet: Yarn over twice, insert hook into stitch, yarn over and pull up a loop (4 loops on hook), [yarn over, pull through 2 loops] 3 times. The tallest stitch used in this pattern.
shell = a group of stitches worked into the same stitch or space, creating a fan shape. In this pattern, shells are typically 5 dc in the same space.
magic ring = an adjustable starting loop that can be pulled tight to close the center hole completely. Also called magic circle or adjustable ring.
Special Techniques Magic Ring
If you’ve never made a magic ring, here’s how: Wrap yarn around your fingers to form a loop with the tail behind. Insert your hook through the loop, yarn over with the working yarn, and pull up a loop. Chain 1 to secure, then work your first round stitches into that ring. When finished, pull the tail to close the center hole tightly.
Join-As-You-Go
Instead of making all motifs separately and sewing them together, you’ll connect each new motif to the previous ones during the final round. This creates a stronger join and saves time.
Pattern Instructions Floral Motif (Make 10 for Each Sandal)
You’ll need 20 total motifs for both sandals. Each motif creates one "petal" section of the sandal upper.
Make a magic ring. Ch 3 (counts as first dc throughout), work 11 dc into the ring. Sl st to top of ch-3 to join. Pull magic ring closed. (12 dc)
Ch 3, dc in same stitch as join. Work 2 dc in each stitch around. Sl st to top of ch-3 to join. (24 dc)
Ch 1, sc in same stitch. *Ch 3, skip 2 dc, sc in next dc.* Repeat from * to * around, ending with ch 3, sl st to first sc. You should have 8 ch-3 spaces. (8 ch-3 spaces)
Sl st into first ch-3 space. Ch 3, work 4 dc in same space (first shell made). *Work 5 dc in next ch-3 space (shell made).* Repeat from * to * in each remaining ch-3 space. Sl st to top of ch-3 to join. (8 shells, 40 dc total)Fasten off, leaving a 6-inch tail for weaving.
Joining Motifs
The sandal upper consists of motifs arranged in a specific configuration. Think of it as building blocks.
Toe Band: 2 motifs joined side by side horizontally Middle Section: 4 motifs arranged in a 2×2 square, joined to the toe band
Upper Section: 4 motifs arranged in a curved pattern to create the gladiator look How to Join During Round 4
When making your second motif and beyond, you’ll join to adjacent motifs during Round 4 instead of completing shells independently.
Work the shell until you reach the joining point. Complete 2 dc of your shell, then remove hook from loop. Insert hook through the center dc of the corresponding shell on the adjacent motif (from front to back), pick up your dropped loop, and pull through. Complete the remaining 2 dc of your shell. Continue working shells until the next joining point.
For corner joins where multiple motifs meet, you’ll join through multiple motifs at once. This sounds complicated, but once you do it, you’ll see how intuitive it becomes.
Toe Band Assembly
Join 2 motifs side by side using the joining method above. You’ll join through 2 adjacent shells where the motifs touch, leaving 6 shells unjoined on each motif for the outer edges.
Middle Section Assembly
Create a 2×2 square of 4 motifs. Join each motif to its neighbors through 2 shells on each adjoining side. Then join the top of this square to the bottom of your toe band. You’re essentially building upward from the toes.
Upper Section Assembly
The remaining 4 motifs create the gladiator height and curved silhouette. Arrange them in a gentle arc, joining where they touch. This section attaches to the top of the middle section.
Place your joined motif piece on top of your sandal sole to check positioning before moving forward. The toe band should sit just behind where your toes begin, with the upper section curving up toward the ankle.
Ankle Strap (Make 2)
The crocheted ankle strap extends from each side of the sandal upper and loops through the buckle hardware on your pre-made sole.
Ch 6. Sc in second ch from hook, sc in each remaining ch. Turn. (5 sc)
45 Ch 1, sc in each sc across. Turn. (5 sc) This creates a strap approximately 9 inches long. Adjust length by adding or removing rows.Fasten off, leaving a long tail.
Attaching the Upper to the Sole This is where your sandals really come together.
Step 1: Position your joined motif piece on top of the sandal sole. The toe band should curve around the front, and the upper section should arc toward the ankle area.
Step 2: Using your leather punch or awl, create small holes around the edge of the sole approximately every half inch where you’ll attach the crochet. If your soles came pre-punched, even better.
Step 3: Thread your tapestry needle with strong thread or waxed cord. Whip stitch the outer edge of your crochet piece to the sole, going through both the punched holes and the edge stitches of your motifs.
Step 4: Attach one end of each ankle strap to the sides of the upper section where it meets the middle section. Secure firmly with whip stitches.
Step 5: Thread the other end of each ankle strap through the buckle hardware on your pre-made sole. Fold under and stitch to secure, or leave loose for adjustability.
Finishing
Weave in all yarn ends using your tapestry needle. Weave each tail through at least 2 inches of stitches, going back and forth to lock it in place.
Blocking: Lightly dampen your completed sandals and stuff the toe area with tissue paper to help the motifs hold their shape while drying. This step isn’t mandatory, but it gives a more polished look.
Tips for Success
Cotton yarn is non-negotiable. Acrylic will stretch out and lose shape within a few wears. Cotton holds up beautifully and actually softens with wear while maintaining structure.
Test your joins before committing. After making your first two motifs and joining them, lay them on your sandal sole to make sure the sizing works. This is much easier to adjust early than after you’ve made all 20 motifs.
Don’t skip the blocking. Even a light steam blocking helps your shells puff out evenly and makes the whole piece look more professional.
Pre-made soles save so much time. You can find sandal soles with hardware already attached at craft stores, leather supply shops, or online. Some even come with punched holes. These are worth every penny for a cleaner finished look.
Customization Ideas
Color variations: Try white for a bridal look, tan for a natural vibe, or navy for something unexpected.
| Rounds | 6 |
|---|---|
| Parts | 2 |
| Level | Intermediate |
| Time | 4-6 hours |
| Hook | 3.5 mm |
| Yarn | DK |
Motifs are built to a fixed 2-inch diameter gauge so a set of them tiles across the sole surface without gaps once joined.
The ankle strap is worked flat in straight rows (a 5 sc base repeated across rows 2-45) rather than in the round, which produces a plain strip about 9 inches long for wrapping the ankle.
| Floral motifs | about 2-3 hours because each motif must hold a precise 2-inch gauge and several are needed to cover one sole |
|---|---|
| Ankle strap | about 1 hour because the strap is 45 rows of plain single crochet worked flat |
| Attaching to soles | about 1 hour because holes must be punched or checked, aligned, and stitched with waxed cord |
Every one was taken by whoever published the pattern, in the order the source listed them.
These answers came from whoever first published the pattern, kept word for word.