Skip to the patterns
Crochet·Rituals
Menu

Amigurumi 10 Laid out for paper No account, no download

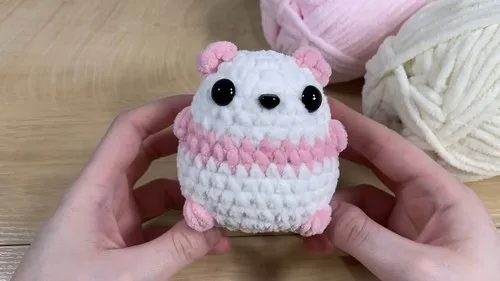
Crochet amigurumi panda with a no-sew bobble face

Amigurumi panda crocheted in the round with bobble-stitch face shaping and a 5.5 mm hook, no sewing on separate pieces.

Jump to the rounds Pin it
Crochet amigurumi panda with a no-sew bobble face
Amigurumi · Worsted
Skill
Intermediate
Time
4-6 hours
Yarn weight
Worsted
Hook
5.5 mm
Rounds
10

Intermediate

What the pattern's own author called it. Nothing here is graded again.

Worsted

What the sample was worked in. Any weight works; the size moves with it.

10

Each one is typed out whole and gets its own line.

Amigurumi panda crocheted in the round with bobble-stitch face shaping and a 5.5 mm hook, no sewing on separate pieces.

Common mistakes and their fixes

Losing the round start marker
Move the stitch marker up at the end of every round from Round 2 onward. Without it, the bobble placement and the decrease rounds drift out of alignment.
Under-stuffing before the closing round
Add stuffing as the closing decrease round is being worked, not after it is finished. Once the round tightens, there is little room left to pack more in.

The materials list

  1. Yarn (black and white for the panda, pink for the blush)
  2. Crochet hook (5.5 mm)
  3. Darning needle
  4. Stitch markers or bobby pins
  5. Scissors
  6. 12 mm safety eyes
  7. 9 mm safety nose (or use black yarn to embroider them)
  8. Stuffing
  9. Sewing pins (optional, helps with ears placement)

Listed by the pattern's own author, in their words.

Key to this pattern, 2 short forms

Body

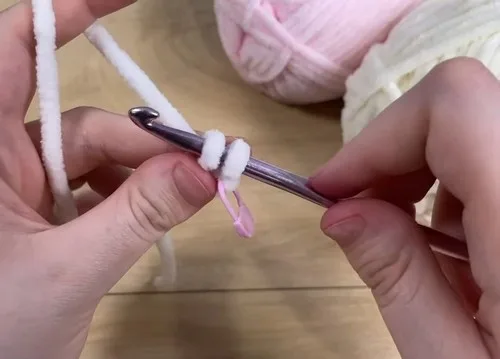
Starting with White Yarn: Make a slip knot.

Chain 2.

Round 1

Make 8 single crochets (SC) into the first chain. This is Round 1.Use a stitch marker to mark the first stitch of the next round.

Round 2

Increase Round Increase (2 SC in each stitch) around. You should have 16 stitches at the end of this round.

Round 3

Pattern: 1 SC, then increase in the next stitch. Repeat around. Total of 24 stitches.

Rounds 4–7

1 SC in each stitch around, maintaining 24 stitches each round.Round 8 (Introducing Black Yarn for Panda's "Pattern"): Change to black yarn before Round 8.

Round 8

Pattern: 6 SC, bobble stitch, 10 SC, bobble stitch, finish with 6 SC. Total of 24 stitches.

Round 9

Pattern: 2 SC, then increase in the next stitch. Repeat around.Switch back to white yarn towards the end of this round.

Rounds 10–13

1 SC in each stitch around, with a total of 32 stitches in each round.

Head Detailing

Round 14

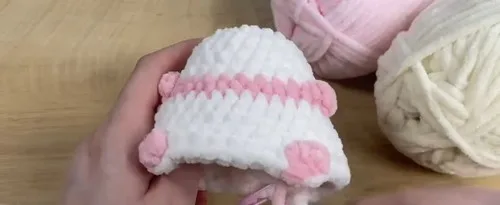
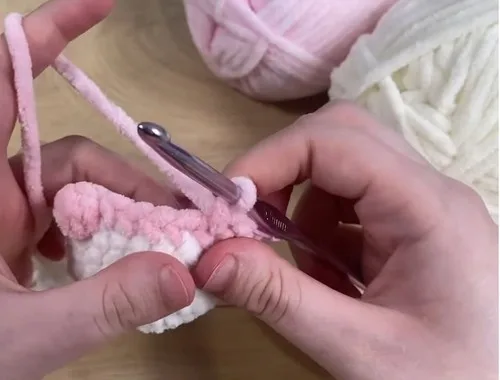
Start with 13 SC, then a bobble stitch with a color change to pink, 8 SC, another bobble stitch (in pink), and finish the round with 9 SC.

Round 15

Pattern: 2 SC followed by a decrease. Repeat this pattern around.

Round 16

Pattern: 1 SC, then a decrease. Repeat around.

Finishing Touches

Ears (Repeat for both ears)

Start with Black Yarn:

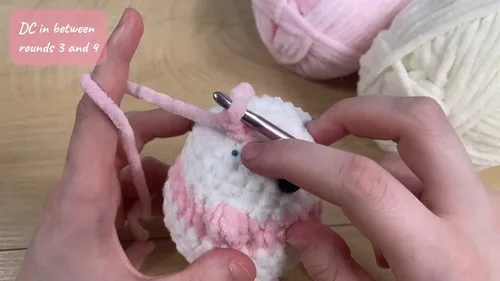
Attach yarn at the desired positions between Rounds 2 and 3 for one ear, and repeat the positioning for the other ear.

Chain 1, then make a double crochet in the same spot.

Make another double crochet in the space between Rounds 3 and 4.

Fasten off, leaving a long tail for sewing.

Use the tail to sew each ear onto the head.

Assembly, in order

Step 1Adding Safety Eyes and Nose: Place the safety eyes between Rounds 4 and 5, ensuring they are symmetrical.
Step 2Insert the safety nose in alignment with the eyes.
Step 3Round 17 (Closing the Head): Only perform decreases around to close the head.
Step 4Start stuffing the head more firmly now.
Step 5Finishing Off: Close off the remaining part by sewing it shut.
Step 6Weave in the ends securely.

Check these before you start

  • The pink bobble stitches sit at specific stitch counts within Round 14; keep the stitch marker moving each round so the bobble placement stays symmetrical on both sides of the face.
  • Stuff firmly and progressively rather than all at once, especially as the decrease rounds begin, so the head holds its shape once the final round closes.

On one line

Rounds10
Parts2
LevelIntermediate
Time4-6 hours
Hook5.5 mm
YarnWorsted

Set-up

  • Read through the bobble-stitch rounds once before starting the color changes, since the pink bobbles land mid-round and are easy to miscount if you are reading as you go.
  • Place a stitch marker at the start of Round 2 and move it up every round after that; losing track of the round start makes the later decrease rounds hard to close evenly.
  • Check that the 5.5 mm hook gives a tight enough gauge that stuffing will not show through the stitches, since this piece has no lining or backing fabric.

Finishing

  1. Weave in the tails left from the black and white color changes and from both sets of bobble stitches, hiding them inside the head before it closes fully.
  2. Stuff the head firmly as the closing decrease round is worked, adding more stuffing once that round is underway rather than waiting until it is finished.
  3. Sew the final opening shut, then thread pink yarn onto the darning needle and stitch a small blush area on each side of the face before securing and hiding those ends inside the head as well.

Construction

The face is built directly into the body rounds rather than added afterward: Round 14 places a bobble stitch with a pink color change partway through, so the eye patches are structural, not appliqued.

Increases are concentrated in Round 2, which doubles the stitch count from 8 to 16 right after the starting chain, setting the base diameter before the bobble-stitch rounds begin.

Time per section

Bodyabout 2-3 hours because it covers 17 rounds with two color changes and two bobble-stitch color sections to track
Earsabout 20-30 minutes total because each ear is a short, flat piece worked in just a few stitches
Finishing and face detailabout 1 hour because it includes placing safety eyes and nose, stuffing, closing the head, and stitching the pink blush by hand

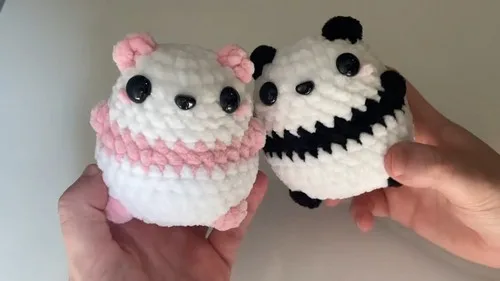
Photographs of this one

Every one was taken by whoever published the pattern, in the order the source listed them.
Crochet amigurumi panda with a no-sew bobble face — photo 2
Crochet amigurumi panda with a no-sew bobble face — photo 3
Crochet amigurumi panda with a no-sew bobble face — photo 4
Crochet amigurumi panda with a no-sew bobble face — photo 5
Crochet amigurumi panda with a no-sew bobble face — photo 6

Common questions

Where exactly do the pink bobble stitches go on the face?
They fall partway through Round 14, split by sections of single crochet on either side, so they land symmetrically once the round is complete. Keeping the stitch marker at the round start helps confirm the count before each bobble.
Can the eyes and nose be embroidered instead of using safety hardware?
Yes, black yarn can replace the 9 mm safety nose, and the eyes can be embroidered in the same black-yarn approach if preferred. The eye placement between Rounds 4 and 5 stays the same either way.
How firm should the stuffing be before closing the head?
Stuff firmly enough that the head holds a round shape once the closing decrease round is worked, adding more as that round tightens. A loosely stuffed head will look flat once the opening is sewn shut.

These answers came from whoever first published the pattern, kept word for word.