
Intermediate
What the pattern's own author called it. Nothing here is graded again.
 Crochet·Rituals
Amigurumi 14 Laid out for paper No account, no download
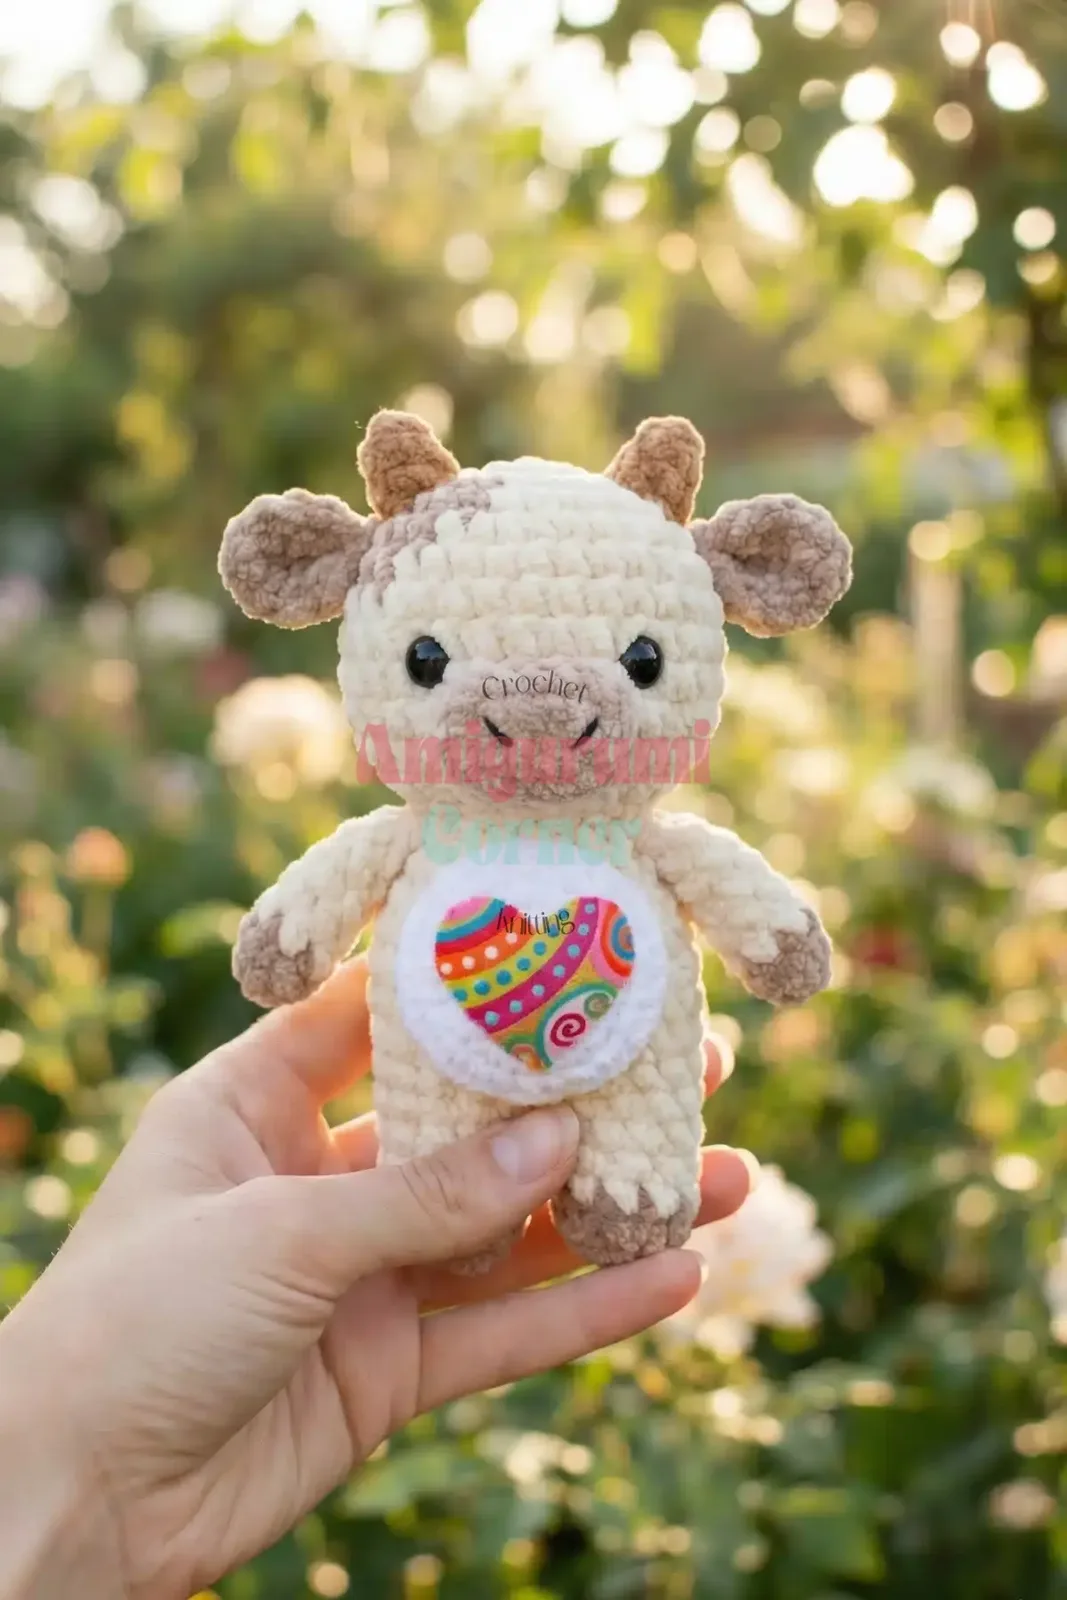
Amigurumi cow with heart belly badge: 13-round head, 5.0mm or 3.5mm hook, worsted or chenille yarn.
Crochet Rituals · retyped from the source and laid out for print · added 5 Oct 2026
What the pattern's own author called it. Nothing here is graded again.

What the sample was worked in. Any weight works; the size moves with it.

Each one is typed out whole and gets its own line.
This cow amigurumi is built from separate pieces — a 13-round head, a flat-started snout, small cupped ears, horns, legs, arms, a three-round body, a tail, and a belly badge finished with a heart in felt, embroidery, or fabric paint. The head shapes with increases through round 5, holds steady through rounds 6-11, then decreases to close, with 9mm or 12mm plastic eyes seated between rounds 8 and 9. Before starting, have the main color yarn (50-75g), the accent color (25-30g), the snout color (10g), and the badge color (15-20g) on hand, along with black embroidery thread and a hook matched to your yarn weight.
Listed by the pattern's own author, in their words.
Key to this pattern, 11 short forms
Make 1 in Main Color
6 sc in magic ring (6) Rnd 2: Inc in each st (12) Rnd 3: [Sc 1, inc] × 6 (18) Rnd 4: [Sc 2, inc] × 6 (24) Rnd 5: [Sc 3, inc] × 6 (30) Rnds 6-11: Sc in each st (30) [6 rounds] Rnd 12: [Sc 3, dec] × 6 (24)Insert safety eyes between rounds 8 and 9, approximately 5-6 stitches apart
[Sc 2, dec] × 6 (18)Stuff the head firmly
[Sc 1, dec] × 6 (12) Rnd 15: Dec × 6 (6)Fasten off, leaving a long tail for sewing. Use yarn needle to close remaining hole.
Make 1 in Snout Color
Ch 5. Starting in 2nd ch from hook, sc 3, 3 sc in last ch. Working on opposite side of chain: sc 2, inc in last st (10) Rnd 2: Inc, sc 2, [inc] × 3, sc 2, [inc] × 2 (16) Rnd 3: Sc in each st (16)Fasten off, leaving long tail. Stuff lightly and sew onto face centered between eyes.Using black embroidery thread, stitch two small nostrils and a curved smile line below the snout
Make 2 in Accent Color
6 sc in magic ring (6) Rnd 2: Inc × 6 (12) Rnds 3-4: Sc in each st (12) [2 rounds] Rnd 5: Dec × 6 (6)Do not stuff. Fasten off, leaving long tail. Flatten the opening and pinch the bottom slightly to create a cupped shape.
Make 2 in Accent Color
4 sc in magic ring (4) Rnd 2: [Sc 1, inc] × 2 (6) Rnds 3-4: Sc in each st (6) [2 rounds]Fasten off, leaving long tail. Stuff very lightly or use yarn tail only.
Make 2, starting with Accent Color for hooves
6 sc in magic ring (6) Rnd 2: Inc × 6 (12) Rnd 3: BLO sc in each st (12)The back loop only creates a ridge that defines the hoof Change to Main Color
Sc in each st (12) [3 rounds] Fasten off first leg and set aside. Do NOT fasten off second leg.
Make 2, starting with Accent Color for hooves
6 sc in magic ring (6) Rnd 2: Inc × 6 (12)Change to Main Color
Sc in each st (12) [3 rounds] Rnd 6: [Sc 1, dec] × 4 (8) Rnd 7: Sc in each st (8)Stuff lightly (lower half only – keep upper half soft). Fasten off, leaving long tail. Flatten top opening.
Make 1 in White
6 sc in magic ring (6) Rnd 2: Inc × 6 (12) Rnd 3: [Sc 1, inc] × 6 (18) Rnd 4: [Sc 2, inc] × 6 (24) Rnd 5: [Sc 3, inc] × 6 (30)Fasten off, leaving very long tail for sewing.
Continuing from second leg:
Joining Round From second leg, ch 2. Join to first leg with sc in any stitch. Sc 11 more around first leg (12 total), sc 2 across the ch-2 space, sc 12 around second leg, sc 2 across other side of ch-2 space (30)Place stitch marker at beginning of round
Sc in each st (30) [5 rounds] Rnd 13: [Sc 3, dec] × 6 (24) Rnd 14: Sc in each st (24) Rnd 15: [Sc 2, dec] × 6 (18)Stuff legs and body firmly
[Sc 1, dec] × 6 (12) Rnd 17: Dec × 6 (6)Fasten off, leaving long tail. Close remaining hole with yarn needle.
Make 1 in Main Color Ch 8 Starting from 2nd ch from hook, sl st back down the chain (7 sl st).
Fasten off, leaving long tail.
To create tassel: Cut 4-5 strands of yarn (3 inches long) in accent color. Fold strands in half and loop through the end of the tail chain. Tie securely and trim to desired length (approximately 1/2 inch)
The detailed heart designs require felt appliqué work. Choose your preferred method:
Cut a heart shape from colored felt (approximately 1.5-2 inches tall)
Cut decorative elements: Thin strips for stripes Small circles for polka dots Spiral shapes for swirls Zigzag patterns Layer and glue decorations onto heart using fabric glue
Let dry completely Glue or sew completed heart onto center of white crocheted circle Sew entire belly badge to cow’s tummy
Sew white circle onto cow’s belly first Using colored embroidery floss, stitch heart outline Fill in with satin stitch Add decorative details with backstitch or French knots
Sew white circle onto belly Use fabric paint pens or puffy paint to draw heart and decorations Let dry completely (24 hours)
Classic Cow: White body with black or brown spots (add small flat circles), black hooves and ears Pastel Rainbow: Create a herd in pink, purple, mint, blue, lavender, peach
Holiday Themes: Christmas (red/green), Valentine (pink/red), Easter (pastel rainbow), Halloween (orange/black)
Realistic: Brown or black and white with natural-colored accents
| Rounds | 14 |
|---|---|
| Parts | 14 |
| Level | Intermediate |
| Time | 4-6 hours |
| Hook | 5.0 mm |
| Yarn | Super Bulky |
The head increases every round from round 1 through round 5 (6 to 30 stitches), holds flat for six rounds, then decreases at rounds 12-13 — standard sphere shaping that leaves rounds 8-9 at full width, which is exactly where the eyes are set.
The snout starts from a chain of 5 rather than a magic ring, working 3 sc into the last chain for the rounded tip and increasing on the return side to reach 10 stitches — a flat-oval construction built for an elongated muzzle rather than a round one.
| Head | about 45-60 minutes because of 13 rounds, eye placement between rounds 8-9, and firm stuffing before closing |
|---|---|
| Snout and ears | about 20-30 minutes because the snout's chain-based shaping and the ears' small round counts both need careful counting |
| Belly badge and heart decoration | about 15-20 minutes because of cutting and gluing felt, or stitching the alternative embroidery or paint finish |
These answers came from whoever first published the pattern, kept word for word.