
Intermediate
What the pattern's own author called it. Nothing here is graded again.
 Crochet·Rituals
Amigurumi 29 Laid out for paper No account, no download
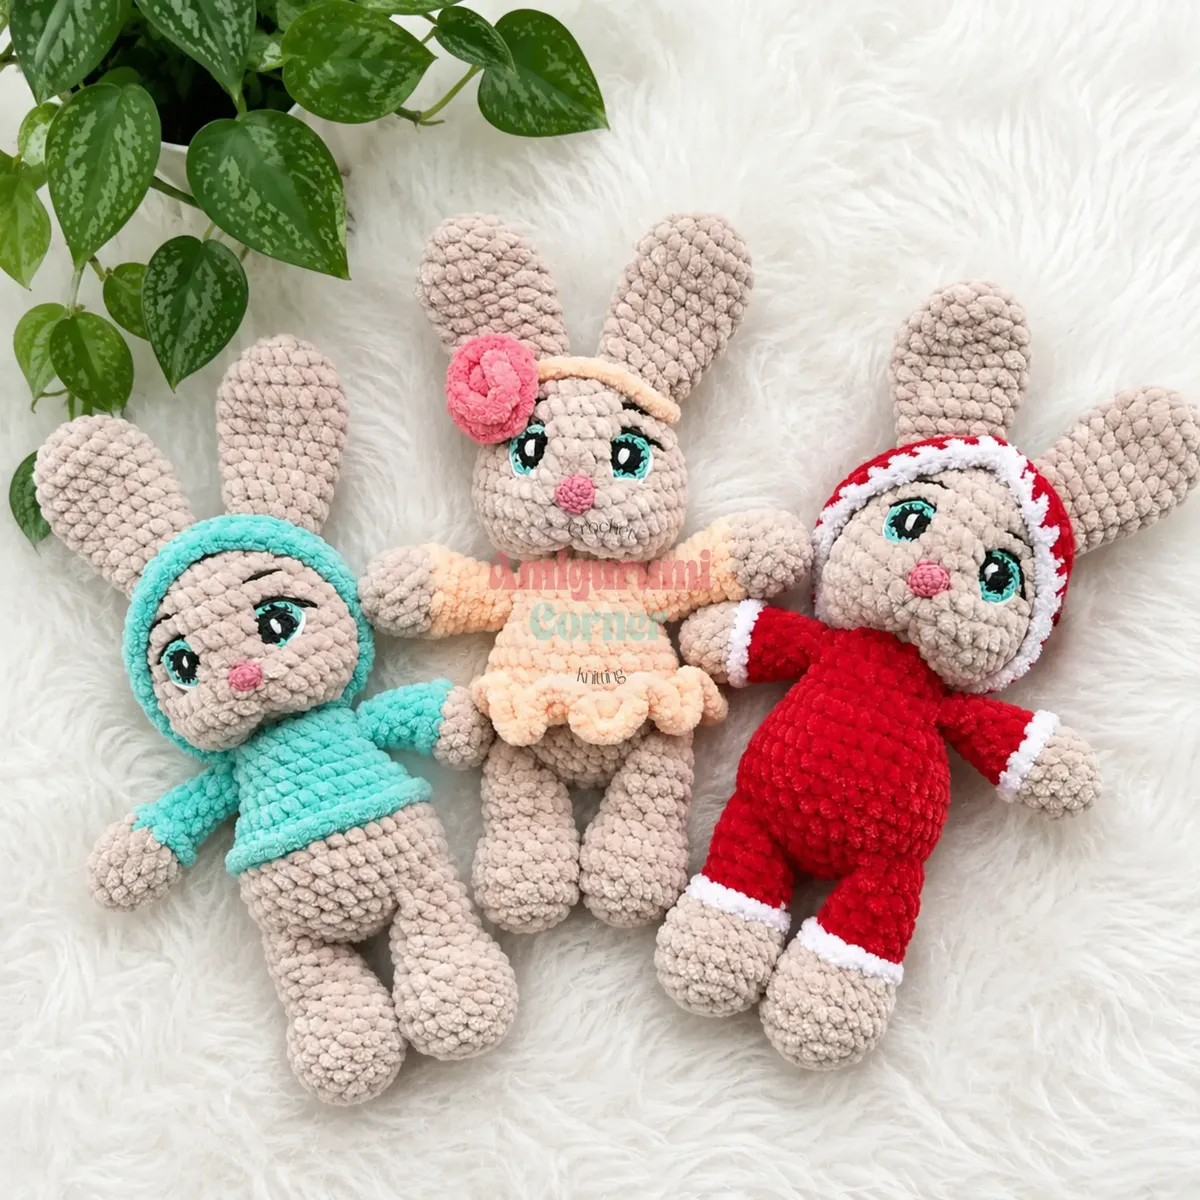
Amigurumi bunny: 12-round head, 10-round ears, E-4/3.5mm hook plus 1.65mm for details.
Crochet Rituals · retyped from the source and laid out for print · added 7 Oct 2026
What the pattern's own author called it. Nothing here is graded again.

What the sample was worked in. Any weight works; the size moves with it.

Each one is typed out whole and gets its own line.
This bunny builds from a velvet or chenille body worked in continuous spiral rounds, with a 12-round head, 10-round ears, and a 3-round nose added in contrasting fingering weight. A removable hoodie outfit and an optional BLO skirt dress the finished shape, with a rolled-rosette headband as a separate trim piece. Before starting, have both hooks on hand — the E-4/3.5mm for the body and the steel 1.65mm for facial details — along with fiberfill, straight pins for sculpting, and a stitch marker, since every round is worked without joining.
Listed by the pattern's own author, in their words.
Key to this pattern, 9 short forms
Step by step: Begin with black embroidery yarn and smaller hook.
6 sc in MR. (6)
Inc in each st around. (12)Step by step: 2 sc. Stuff lightly. (12).Step by step: Change to light blue yarn. [1 sc, inc] × 3, 2 sc, sl st. (14); Using white yarn, embroider 2–3 small highlight stitches onto each eye.
[1 sc, inc] × 6. (18)Work 1 sl st to offset seam. Fold flat and seam closed by working 4 sc through both layers. At the color-change join, work a row of sc edging around the junction.Step by step: [1 sc, dec] × 3. (6); Sc in each st around. (6).Fold flat and seam closed by working 3 sc through both layers. At the color-change join, work a row of sc edging around the junction.
1 sc, inc, [2 sc, inc] × 5, 1 sc. (24)Step by step: Insert the head with joint into the body opening now.3 sc, [sc through body st and arm st together] × 3, 6 sc, [sc through body st and arm st together] × 3, 3 sc. (18)Step by step: BLO sc in each st around. (24); Sc in each st around. (24); 6 sc, dec × 6, 6 sc. (18); 3 sc, dec × 6, 3 sc. (12); For a jumpsuit/onesie: change to accent color yarn now; 3 sc, dec × 3, 3 sc. Stuff foot. (9).
[3 sc, inc] × 6. (30)For a dress or hoodie: change to main color yarn now. For a jumpsuit/onesie: continue in accent color.Step by step: BLO sc in each st around. (30); Sc in each st around. (30).
2 sc, inc, [4 sc, inc] × 5, 2 sc. (36)
Sc in each st around. (36)Step by step: 10 sc, ch 7, skip 7 sts, 2 sc, ch 7, skip 7 sts, 10 sc. (36 working sts + 14 ch).Step by step: Change to accent color yarn; [2 sc, dec] × 3. Stuff lower portion of arm only. (9).
2 sc, dec, [4 sc, dec] × 5, 2 sc. (30)Insert completed head into the hood. The cotter pin exits from the bottom of the hood, set back approximately 2 rows from the lower edge.
[3 sc, dec] × 6. (24)Step by step: Stuff body firmly.5 sc, [sc through body st and leg st together] × 4, 8 sc, [sc through body st and leg st together] × 4, 3 sc. (24)
1 sc, dec, [2 sc, dec] × 5, 1 sc. (18)Stuff head firmly now. If using the rotating joint, insert the disc and cotter pin before continuing.
[1 sc, dec] × 6. (12)
Dec × 6. Fasten off, leave a tail, and pull tight to close. (0)
6 sc in MR. (6)
Inc in each st around. (12)
[1 sc, inc] × 6. (18)
Sc in each st around. (18)
[4 sc, dec] × 3. (15)
Sc in each st around. (15)
[3 sc, dec] × 3. (12)
Sc in each st around. (12)
[2 sc, dec] × 3. (9)
Sc in each st around. (9) Fasten off, leave a tail, and pull tight to close.
Pink embroidery yarn, smaller hook.
6 sc in MR. (6)
[1 sc, inc] × 3. (9)
Sc in each st around. (9)Fasten off, leaving a long tail for sewing.
Join yarn in any available back loop from Body Rnd 10. Sc in each st around. (30)
Inc in each st around. (60)
Inc in each st around. (120)
Sc in each st around. (120)Fasten off and weave in ends.
Ch 28. Join with sl st to form a ring.
Attach accent color yarn. Sc across 18 sts. Turn work. Inc in each st to end of row.
Roll the accent-color section into a tight coil to form a gathered bobble rosette. Secure with a few stitches using the yarn tail.
| Rounds | 29 |
|---|---|
| Parts | 5 |
| Level | Intermediate |
| Time | 4-6 hours |
| Hook | 3.5 mm |
| Yarn | Worsted |
The Head's increase pattern front-loads shaping in the early rounds (6, then 12 stitches) before settling into longer plain rounds, which builds a rounded crown before the face rounds begin.
The Ears alternate increase and decrease rounds across 10 rounds (6 to 12 to 18, then down to 15), producing a curved, tapered shape rather than a flat disc.
| Head | about 45-60 minutes because 12 rounds plus needle sculpting and feature placement |
|---|---|
| Ears (make 2) | about 25-35 minutes because 10 rounds each with alternating increase and decrease shaping |
| Nose and small details | about 15-20 minutes because only 3 rounds but worked on the smaller 1.65mm hook |
These answers came from whoever first published the pattern, kept word for word.