Skip to the patterns
Crochet·Rituals
Menu

Amigurumi 27 Laid out for paper No account, no download

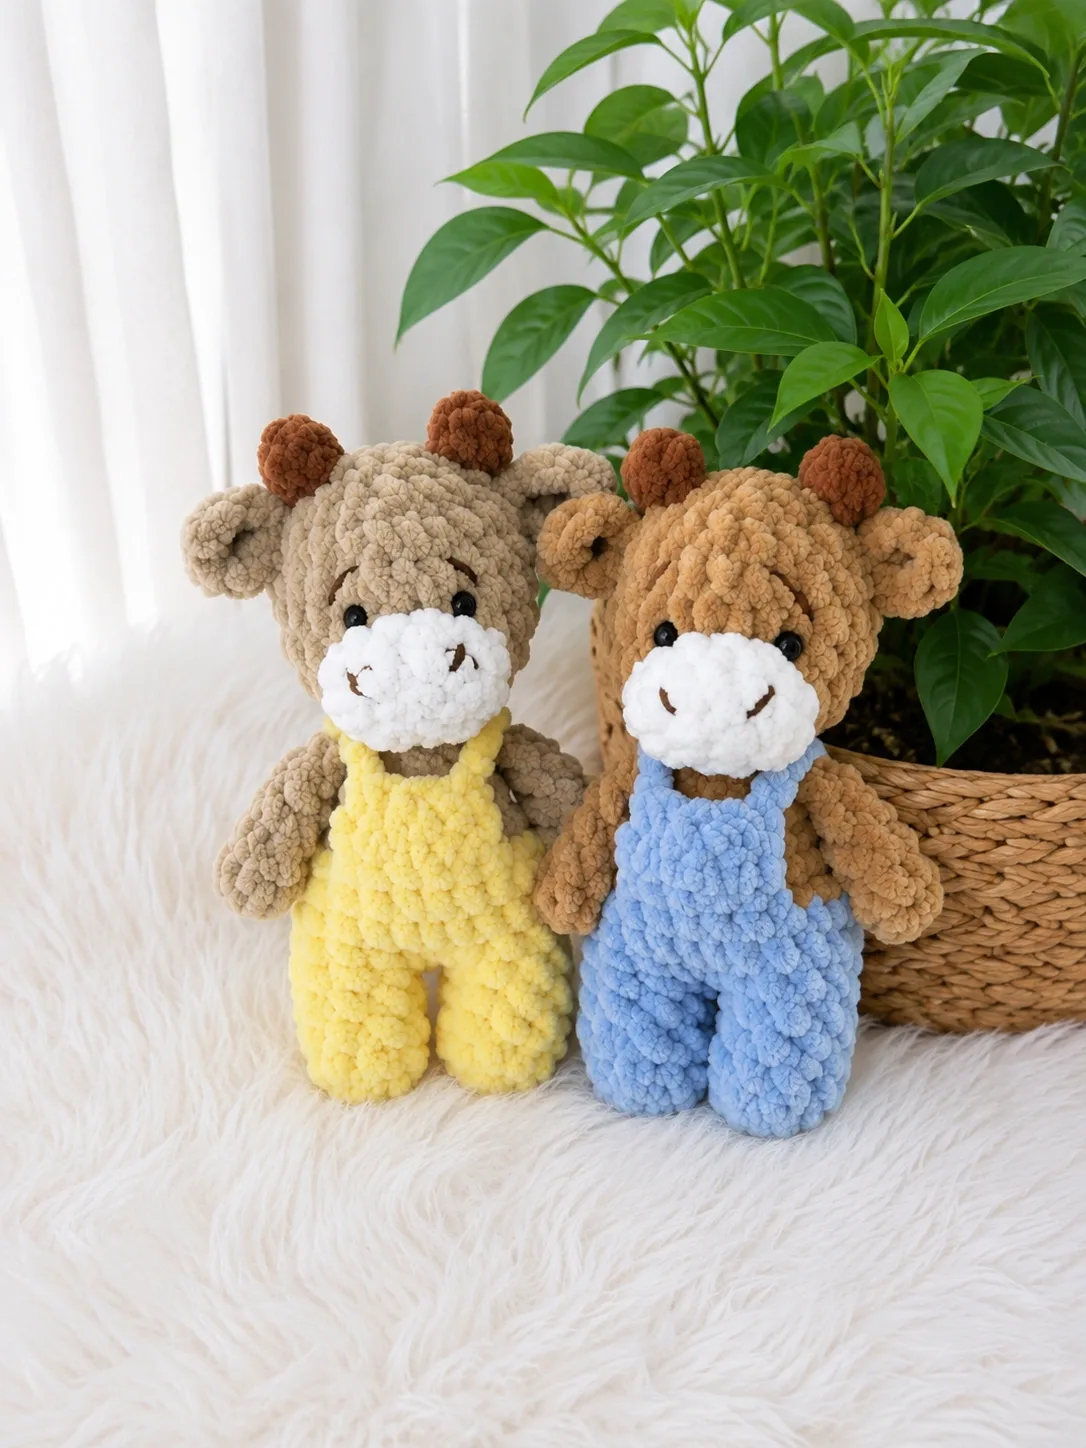
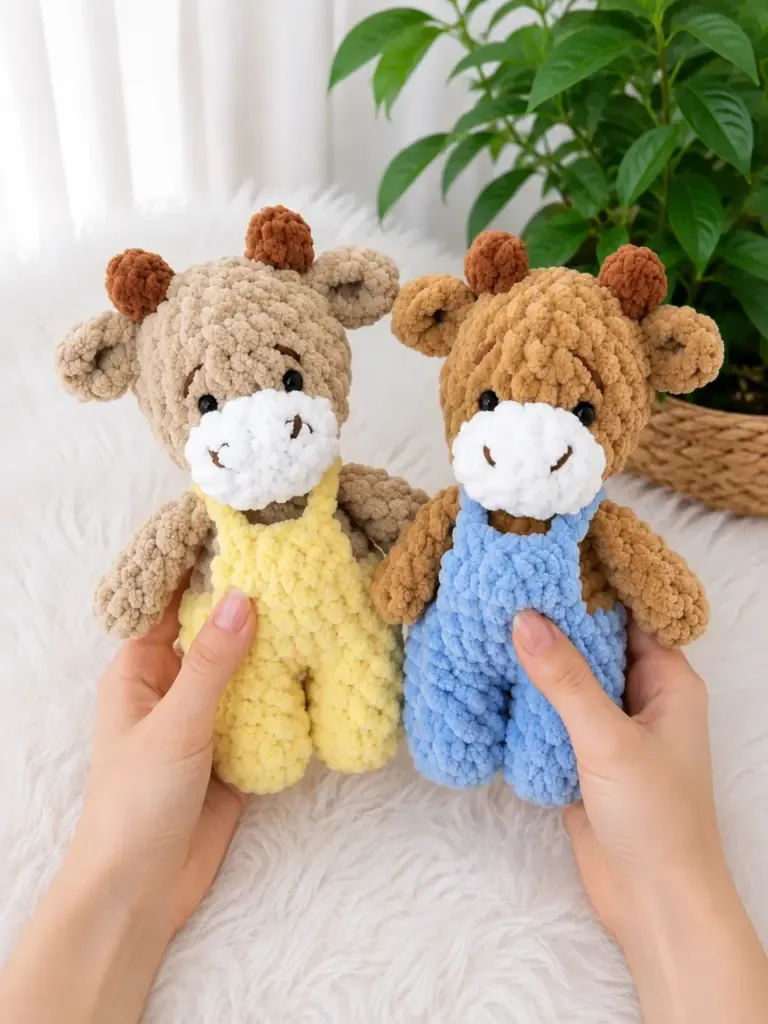
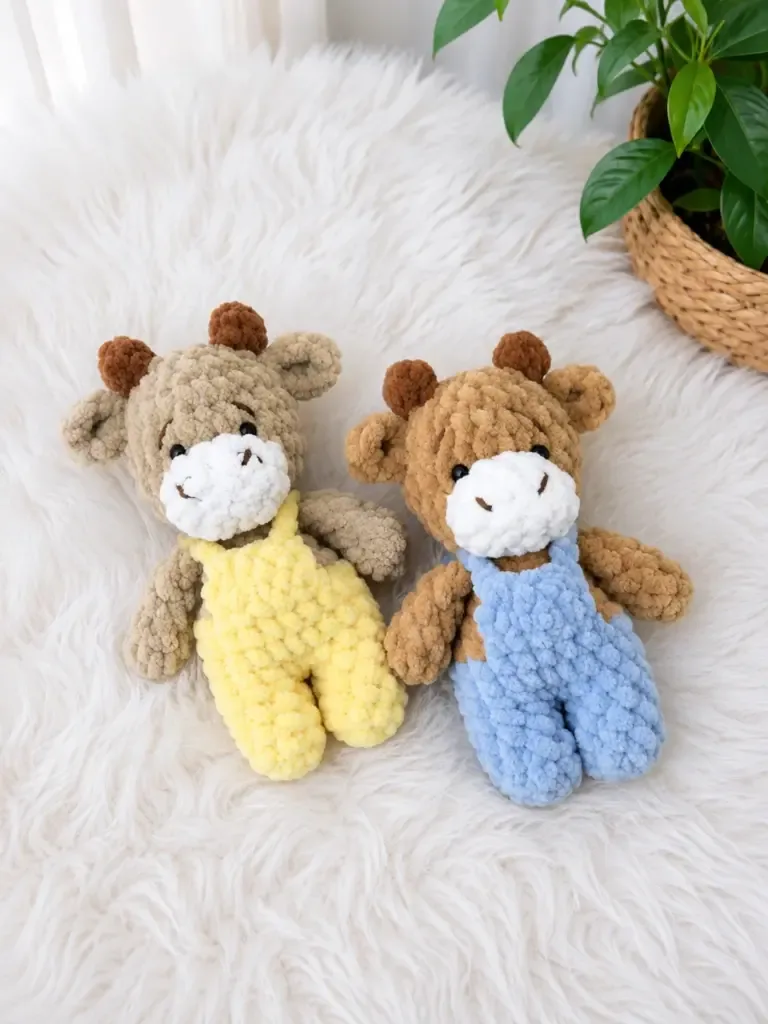
Crochet bull in overalls amigurumi pattern for beginners

Amigurumi bull in overalls: legs join into a spiral body, 19 rounds body & head, E-4 hook.

Jump to the rounds Pin it
Crochet bull in overalls amigurumi pattern for beginners
Amigurumi · Worsted
Skill
Intermediate
Time
4-6 hours
Yarn weight
Worsted
Hook
3.5 mm
Rounds
27

Intermediate

What the pattern's own author called it. Nothing here is graded again.

Worsted

What the sample was worked in. Any weight works; the size moves with it.

27

Each one is typed out whole and gets its own line.

This bull stands on two legs worked separately in the overalls color, then joined into a single continuous spiral that builds straight up through the body and head — 19 rounds without a break, plus a color change partway through for the main body color. A muzzle, two horns, and ears are worked as separate small pieces and sewn on after stuffing. Before starting, have both colors wound and ready, an E-4 (3.5 mm) hook for a firm fabric, fiberfill, safety eyes, and a stitch marker to track the start of each round once the spiral joins.

Common mistakes and their fixes

Losing the round start after the leg join
Place a stitch marker at the joining stitch as soon as the second leg connects, since no slip stitch marks the round from that point on.
Working into both loops instead of back loop only
Check round 5 stitch by stitch — the 5 BLO stitches must go through the back loop only to leave the front loops free for attaching the overalls bib.
Fabric too loose to hide stuffing
Amigurumi works best with a firm, closed fabric so the stuffing doesn't show through. If you can see gaps between stitches, try dropping down one hook size from the E-4 (3.5 mm).
Visible bump at decrease points
a smooth, pucker-free finish on the head closure, insert your hook through the front loops only of two consecutive stitches before pulling through and completing the decrease — this prevents the visible bump that a standard decrease can leave.
Waiting until the end to stuff
Once you start the head increases at Round 11, add fiberfill gradually as you go. Trying to stuff everything at the end makes it harder to shape the body and can leave lumps.
Arms misaligned when attached
When working the sc3tog join in Round 9, keep the folded arm parallel to the body with the folded edge outward. A stitch marker in the center fold helps you find the right position quickly.
Overalls straps pulling the bib forward
The 10-chain straps are designed to sit diagonally across the back. If your gauge runs tighter or looser than average, adjust the chain count by 1–2 stitches until the straps cross the back naturally without pulling the bib forward.

The materials list

Yarn

  1. Light worsted or DK weight — one color for the body (main color) and one color for the overalls

Hook

  1. E-4 (3.5 mm) — adjust to achieve a tight, firm fabric

Safety eyes

  1. 8 mm, 1 pair

Stuffing

  1. Fiberfill
  2. Stitch markers
  3. Yarn needle / tapestry needle
  4. Scissors

Listed by the pattern's own author, in their words.

Key to this pattern, 13 short forms

Arms (Make 2 — Main Color)

Round 1

6 sc in MR. (6)

Round 2-5

sc in each st around. (6) — 4 rounds total Fold the arm flat and work 3 sc through both layers to close. Leave a short yarn tail and fasten off. Set aside — these will be attached during body construction.

Legs (Overalls Color — Make 2)

Round 1

8 sc in MR. (8)

Round 2-4

sc in each st around. (8) — 3 rounds total For the first leg: sl st to close. Fasten off and leave a short yarn tail. Set aside.For the second leg: Do not fasten off. Work 4 additional sc, then join to the first leg by working a sl st into the stitch where you finished the first leg. Continue in a spiral, picking up stitches across both legs to form the body.Stuff the body and head firmly as you go; the legs receive light stuffing before the two pieces are joined.

Body & Head (Continued from Legs)

After joining the legs, begin the body as follows:

Round 1

(joining round): 8 sc across the first leg, inc in next st, inc in next st (between legs), 8 sc across the second leg, inc in next st (between legs). (21)

Round 2-3

sc in each st around. (21) — 2 rounds total

Round 4

10 sc, then change to main color yarn. The point of color change is now treated as the beginning of each new round.

Round 5

8 sc, 5 sc in BLO, 8 sc. (21) The 5 BLO stitches create the front loops for the overalls bib.

Round 6

5 sc, dec repeat 3 times around. (18)

Round 7

sc in each st around. (18)

Round 8

sc, dec repeat 6 times around. (12)

Round 9

2 sc, sc3tog joining the first arm into the next 3 sts, 3 sc, sc3tog joining the second arm into the next 3 sts, 1 sc. (12) To attach each arm: hold the folded arm alongside the body and work the sc3tog through the corresponding stitches of both the body and the arm together.

Round 10

sc in each st around. (12)

Round 11

inc in each st around. (24)

Round 12-16

sc in each st around. (24) — 5 rounds total Insert safety eyes now, placing them approximately 4–5 stitches apart and centered on the front of the head. Stuff the body firmly.

Round 17

2 sc, dec repeat 6 times around. (18)

Round 18

sc, dec repeat 6 times around. (12)

Round 19

dec 6 times, sl st to close. (6)Fasten off. Pull yarn tail through remaining stitches and pull tight to close the opening.

Overalls Bib (Overalls Color — Flat Rows)

Attach the overalls color yarn to the front loop stitches left exposed in Rnd 5 of the body. Work in flat rows.

Round 1

5 sc across the front loops, ch 1, turn. (5)

Round 2

5 sc, ch 1, turn. (5)

Round 3

dec, sc, dec. (3)For the straps: ch 10, sl st to the center stitch at the back of the body (at the overalls color section), ch 10, sl st back to the front of the bib. Fasten off and weave ends inside the body.

Muzzle

Round 1

6 sc in MR. (6)

Round 2

inc in each st around. (12)

Round 3

sc in each st around, sl st to join. (12)Fasten off, leaving a long yarn tail for sewing. Set aside.

Horns (Make 2)

Round 1

5 sc in MR. (5)

Round 2

2 sc, sl st. Do not complete the round.Fasten off, leaving a long yarn tail for sewing. Set aside.

Ears (Make 2)

Row 1

Ch 2. Working into the first chain stitch: sc, hdc, 2 dc, hdc, sc, sl st.Fasten off, leaving a long yarn tail for sewing.

Assembly, in order

Step 1Center the muzzle on the lower front of the head and sew it in place using the long yarn tail and a whipstitch. Weave in the end.
Step 2Position the horns on top of the head, spacing them evenly on either side. Sew each horn securely using its yarn tail. Weave in ends.
Step 3Pin the ears on either side of the head, just below the horns and slightly to the front. Sew each ear using its yarn tail, making sure they sit symmetrically. Weave in ends.
Step 4Double-check that all safety eyes are secure and that the head is fully stuffed to your satisfaction before completing any final closures.
Step 5Weave in all remaining yarn ends.

Check these before you start

  • Work the whole leg-body-head section in a continuous spiral; only the ends of each leg use a slip stitch to close before joining.
  • The color change on the body happens mid-round, at 10 sc into round 4 — from that point forward, treat the change-over stitch as the new start of every round.
  • Stuff firmly and evenly as you go, since the fabric is worked tight on an E-4 hook and later rounds will be harder to reach once the head is closed.
  • This pattern is written in US crochet terminology.
  • Stitch count is given at the end of each round in parentheses: (##), so you can verify you're on track before moving to the next round.
  • Place safety eyes between Rounds 16–18 of the head section (after the body increases), positioning them approximately 4–5 stitches apart.

On one line

Rounds27
Parts7
LevelIntermediate
Time4-6 hours
Hook3.5 mm
YarnWorsted

Set-up

  • Wind both the main color and the overalls color so you are not caught mid-round at the color change on the body.
  • Read through the leg-joining instructions before starting — the second leg does not fasten off but continues straight into the body.
  • Place a stitch marker at the start of round 1 of the joined body, since the spiral has no slip-stitch joins to mark rounds for you.
  • Check gauge with a small swatch in sc to confirm the E-4 hook gives a fabric tight enough to hide the fiberfill.

Finishing

  1. Weave in the yarn tails left from the arms, legs, muzzle, horns, and overalls bib before assembly, working each end through several stitches on the wrong side.
  2. Stuff the body and head firmly with fiberfill before the final rounds of the head close, adding more as you sew on the muzzle and horns.
  3. Sew the muzzle to the lower front of the head, then attach the horns and ears in place with a whipstitch, using each part's own yarn tail and weaving in the end once secure.

Construction

The increases in the joining round happen only between the two legs — 8 sc across each leg with three increases worked in the gaps — which is what pulls the two separate leg tubes into one rounded body base.

The five back-loop-only stitches in round 5 leave a row of open front loops on the body; this is what forms the attachment edge for the flat overalls bib worked later.

Time per section

Arms and legsabout 30-40 minutes because each piece is short, at 2 rounds for arms and 2 rounds for legs, but there are four small pieces to make
Body and headabout 2-2.5 hours because this section runs 19 rounds continuously, including a mid-round color change and BLO shaping to track
Overalls bib, muzzle, horns, and assemblyabout 1-1.5 hours because the bib is worked flat over 3 rows and the muzzle, horns, and ears all need sewing on and weaving in afterward

Photographs of this one

Every one was taken by whoever published the pattern, in the order the source listed them.
Crochet bull in overalls amigurumi pattern for beginners — photo 2
Crochet bull in overalls amigurumi pattern for beginners — photo 3

Common questions

What yarn weight works best for this bull in overalls pattern?
A light worsted or DK weight yarn gives the best stitch definition and makes the overalls color change look crisp and clean. Avoid very fluffy or textured yarns for your first attempt, as they make it harder to see your stitches and count rounds accurately.
Can I use a different color for the overalls?
Absolutely — any solid or semi-solid yarn in the overalls color will work beautifully. Darker colors like navy or forest green give a classic denim look, while lighter pastel shades give the bull a softer, nursery-friendly feel. Just make sure both yarn colors are the same weight so the fabric tension stays consistent throughout.
How do I keep the legs even when joining them into the body?
The key is working the 4 extra sc on the second leg before joining, which positions the join point correctly between the legs. Use a stitch marker to track where the first leg ended so you can place your joining slip stitch in exactly the right spot. Taking a moment to align both legs side by side before joining helps keep them symmetrical.
My muzzle looks loose after sewing — how do I fix it?
Sew the muzzle on using small, close whipstitches all the way around the edge rather than just tacking it at a few points. Pull each stitch gently snug as you go. Leaving a small amount of fiberfill under the muzzle before closing it also gives it a slightly raised, rounded look that stays firm against the head.

These answers came from whoever first published the pattern, kept word for word.