
Intermediate
What the pattern's own author called it. Nothing here is graded again.
 Crochet·Rituals
Amigurumi 22 Laid out for paper No account, no download
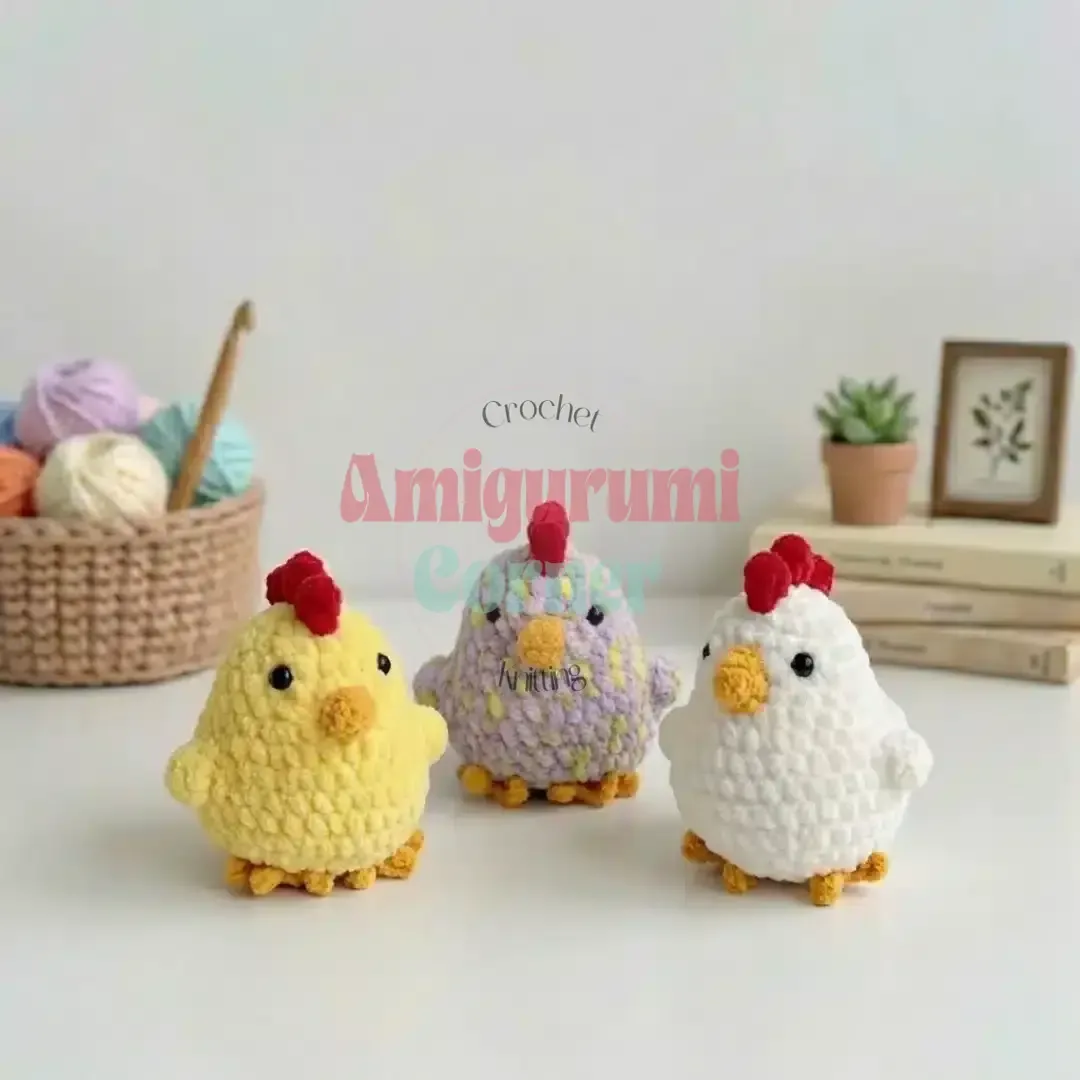
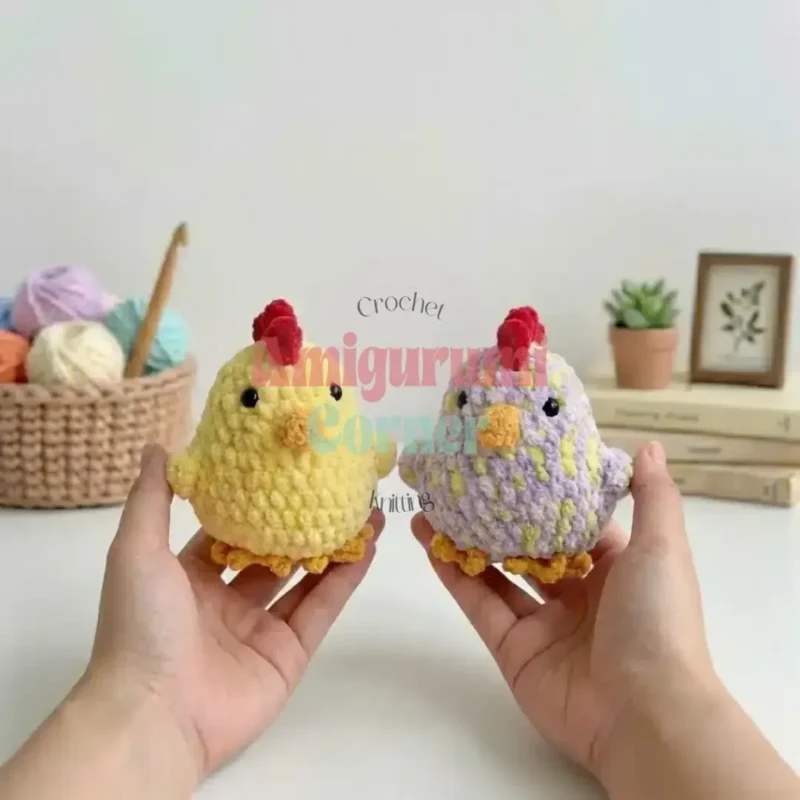
A 10 cm amigurumi chicken in 13 rounds with a 3.5mm hook, plus crest, wings, beak, and feet.
Crochet Rituals · retyped from the source and laid out for print · added 7 Oct 2026
What the pattern's own author called it. Nothing here is graded again.

What the sample was worked in. Any weight works; the size moves with it.

Each one is typed out whole and gets its own line.
This is a 10 cm amigurumi chicken, built as a single spiral body topped with a sewn-on crest, two flat wings, a short beak, and a pair of simple feet. The head and body share one continuous 13-round piece worked in Himalaya Dolphin Baby yarn in Brown (or a similar plush yarn) with a 3.5mm hook, while the crest is worked separately in YarnArt Sport yarn in Red on a smaller 2mm hook for structure, and the beak and feet use orange cotton yarn on the same 2mm hook. Before picking up the hook, have 8mm plastic safety eyes, polyester fiberfill or bead stuffing, black embroidery thread, fabric adhesive, scissors, and a yarn needle on hand, since the small parts are sewn and glued rather than crocheted together.
Listed by the pattern's own author, in their words.
Key to this pattern, 13 short forms
Use Brown yarn with 3.5mm hook:
Make a chain of 2, and work 6 sc in the first chain (6).Make a slip knot and then chain 2 stitches (this serves as the turning chain), then work 6 single crochet stitches into the second chain from the hook (the first chain you made).
6 inc (12).
(1 sc, 1 inc) *6 (18).
18 sc.
(2 sc, 1 inc) *6 (24).
24 sc.
(3 sc, 1 inc) *6 (30).
(4 sc, 1 inc) *6 (36). — Sew the eyes between the 6th and 7th rows, leaving 5 sc between them.Position the eyes between rows 6 and 7, spacing them 5 stitches apart. Insert the eye post through the fabric from the outside, then firmly press the backing washer onto the post from the inside before stuffing the head. Once attached, safety eyes cannot be removed, so position them carefully before securing.
36 sc.
(4 sc, 1 dec) *6 (30).
(3 sc, 1 dec) *6 (24). — Fill with fiber.
(1 sc, 1 dec) *8 (16).
1 dec *8 (8). — Close the opening with a needle.
Use Red cotton yarn with 2mm crochet hook:
Chain 6. Starting from the 5th chain from the hook, crochet 5 single crochets tightly.Row 2: Repeat the same process 4 more times (creating 5 crests in total). Leave a long yarn tail for sewing.
Straighten the crests and sew them to the head using a needle.
Attach the crest across rows 1 to 3 on the head, positioning it slightly towards the back for a natural look.
Use Brown yarn with 3.5mm hook:
Chain 2, then work 6 sc into the first chain (6).
6 sc. Leave a long yarn tail for sewing. Sew the wings to the sides of the body, between rows 8 and 10. The wings should be placed evenly on both sides to ensure a symmetrical look.
Use Orange cotton yarn with 2mm hook:
Make 4 sc in MR (magic ring) (4).
(1 sc, 1 inc) *2 (6).
(1 sc, 1 inc) *3 (9).
9 sc.
(2 sc, 1 inc) *3 (12). Leave a long yarn tail for sewing. Fill with fiber and sew the beak onto the face.Sew the beak between rows 7 and 8 (or adjust based on your chicken's size).
Use Orange cotton yarn with 2mm hook:
Chain 11, then make a slip stitch into the 10th chain from the hook. Work double decreases across the remaining stitches to the end.Repeat this process 2 more times to create 3 (fingers).Gather the stitches from the ends of these sections together.Leave a long yarn tail for sewing.Sew the feet at the bottom of the body. Attach them between rows 2 and 4 of the body, making sure they are evenly spaced.Double decrease: insert your hook as if to crochet two stitches together, yarn over, and pull the yarn through all stitches.
| Rounds | 22 |
|---|---|
| Parts | 5 |
| Level | Intermediate |
| Time | 4-6 hours |
| Hook | 3.5 mm |
| Yarn | Worsted |
The Head & Body shaping front-loads its increases: 6 stitches in round 1 double to 12 in round 2 and reach 18 by round 3, giving the rounded base its curve before the remaining rounds work even.
The crest and wings are worked flat rather than in the round, since five short tufts and a pair of small rectangles are easier to shape as straight rows and sew on than to build into the spiral body.
| Head & Body | about 1.5 to 2 hours, because 13 rounds include early shaping and need steady tension throughout |
|---|---|
| Crest, Wings, Beak, and Feet | about 45 minutes to 1 hour, because four small parts in two yarns and two hook sizes add setup time between pieces |
| Assembly and finishing | about 30 to 45 minutes, because sewing on the crest, wings, beak, and feet, then embroidering the face, takes more care than it does yarn |
Every one was taken by whoever published the pattern, in the order the source listed them.

These answers came from whoever first published the pattern, kept word for word.