
Beginner to Intermediate
What the pattern's own author called it. Nothing here is graded again.
 Crochet·Rituals
Home Decor 9 Laid out for paper No account, no download
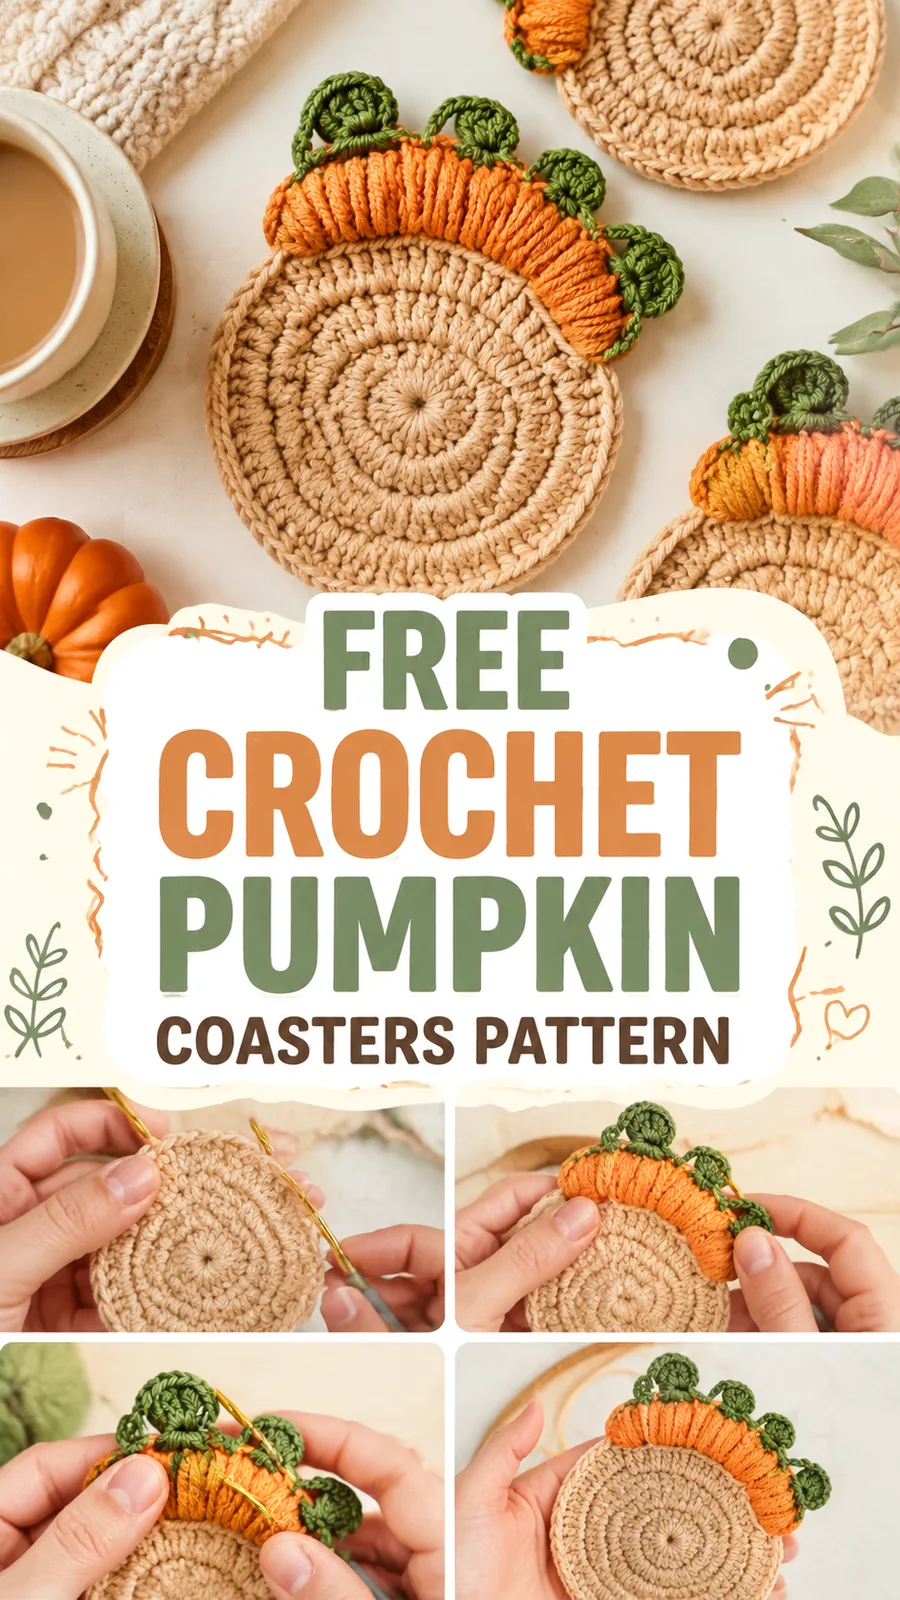
Round crochet coaster with a textured pumpkin top, 9 rounds, 4mm hook, finished at about 5 inches.
Crochet Rituals · retyped from the source and laid out for print · added 17 Oct 2026
What the pattern's own author called it. Nothing here is graded again.

What the sample was worked in. Any weight works; the size moves with it.

Each one is typed out whole and gets its own line.
This crochet pumpkin coaster builds from the center out in joined rounds, starting with a beige cotton base that increases every row to form a flat circle. Orange yarn takes over for a textured pumpkin top worked in alternating plain and front-post double crochet rounds, then a ribbed stem and green vine details finish the shape. Work it with worsted weight cotton on a 4 mm hook, and have beige, orange, and green yarn plus a stitch marker ready before starting, since every round joins with a slip stitch and color changes happen at specific rows.
Listed by the pattern's own author, in their words.
Key to this pattern, 9 short forms
With beige yarn, make a magic ring. Ch 2. Work 12 dc into the ring. Join with sl st. (12 sts)
Ch 2. Work 2 dc in each stitch around. Join with sl st. (24 sts)
Ch 2. *1 dc in next stitch, 2 dc in next stitch; rep from * around. Join with sl st. (36 sts)
Ch 2. *1 dc in each of next 2 stitches, 2 dc in next stitch; rep from * around. Join with sl st. (48 sts)
Ch 2. *1 dc in each of next 3 stitches, 2 dc in next stitch; rep from * around. Join with sl st. (60 sts)
Change to orange yarn.
Ch 2. Work 1 dc in each stitch around. Join with sl st. (60 sts)
Ch 2. *1 fpdc around next stitch, 4 dc in next 4 stitches; rep from * around. Join with sl st. (60 sts)
Ch 2. Work 1 dc in each stitch around. Join with sl st. (60 sts)
Ch 2. Repeat Round 7. Join with sl st. (60 sts)
Pattern Description: This original crochet pattern creates a flat pumpkin-inspired coaster with a textured circular body, contrasting pumpkin top, and simple vine embellishment. The design uses joined rounds and basic shaping techniques.
Skill Level Easy to Intermediate Finished Size Approximately 5 inches (12.7 cm) diameter Yarn Approximately 90 yards (82 meters) worsted weight cotton yarn total
Hook 4 mm US G-6 crochet hook Gauge Approximately 18 double crochet stitches x 10 rounds = 4 inches (10 cm)
Terminology US crochet terms
Front Post Double Crochet (fpdc): Yarn over, insert the hook from front to back and around the post of the indicated stitch, yarn over and pull up a loop, complete as a regular double crochet. This creates a raised ridge texture.
Attach brown or dark green yarn at the top center.
Ch 5.
Sc in second chain from hook and across. (4 sts)
Sl st into the coaster surface beside the starting point.
Fasten off and weave in ends.
Attach green yarn near the stem.
Ch 8.
Work 3 dc into the third chain from hook to create a small curled leaf shape.
Sl st back toward the coaster surface.
Repeat on the opposite side if desired.
Fasten off and weave in all ends.
| Rounds | 9 |
|---|---|
| Parts | 6 |
| Level | Beginner to Intermediate |
| Time | 1-1.5 hours |
| Hook | 4 mm |
| Yarn | Worsted |
The base increases by 12 stitches every round (12, 24, 36, 48, 60), with the increase stitch spaced one position further apart each round — a standard flat-circle progression that keeps Rounds 1-5 lying flat rather than cupping.
Once the stitch count reaches 60 at the end of Round 5, Rounds 6-9 hold that count steady; the texture comes from alternating plain dc rounds with fpdc rounds rather than from further shaping, which keeps the pumpkin top flat to match the base.
| Coaster Base (Rounds 1-5) | about 20-25 minutes, because five increase rounds in beige need accurate stitch counts to keep the circle flat. |
|---|---|
| Pumpkin Texture Section (Rounds 6-9) | about 25-30 minutes, because the fpdc repeat in Rounds 7 and 9 is slower to work than plain dc. |
| Stem, vine, and finishing | about 15-20 minutes, because attaching the small stem and vine details and weaving in three colors of ends takes more care than speed. |
These answers came from whoever first published the pattern, kept word for word.