
Intermediate
What the pattern's own author called it. Nothing here is graded again.
 Crochet·Rituals
Home Decor 3 Laid out for paper No account, no download
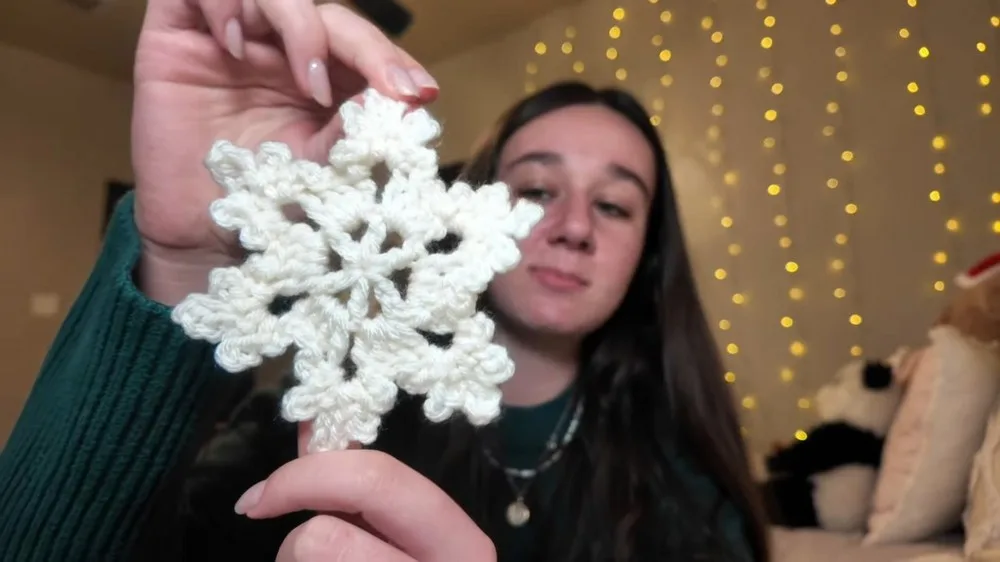
A 3-round crochet snowflake: magic ring, dc petals, chain spikes. Any hook and yarn weight work the same way.
Crochet Rituals · retyped from the source and laid out for print · added 5 Oct 2026
What the pattern's own author called it. Nothing here is graded again.

What the sample was worked in. Any weight works; the size moves with it.

Each one is typed out whole and gets its own line.
This snowflake builds from a magic ring into six double crochet petals, then opens into six pointed spikes of graduated chain lengths. Three rounds carry the whole shape: the ring sets the six-fold symmetry, the second round fills it out with dc clusters, and the third round turns each gap into a spike. Have yarn, a crochet hook, and a yarn needle on hand before starting, and keep a long tail if the piece will hang as an ornament.
Listed by the pattern's own author, in their words.
Key to this pattern, 3 short forms
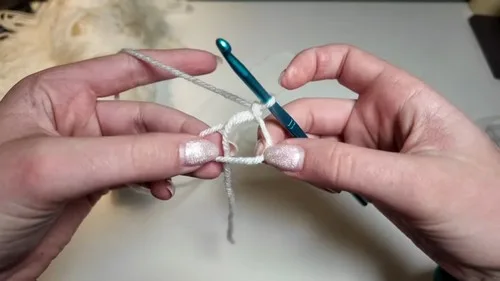
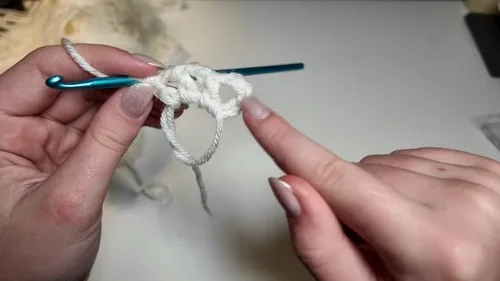
Start by making a magic ring; Chain (ch) 5 (this counts as 1 dc and ch 2); 1 Double Crochet (dc) into the magic ring; Ch 2; Repeat steps 3 and 4 five more times until you have a total of six dc (including the first ch 5) inside the magic ring; Sl st into the 3rd chain of the initial ch 5 to complete the round; Pull the tail to tighten up the magic ring. (6 dc)
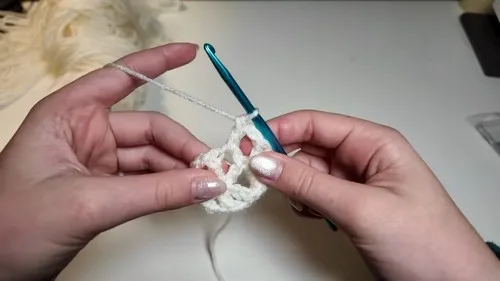
Sl st into the first ch-2 space; Ch 3 (this counts as 1 dc); Do 3 dc into the same ch-2 space; Ch 2; In the next ch-2 space, do 4 dc; Repeat step 4 and 5 around, doing 4 dc in each ch-2 space and ch 2 between each set; After the last set of 4 dc, ch 2 and then sl st into the top chain of the starting ch 3.
Creating the spikes Sl st in each dc till you reach the next ch-2 space; In the ch-2 space, ch 3, then sl st in the same ch-2 space; Ch 5, then sl st in the same ch-2 space; Ch 7, then sl st in the same ch-2 space; Ch 5, then sl st in the same ch-2 space; Ch 3, then sl st in the same ch-2 space (this completes one spike); Sl st across the next 3 dc to reach the next ch-2 space; Repeat steps 2 through 7 around for each ch-2 space to create spikes around the snowflake; After completing the last spike, ch 1 and cut the yarn, leaving a long tail for sewing if needed; Pull the hook to fasten off.
| Rounds | 3 |
|---|---|
| Level | Intermediate |
| Time | 1-2 hours |
| Yarn | Worsted |
The shaping sits entirely in Round 2: each of the six ch-2 spaces from Round 1 takes 4 dc, so the piece widens from six stitches to twenty-four plus six chain spaces in a single round.
Round 3 adds no new stitches to the body; it works outward from the existing ch-2 spaces in chains only, which is why the spikes read as a separate, flatter layer rather than a continued round.
| Round 1 (magic ring base) | about 10 minutes because it is a single short round with only six dc to track |
|---|---|
| Round 2 (petal round) | about 15 minutes because each of the six ch-2 spaces takes a 4-dc group plus a chain to place correctly |
| Round 3 (spikes) | about 25 minutes because each of the six spikes needs five separate chain lengths worked and tracked in the same space |
Every one was taken by whoever published the pattern, in the order the source listed them.
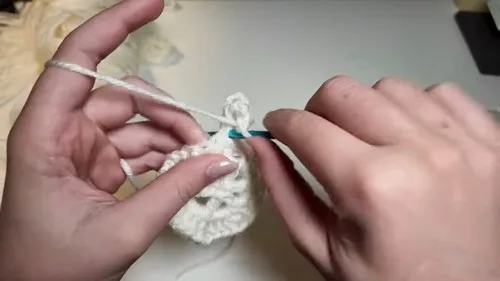
These answers came from whoever first published the pattern, kept word for word.