Skip to the patterns
Crochet·Rituals
Menu

Home Decor 5 Laid out for paper No account, no download

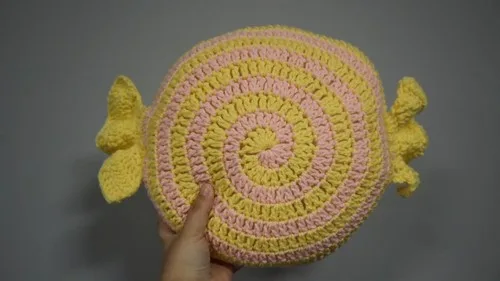
Crochet a spiral candy pillow with color-change rounds

Dc spiral pillow from a magic ring, color-change rounds, closed in 2 decrease rounds; hook sized to yarn.

Jump to the rounds Pin it
Crochet a spiral candy pillow with color-change rounds
Home Decor · Worsted
Skill
Beginner
Time
3-5 hours
Yarn weight
Worsted
Rounds
5

Beginner

What the pattern's own author called it. Nothing here is graded again.

Worsted

What the sample was worked in. Any weight works; the size moves with it.

5

Each one is typed out whole and gets its own line.

Dc spiral pillow from a magic ring, color-change rounds, closed in 2 decrease rounds; hook sized to yarn.

Common mistakes and their fixes

Losing count on increase rounds
Place a stitch marker at the start of the round and recount the increase stitches before moving on; a single missed 2-dc increase will make the disc ripple.
Joining new colors too loosely
Pull the first slip stitch of each new color snug against the previous round before working into it, so the seam stays tight instead of gapping.
Under-stuffing before closing
Pack fiberfill firmly and check the disc from both sides before you thread the needle, since it is much harder to add more once the opening is sewn shut.

The materials list

  1. Yarn in multiple colors (choose your preferred palette)
  2. Crochet hook suitable for your yarn choice
  3. Polyester fiberfill for stuffing
  4. Yarn needle

Listed by the pattern's own author, in their words.

Key to this pattern, 1 short form

Main Pattern

Begin with the center of the spiral:

Foundation Ring

Start with a magic ring. Chain 2 (does not count as a stitch). Work 6 double crochet (dc) into the ring. Pull the ring tight to close.Increase rounds to form the spiral:

Round 1

2 dc in each stitch around (12 dc).

Round 2

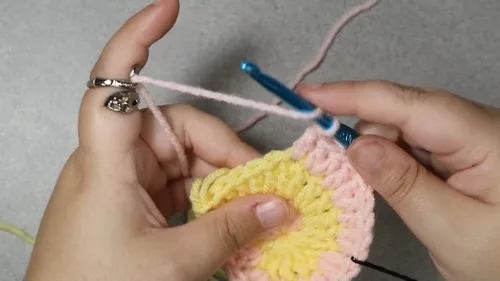
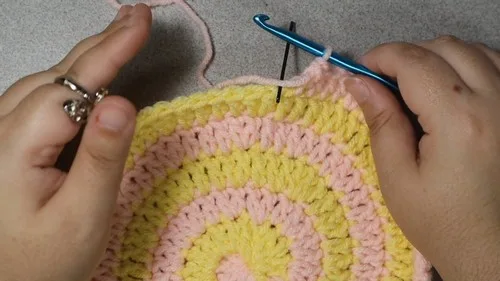
1 dc in next stitch, 2 dc in next stitch around (18 dc).Continue increasing in this manner, adding one more dc between increases each round, until the desired size is reached.Begin color changes for the swirly effect: At the start of each new round, join a new color with a slip stitch.Continue working in the established stitch pattern, carrying the unused yarn along the edge to minimize ends.

Shape the pillow

Once the desired size is achieved, begin decreasing to close the spiral.

Round 1

1 dc in next stitch, dc2tog around.

Round 2

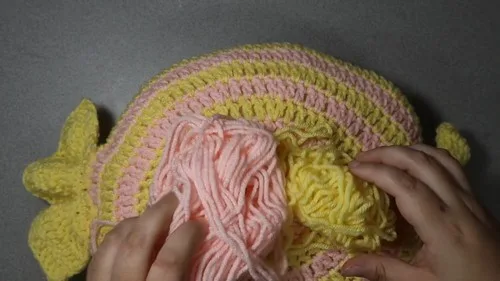
dc2tog around.Fasten off, leaving a long tail. Stuff the pillow with polyester fiberfill to your desired firmness.

Use the yarn needle to close the opening securely.

Check these before you start

  • Match your hook to the yarn weight you have chosen and keep tension consistent across rounds, since a looser or tighter round will show as a wobble in the spiral edge.
  • Color changes join only at the start of a round with a slip stitch; pull that first stitch snug so no gap appears at the seam.
  • Carry the unused color along the edge rather than cutting and rejoining it each round; this keeps the back tidy and leaves far fewer ends to weave in.

On one line

Rounds5
Parts2
LevelBeginner
Time3-5 hours
YarnWorsted

Set-up

  • Decide how many colors you want in the spiral and roughly how much of each before you start, since the increase rounds repeat until you choose to stop.
  • Work a small swatch through the first few rounds to confirm your dc tension lies flat rather than cupping or rippling.
  • Read through one full increase round before you begin, noting exactly where the plain dc sits between the 2-dc increases.
  • Set out your fiberfill and yarn needle ahead of time so the decrease rounds can move straight into stuffing without a pause.

Finishing

  1. Weave in loose ends left from each color join before the disc gets too full to work with easily.
  2. Stuff the pillow firmly and evenly through the opening, checking the shape holds round rather than lumpy.
  3. Thread the long tail onto the yarn needle, close the opening securely, and block gently if the disc needs coaxing back to flat.

Construction

The increase rounds add one more plain dc between each 2-dc increase every round, which is what keeps the disc growing flat instead of ruffling or cupping.

Each new color joins with a slip stitch at the start of its round rather than mid-round, so every color break lands at the same point and lines up into a visible spiral seam.

Time per section

Main Pattern (spiral increase rounds)about 2-3 hours, because the increase rounds grow longer each time you work them
Shape the pillow (decrease rounds)about 30-45 minutes, because the dc2tog decreases move faster than the increase side
Finishing (stuffing, closing, weaving ends)about 30 minutes, because stuffing evenly and closing the opening securely takes care

Photographs of this one

Every one was taken by whoever published the pattern, in the order the source listed them.
Crochet a spiral candy pillow with color-change rounds — photo 2
Crochet a spiral candy pillow with color-change rounds — photo 3
Crochet a spiral candy pillow with color-change rounds — photo 4

Common questions

How many rounds should you work before starting the decrease?
Work the increase rounds until the disc reaches the diameter you want for your pillow. There is no fixed final round count, since the spiral keeps growing evenly by design.
Can you make this pillow in a single color instead of several?
Yes, the increase and decrease structure works the same regardless of color. Using one color will simply remove the visible spiral effect that the round-start color joins create.
What causes the disc to cup instead of lying flat?
Cupping usually means the increases are falling too close together or tension is too tight. Check that each round adds exactly one more plain dc between increases, and loosen your tension slightly if the disc still domes.

These answers came from whoever first published the pattern, kept word for word.