Skip to the patterns
Crochet·Rituals
Menu

Flowers 3 Laid out for paper No account, no download

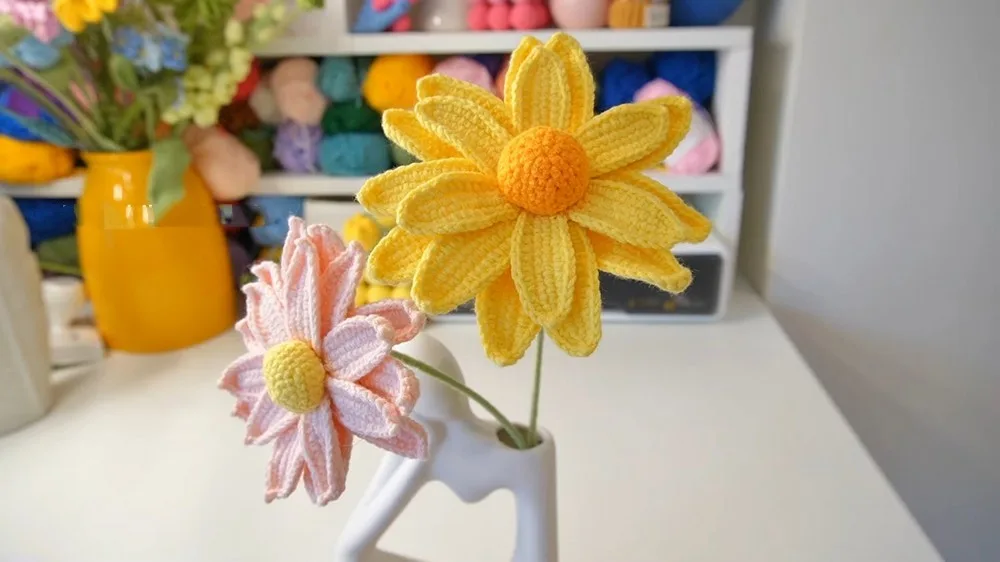
How to crochet a wired lavender daisy flower

A wired daisy flower: petals rounded to 18 stitches, chain-10 leaf, craft-wire support throughout.

Jump to the rounds Pin it
How to crochet a wired lavender daisy flower
Flowers · Worsted
Skill
Intermediate
Time
1.5-2 hours
Yarn weight
Worsted
Rounds
3

Intermediate

What the pattern's own author called it. Nothing here is graded again.

Worsted

What the sample was worked in. Any weight works; the size moves with it.

3

Each one is typed out whole and gets its own line.

You start this lavender daisy from a magic ring, building single crochet rounds that add X-shaped stitches until the petal count spreads to eighteen stitches by round three, then continues growing through rounds four and five before narrowing to shape the petal tip. A separate flat piece — a chain of ten with craft wire threaded through — becomes the leaf, finished with a picot at the point. Before the first stitch, have yarn in your chosen colors, a hook, craft wire cut to length, and scissors within reach.

Common mistakes and their fixes

Losing the X-stitch direction
Working all six Round 1 stitches with the same yarn-over direction flattens the X look. Alternate the direction stitch by stitch and check the first few against each other before continuing.
Adding wire after the chain is worked
Threading craft wire in after Row 1 is stitched leaves nothing for the leaf's edge to hold onto. Insert the wire right after chaining, before the first single crochet.
Miscounting the Round 3 repeat
Dropping the plain-stitch-then-increase rhythm in Round 3 throws off the 18-stitch total needed for rounds 4 and 5. Mark the start of the round and recount after every repeat.

The materials list

  1. Yarn in chosen colors
  2. Crochet hook (size not specified in your scrape)
  3. Craft wire to support petals
  4. Scissors

Listed by the pattern's own author, in their words.

Key to this pattern, 2 short forms

Start

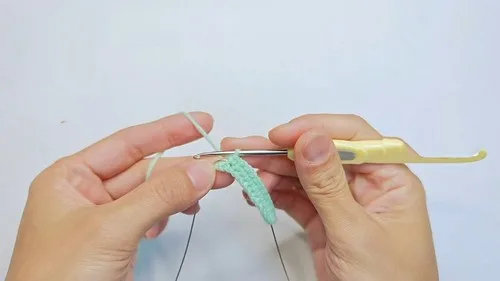
Slip knot, then chain (ch) 12. Add a piece of craft wire after chaining.

Round 1

Ch 1 more, single crochet (sc) in the second chain from the hook, then 11 sc along the chain.

Round 1

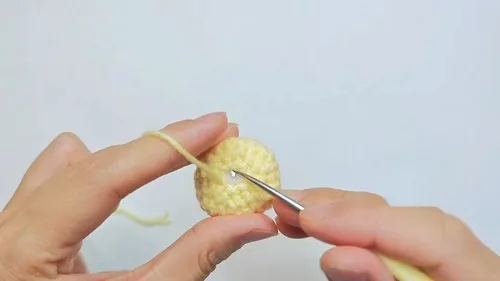
Cont'd: At the end, in the last stitch, make 3 sc to round the corner.With a magic ring or double knot, chain 1 (not counted as a stitch).Round 1: 6 X-shaped single crochets (different yarn-over direction).

Round 2

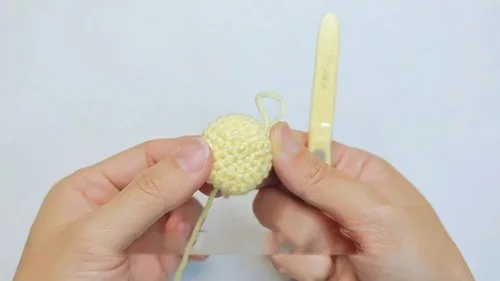
Increase in each stitch (12 stitches total). After Round 3: 1 X-shaped sc, then increase repeat for a total of 18 stitches.

Assembly, in order

Step 1Flower Base:: Create by chaining and forming a circle with single crochets, similar to starting the flower center.
Step 2Petals:: Attach petals around the base, starting with small petals closest to the center then adding layers of larger petals behind.
Step 3Finishing:: Attach the stem and secure all parts.

Check these before you start

  • Work Round 1's six X-shaped single crochets with a deliberately alternating yarn-over direction, so the X reads consistently across all six on the right side.
  • Keep the craft wire centered and flat inside the leaf's starting chain, since it is worked into the row itself rather than sewn in after the fact.
  • Confirm your stitch count at the end of Round 2 (12 stitches) and Round 3 (18 stitches) before moving on, since each round's increase builds on the last.

On one line

Rounds3
LevelIntermediate
Time1.5-2 hours
YarnWorsted

Set-up

  • Cut craft wire to length before you begin, since it gets worked directly into the leaf chain rather than added afterward.
  • Read through Round 3 before working it — the plain X-shaped sc paired with an increase repeat sets the 18-stitch count that rounds 4 and 5 build from.
  • Decide on petal color and leaf color before you start, since the flower center and the leaf are worked as two separate pieces.
  • Swatch a few stitches with your chosen hook and yarn first, since the pattern does not specify a hook size.

Finishing

  1. Weave in ends at the flower center and along the base of the leaf once the wire is secured inside the stitching.
  2. Shape the wired petals and leaf by hand into their finished curve, without heat or steam.
  3. Layer and attach the petals behind the flower base, then attach the stem, securing each piece with a few stitches at the back.

Construction

Round 2 increases in every stitch, doubling the count to 12, while Round 3 alternates one plain X-shaped sc with an increase — growth slows from a flat doubling to a controlled 18-stitch spread.

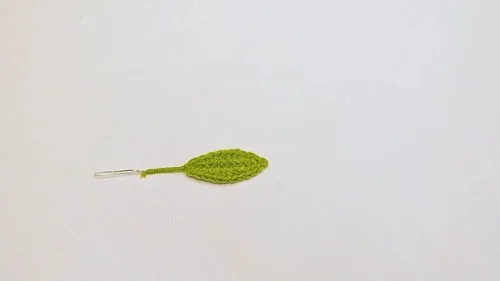
The leaf is worked flat from a starting chain rather than in the round, because the craft wire threaded through it needs a straight center line to hold its shape once sc and hdc are worked along both sides.

Time per section

Petal rounds (1 through 5)about 45-60 minutes, because the stitch count grows each round and the X-shaped stitches take more care than a plain sc round.
Leaf (chain 10 with wire)about 20-30 minutes, because working sc and hdc along both sides of the chain, plus the picot tip, is slow, fiddly work.
Assembly (petals, stem, finishing)about 20 minutes, because it is mostly layering and securing pieces already made.

Photographs of this one

Every one was taken by whoever published the pattern, in the order the source listed them.
How to crochet a wired lavender daisy flower — photo 2
How to crochet a wired lavender daisy flower — photo 3
How to crochet a wired lavender daisy flower — photo 4
How to crochet a wired lavender daisy flower — photo 5
How to crochet a wired lavender daisy flower — photo 6

Common questions

Why does Round 1 use X-shaped stitches instead of plain single crochet?
The alternating yarn-over direction gives each petal base a raised, textured X on the right side, distinct from a regular sc round. That same pattern returns in Round 3.
Does the leaf actually need the craft wire, or can it be skipped?
The wire is inserted into the starting chain before the first row and is what gives the leaf its shape and hold. Without it, the sc and hdc worked along both sides will lie flat.
What happens to the stitch count after Round 3?
Round 3 brings the total to 18 stitches, and rounds 4 and 5 follow a similar increasing pattern before the piece begins decreasing to shape the petal tip.

These answers came from whoever first published the pattern, kept word for word.