
Intermediate
What the pattern's own author called it. Nothing here is graded again.
 Crochet·Rituals
Amigurumi 12 Laid out for paper No account, no download
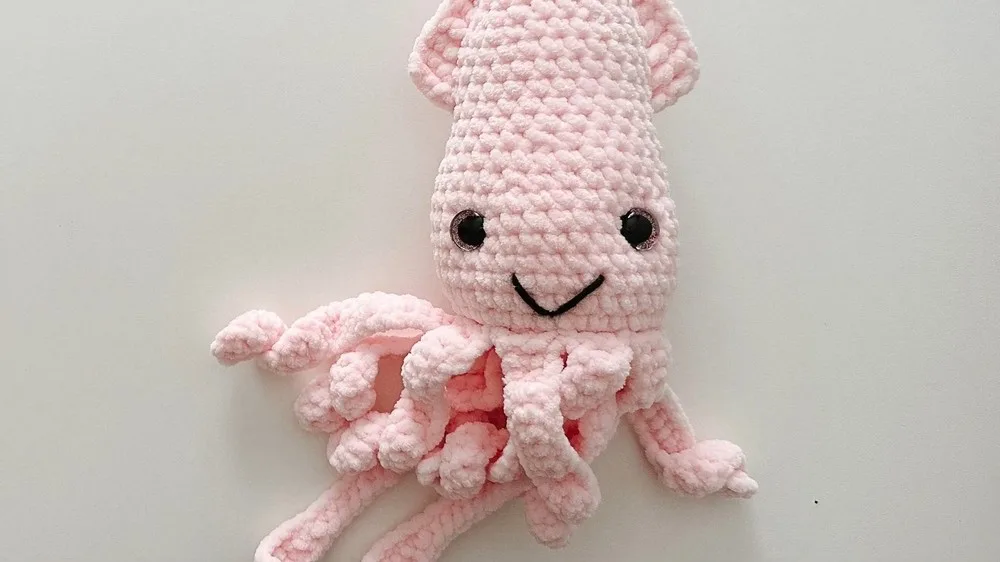
No-sew squid amigurumi: 12-round body, 5.5mm hook, 8 tentacles, fin spine, 16mm eyes.
Crochet Rituals · retyped from the source and laid out for print · added 1 Oct 2026
What the pattern's own author called it. Nothing here is graded again.

What the sample was worked in. Any weight works; the size moves with it.

Each one is typed out whole and gets its own line.
This squid builds from a 12-round body worked in continuous single crochet, starting at a magic ring of 8 stitches and shaping outward through a series of increase and decrease rounds. Eight standard tentacles and two long tentacles are worked flat in rows of chains and double crochet, then slip stitched directly to the body, which is what makes the piece no-sew. A separate triple-to-single crochet spine runs along the top for the fin, and black medium weight yarn with a darning needle shapes the eye area and smile after stuffing. Have bulky yarn, a 5.5 mm hook, 16 mm safety eyes, and fiberfill ready before starting.
Listed by the pattern's own author, in their words.
Key to this pattern, 7 short forms
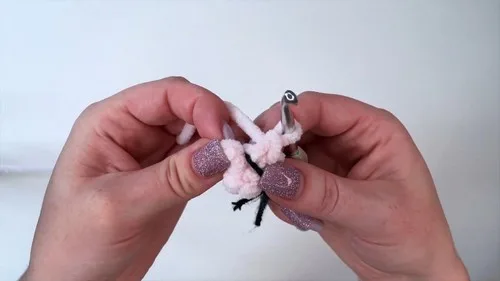
Create a magic ring and sc 8 inside the ring. Tighten the ring.
Increase (2 sc in the same stitch) around. (16 sts) In Row 3: Sc, increase repeat 8 times. (24 sts)
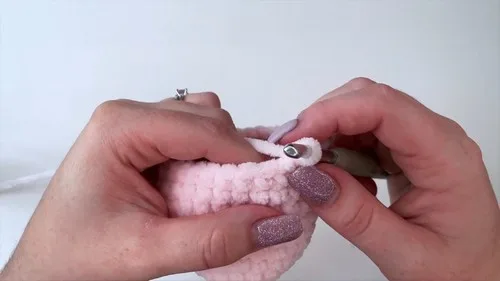
Sc in each stitch around. (24 sts)
Sc in next 2 sts, increase repeat 8 times. (32 sts) For Rows 6-11: Sc in each stitch around. (32 sts for each row)
Sc in the next 6 sts, decrease repeat 4 times. (28 sts)
Sc in each stitch around. (28 sts) In Row 14: Sc in the next 5 sts, decrease repeat 4 times. (24 sts)
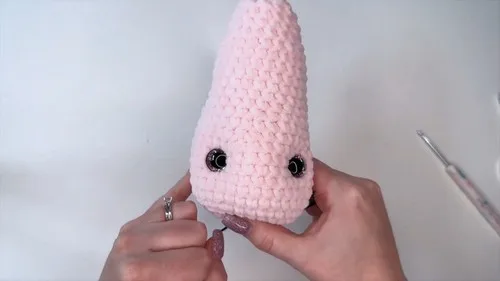
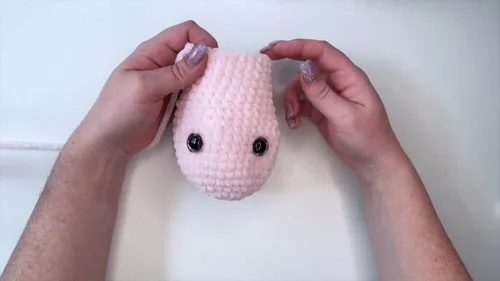
Sc in each stitch around. (24 sts for each row) After Row 20, stuff the body and place safety eyes between rows 9 and 10, ensuring 6 stitches gap between the eyes.
Sc in next 4 sts, decrease repeat 4 times. (20 sts) In Row 22: Sc in each stitch around. (20 sts)
Sc in next 3 sts, decrease repeat 4 times. (16 sts)
Sc in each stitch around. (16 sts) For Row 25: Sc in next 2 sts, decrease repeat 4 times. (12 sts)Stuff the squid firmly.
Sc in each stitch around. (12 sts)
Final Row Sc, decrease repeat 4 times. (8 sts) Finish stuffing and close the opening with a yarn tail.
Shaping the Face and Smile: Use black medium weight yarn and a darning needle to shape around the eyes and create a smile.
Magic ring Slip stitch (sl st)
Single crochet (sc)
Half double crochet (hdc)
Double crochet (dc)
Treble crochet (tr)
Standard Tentacles (Make 8): Attach yarn to row 4 at the bottom.
Chain 22, skip first 2 chains, and work back down with 2 dc in the third chain from the hook (count this as chain #1) followed by 1 dc in the next chain (count this as chain #2).
Continue alternating 2 dc and 1 dc for the first 10 chains, then 1 dc in each remaining chain for a gentle curl at the end.
Attach each tentacle by slip stitching to the body, skipping 2 stitches between each tentacle.
Long Tentacles (Make 2): Attach yarn to row 2 under the body, parallel to the eyes.
Chain 27, then work back down the chain, starting with a hdc, dc, 3 tr, dc, hdc, then 19 sc for a longer tentacle.
Finish with a slip stitch to the body.
| Rounds | 12 |
|---|---|
| Parts | 3 |
| Level | Intermediate |
| Time | 4-6 hours |
| Hook | 5.5 mm |
| Yarn | Bulky |
The body doubles its stitch count in the first two rounds (8 to 16 to 24), then adds a slower increase round at round 5 to reach 32 stitches before working flat rounds 6 through 11 — a standard sphere shaping that front-loads the increases so the later rounds can run even.
The fin is worked as a flat strip rather than in the round because its stitch heights step down from treble to double to half double to single crochet on each side, a graduated shape that continuous round crochet cannot produce.
| Body | about 1 to 1.5 hours because it runs 12 rounds through two increase sections and one decrease section |
|---|---|
| Tentacles | about 2 hours because 8 standard tentacles plus 2 long tentacles are each worked flat and then slip stitched on individually |
| Fin and face | about 1 hour because the graduated tr-to-sc fin and the darning-needle eye and smile shaping are both fiddly, detail-level work |
Every one was taken by whoever published the pattern, in the order the source listed them.
These answers came from whoever first published the pattern, kept word for word.