
Intermediate
What the pattern's own author called it. Nothing here is graded again.
 Crochet·Rituals
Amigurumi 53 Laid out for paper No account, no download
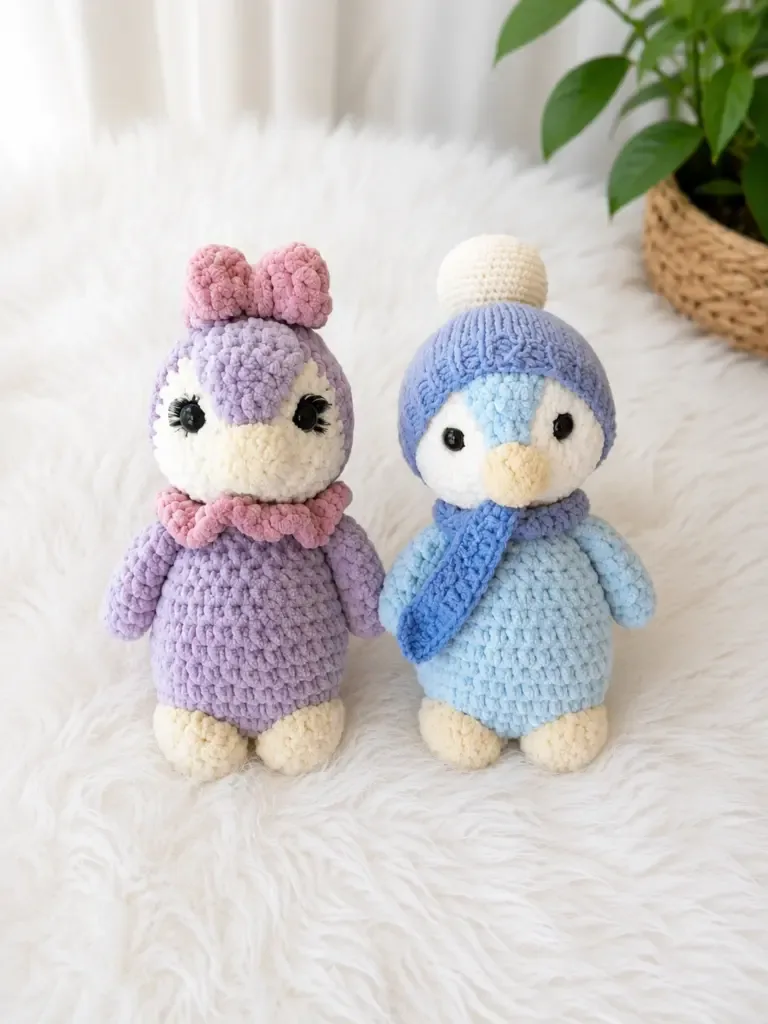
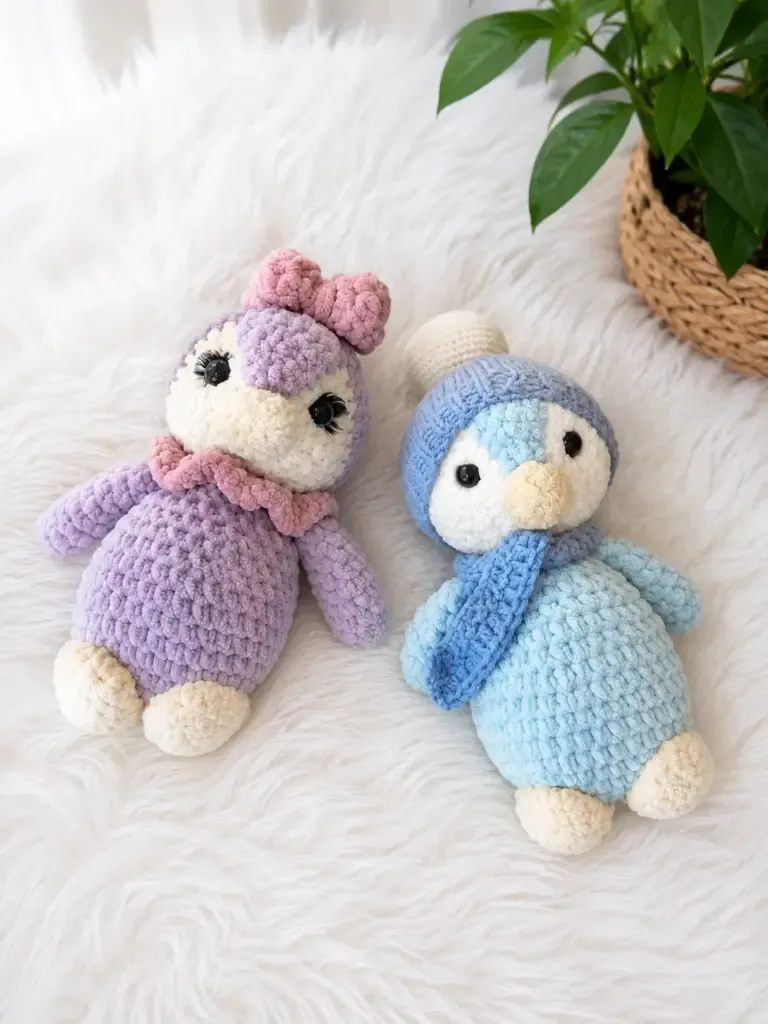
Amigurumi penguin: head, body, legs, wings, collar & bow. 15-round head, E-4/3.5mm hook. Beginner-ready.
Crochet Rituals · retyped from the source and laid out for print · added 16 Sep 2026
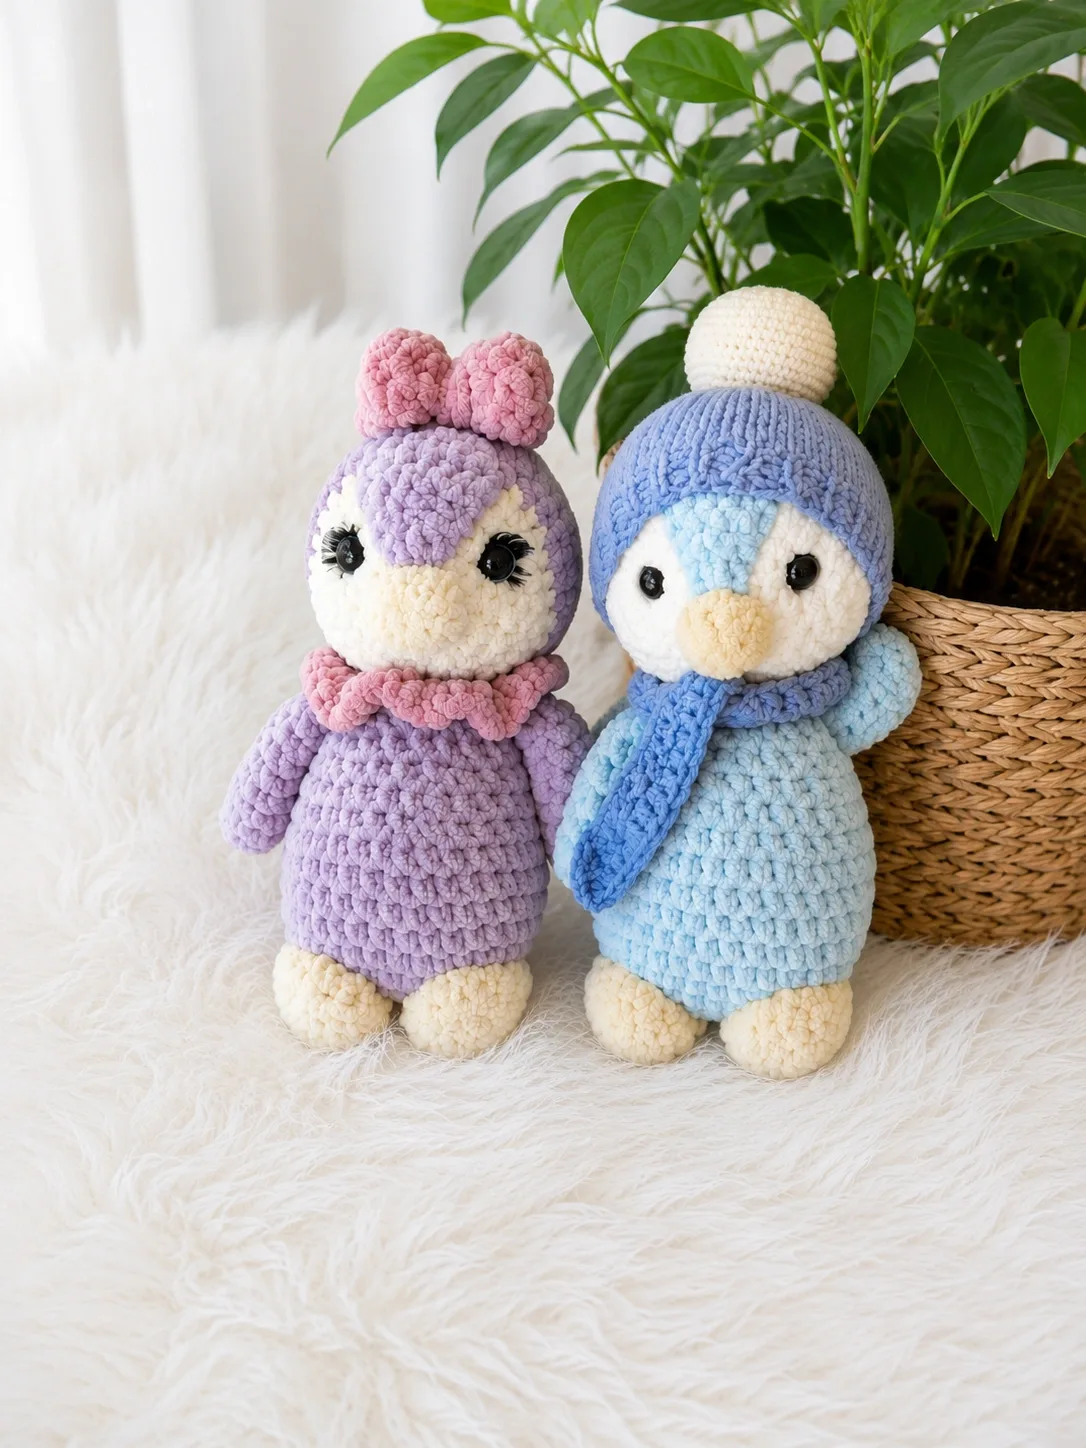
What the pattern's own author called it. Nothing here is graded again.

What the sample was worked in. Any weight works; the size moves with it.

Each one is typed out whole and gets its own line.
This penguin builds from six worked pieces — a 15-round head with a separate face stripe, a round body, two legs, two wings, a collar, and a small bow — all in worsted weight and joined by hand at the end. The head starts in yellow for the beak before shifting to the body color, and the white belly patch is picked up later as a flat piece rather than crocheted in the round. Before starting, have yellow, white, a blue or purple main color, and a bow contrast color on hand, along with two 8–10 mm safety eyes and fiberfill. A tight gauge on an E-4 / 3.5 mm hook matters more here than exact stitch counts.
Listed by the pattern's own author, in their words.
Key to this pattern, 8 short forms
Begin with yellow yarn (beak/nose color).
4 sc in MR. (4)
inc in each st around. (8)
inc, 7 sc. (9)Cut yellow yarn and join white yarn (face/belly color).
inc in each st around. (18)
2 sc, inc repeat 6 times around. (24)
3 sc, inc repeat 6 times around. (30)
4 sc, inc repeat 6 times around. (36)
sc in each st around. (36)Insert safety eyes between Rnds 6 and 7, spaced approximately 10 stitches apart.Cut white yarn and join blue or purple yarn (head color). Begin adding fiberfill now and continue as you work the decreases.
sc in each st around. (36)For Rnd 9 note: work the first 15 sts through both loops as usual, the next 6 sts through the front loop only (FLO), then the remaining 15 sts through both loops again. This creates the subtle ridge that separates the white face from the head color.
sc in each st around. (36)
4 sc, dec repeat 6 times around. (30)
3 sc, dec repeat 6 times around. (24)
2 sc, dec repeat 6 times around. (18)
1 sc, dec repeat 6 times around. (12)
dec 6 times around. (6)Cut yarn, leaving a tail. Add a final pinch of fiberfill and shape the head into a round form. Pull the opening closed through the remaining 6 stitches and weave in the end.
This piece is worked flat in turning rows, picking up from the front loops left open in Rnd 9 of the Head.
Insert hook into the front loop of the first of the 6 exposed front loops from Rnd 9 and work 6 sc across those loops. (6)
Turn, ch 1, 6 sc. (6)
Turn, 6 sc. (6)
Turn, 5 sc. (5)
Turn, 4 sc. (4)
Turn, 3 sc. (3)
Turn, 2 sc. (2)Cut yarn, leaving a long tail. Use this tail to sew the stripe neatly onto the head.
Do not stuff the legs.
6 sc in MR. (6)
inc in each st around. (12)
sc in each st around. (12)
1 sc, dec repeat 4 times around. (8)
dec 4 times around. (4)Fasten off and close. Do not stuff.
Do not stuff the wings.
6 sc in MR. (6)
inc in each st around. (12)
inc, 5 sc repeat 2 times around. (14)
sc in each st around. (14)
2 sc, dec repeat 3 times, 2 sc. (11)
1 sc, dec repeat 3 times, 2 sc. (8)Do not stuff. Fold the wing flat so the two sides align, then work 4 sc through both layers to close the opening. Leave a yarn tail for joining into the body.
6 sc in MR. (6)
inc in each st around. (12)
1 sc, inc repeat 6 times around. (18)
2 sc, inc repeat 6 times around. (24)
3 sc, inc repeat 6 times around. (30)
4 sc, inc repeat 6 times around. (36)
sc in each st around. (36)
4 sc, dec repeat 6 times around. (30)
sc in each st around. (30)
3 sc, dec repeat 6 times around. (24)
sc in each st around. (24)
2 sc, dec repeat 6 times around. (18)
1 sc, dec repeat 5 times, 3 sc. (13)
Wing join round 4 sc working through the body stitch and the closed edge of the first wing simultaneously, 3 sc, 4 sc working through the body stitch and the closed edge of the second wing simultaneously, 2 sc. (13)Work 1 sl st for a neat closure. Stuff the body firmly with fiberfill before finishing.
The collar is worked in flat turning rows, picking up from the front loops of the 13 stitches at the neck opening of the body.
Working into the front loops of the 13 neck sts, inc in each st across. (26)
1 sc, inc repeat 13 times across. (39)
sc in each st across. (39)Fasten off and weave in ends.
ch 64. (64 ch)
Starting in the 4th ch from the hook, work 1 double crochet in each ch across. (60 dc)
Work 1 double crochet in each stitch across the reverse side of the foundation chain. (60 dc)Fasten off, leaving a long tail. Cinch the center of the bow piece tightly with the yarn tail and wrap it several times to form the bow knot. Secure firmly.
| Rounds | 53 |
|---|---|
| Parts | 7 |
| Level | Intermediate |
| Time | 4-6 hours |
| Hook | 3.5 mm |
| Yarn | Worsted |
The face stripe is worked flat in turning rows rather than in the round because it is picked up from only 6 exposed front loops left open in Rnd 9 of the head — a partial opening that a spiral round cannot produce on its own.
The wings are joined directly into the body at Rnd 18 during construction rather than sewn on afterward, which is why the assembly step for wings is a check-and-tack rather than a full seam.
| Head and face stripe | about 45-60 minutes, because the head runs 15 rounds plus color and loop-count shaping, and the face stripe adds 7 more turning rows picked up from it |
|---|---|
| Legs and wings (both pairs) | about 40-50 minutes, because each leg and wing is quick at 5-6 rounds but there are four pieces total to repeat |
| Body, collar, bow, and assembly | about 60-90 minutes, because the collar's 3 turning rows and the bow's 2 rounds are small but fiddly, and whipstitching the head, legs, and wing tails takes care |
Every one was taken by whoever published the pattern, in the order the source listed them.
These answers came from whoever first published the pattern, kept word for word.