
Intermediate
What the pattern's own author called it. Nothing here is graded again.
 Crochet·Rituals
Bags 27 Laid out for paper No account, no download
Cat tote in bulky cotton: 92-st spiral body over 40 rounds, sc2tog ear shaping, J/10 hook.
Crochet Rituals · retyped from the source and laid out for print · added 12 Sep 2026
What the pattern's own author called it. Nothing here is graded again.

What the sample was worked in. Any weight works; the size moves with it.

Each one is typed out whole and gets its own line.
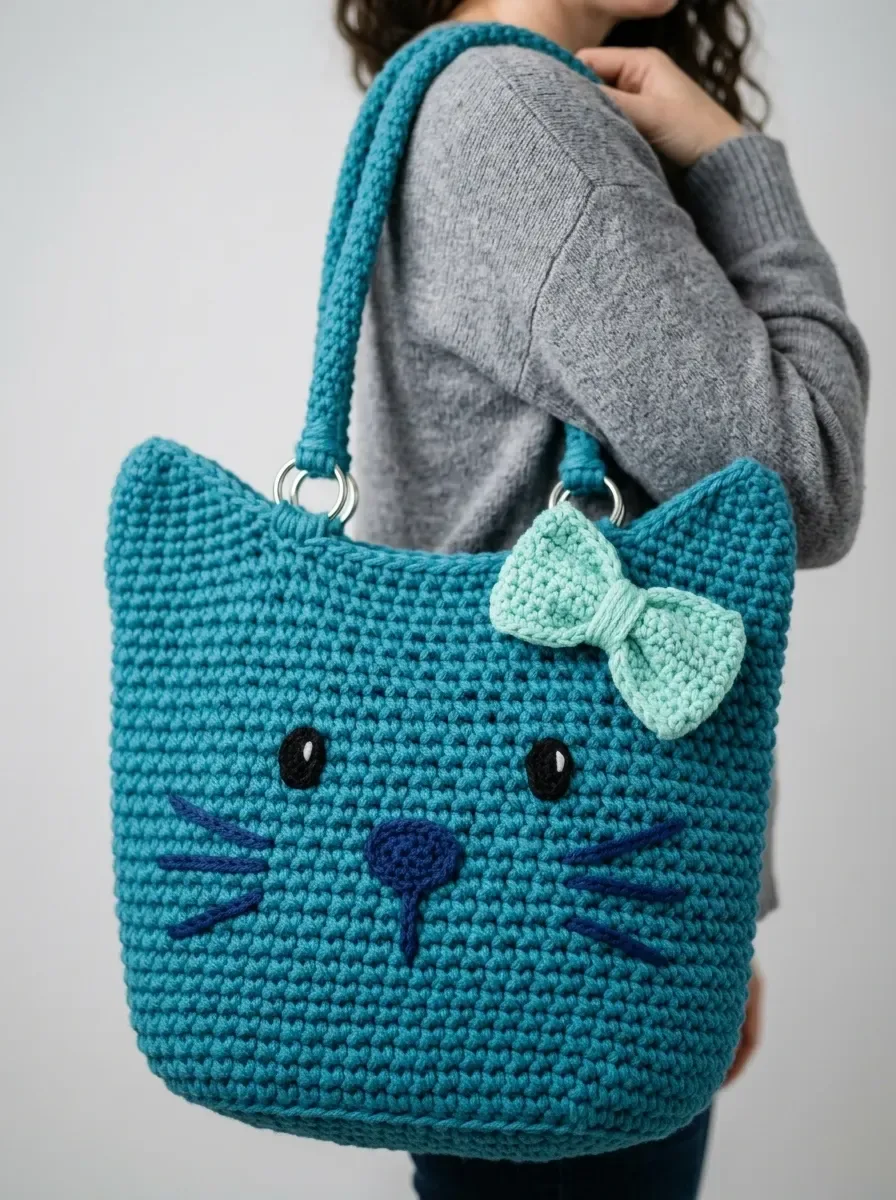
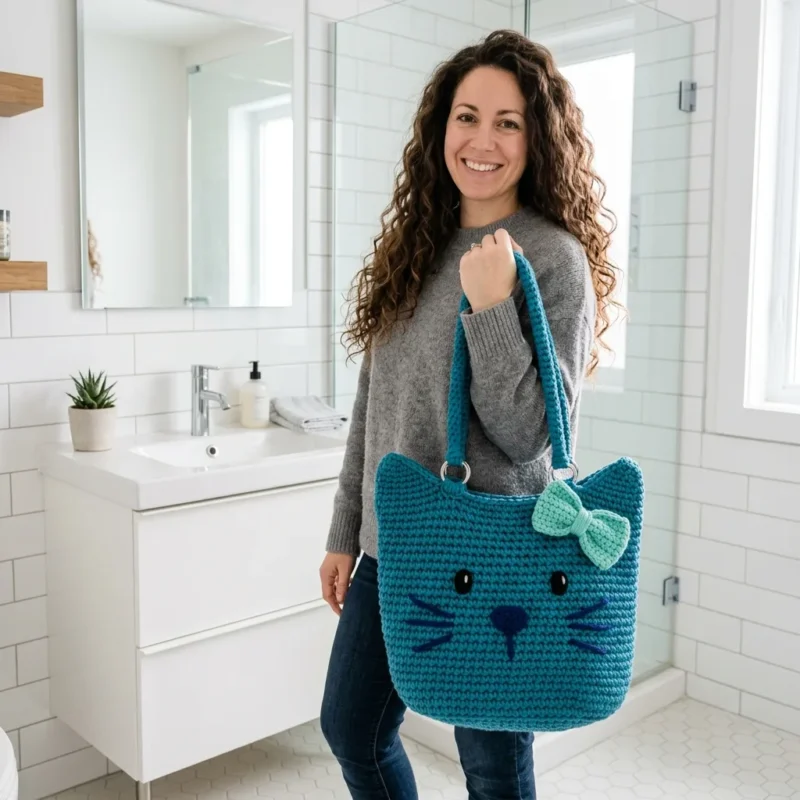
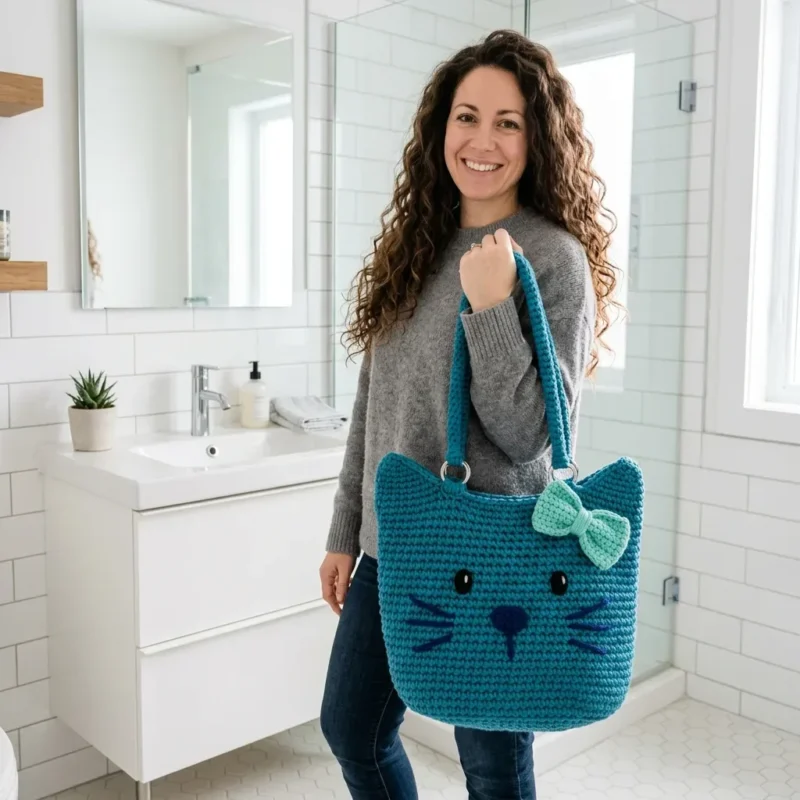
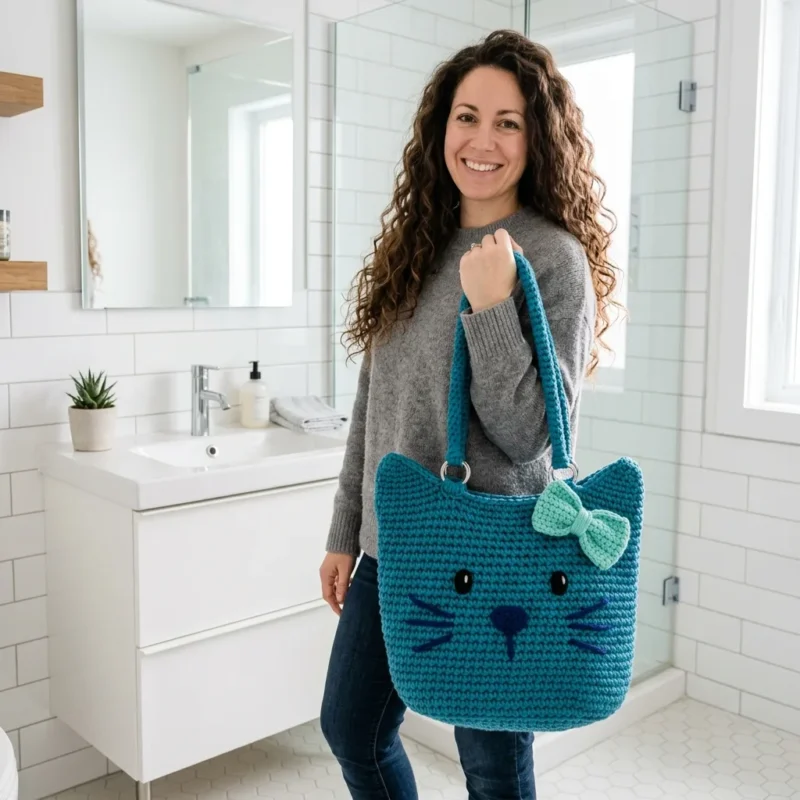
This tote builds a cat face and body from a single continuous spiral: 92 single crochet stitches per round for 40 rounds, worked without joins until the body reaches about 10 inches tall. Two corners get marked at the top edge, then flat triangular ears are shaped from those points with sc2tog decreases. A small mint bow, built from a flat center piece and bow loops, sits on the front alongside navy embroidered face details. Have a stitch marker, yarn needle, and two D-rings ready before starting.
Based on the proportions shown, this kitty tote bag measures approximately: Width 14 inches across the top; Height 12 inches from base to ear tips (about 10 inches to the top edge, plus 2 inch ears); Depth 4 inches at the base; Strap length 24 inches (adjustable).
Listed by the pattern's own author, in their words.
Key to this pattern, 8 short forms
The bottom of the tote is worked flat in rows, creating an oval shape. This gives your bag a nice structured base.
Ch 25. Sc in 2nd ch from hook and in each ch across. (24 sc)
Ch 1, turn. 2 sc in first st, sc in next 22 sts, 2 sc in last st. (26 sc)
Ch 1, turn. 2 sc in first st, sc in next 24 sts, 2 sc in last st. (28 sc)
Ch 1, turn. 2 sc in first st, sc in next 26 sts, 2 sc in last st. (30 sc)
Ch 1, turn. 2 sc in first st, sc in next 28 sts, 2 sc in last st. (32 sc)
Ch 1, turn. Sc in each st across. (32 sc)
Repeat Row 6. (32 sc each row)You should now have a rectangular base approximately 4 inches by 9 inches.
Now you’ll work in continuous rounds to build up the sides. Place a stitch marker at the beginning of your round and move it up as you go.
Ch 1. Working in BLO around the entire edge of the base, sc evenly around all four sides. Work approximately 32 sc along each long side and 14 sc along each short side. Place marker. (approximately 92 sc)Don’t stress about the exact count here. The important thing is that your stitches are evenly spaced and the work lies flat without puckering.
Sc in each st around. Do not join. Continue working in a spiral, moving your marker up each round. (92 sc per round)After 40 rounds, your bag body should measure approximately 10 inches tall. Try it on your shoulder with the strap placement in mind. Add or subtract rounds if needed.
Ear 1 (Right Side):
Starting at right corner marker, sc across 23 sts to the next corner marker. Ch 1, turn. (23 sc)
Sc2tog, sc to last 2 sts, sc2tog. Ch 1, turn. (21 sc)
Sc2tog, sc to last 2 sts, sc2tog. Ch 1, turn. (19 sc)
Sc2tog, sc to last 2 sts, sc2tog. Ch 1, turn. (17 sc)
Sc2tog, sc to last 2 sts, sc2tog. Ch 1, turn. (15 sc)
Sc2tog, sc to last 2 sts, sc2tog. Ch 1, turn. (13 sc)
Sc2tog, sc to last 2 sts, sc2tog. Ch 1, turn. (11 sc)
Sc2tog, sc to last 2 sts, sc2tog. Ch 1, turn. (9 sc)
Sc2tog, sc to last 2 sts, sc2tog. Ch 1, turn. (7 sc)
Sc2tog, sc in next 3 sts, sc2tog. (5 sc) Fasten off, leaving a 6 inch tail for weaving in.
Ear 2 (Left Side):
Skip the 23 stitches along one short side of the bag. Join yarn at the next corner marker. Repeat Rows 1 through 10 as for Ear 1.
The strap needs to be sturdy since it carries all the weight. Working with double strands or a tighter gauge helps here.
Ch 7. Sc in 2nd ch from hook and in each ch across. (6 sc)
Ch 1, turn. Sc in each st across. (6 sc)This creates a strap approximately 30 inches long. Adjust the number of rows for your preferred length. I recommend trying it on before fastening off. Fasten off, leaving long tails for attaching.
These tabs loop through the metal rings and attach to the inside of the bag.
Ch 9. Sc in 2nd ch from hook and in each ch across. (8 sc)
Ch 1, turn. Sc in each st across. (8 sc)Fasten off, leaving a 12 inch tail.
This little mint bow adds so much personality. It’s quick and simple.
Ch 5. Sc in 2nd ch from hook and in each ch across. (4 sc)
through 8: Ch 1, turn. Sc in each st across. (4 sc) Fasten off, leaving a long tail.
Ch 21. Sc in 2nd ch from hook and in each ch across. (20 sc)
through 6: Ch 1, turn. Sc in each st across. (20 sc) Fasten off, leaving a long tail.
Eyes: If using safety eyes, position them about 4 inches up from the bottom of the bag and roughly 3 inches apart. Mark placement with pins first. Push the post through from the outside and secure the backing on the inside.
If embroidering the eyes, use black yarn and make tight satin stitch circles about the size of a nickel.
Nose: Using navy yarn, embroider a small triangle nose centered below and between the eyes. Make it about 1 inch wide at the top.
Whiskers: Using navy yarn, embroider 3 straight lines on each side of the nose, angling outward. Each whisker should be about 1.5 inches long.
Mouth: Embroider two small curved lines extending down from the bottom point of the nose, like an upside down Y.
| Rounds | 27 |
|---|---|
| Parts | 8 |
| Level | Intermediate |
| Time | 4-6 hours |
| Hook | 6.0 mm |
| Yarn | Bulky |
The body holds a constant 92 sc across all 40 rounds because it is worked as a continuous spiral rather than joined rounds, which is also why a stitch marker rather than a slip stitch join tracks the round start.
| Body (40-round spiral) | about 3 to 4 hours because of the round count worked in bulky weight yarn |
|---|---|
| Ears (corner shaping rows) | about 45 minutes because the sc2tog decreases on both ears need matching, fiddly counts |
| Bow assembly (center piece and bow loops) | about 30 minutes because the pieces are small and the navy face details are embroidered by hand |
Every one was taken by whoever published the pattern, in the order the source listed them.
These answers came from whoever first published the pattern, kept word for word.