Skip to the patterns
Crochet·Rituals
Menu

Amigurumi 11 Laid out for paper No account, no download

How to crochet a stackable amigurumi frog

Amigurumi frog body in 11 rounds with a 3.5mm hook, bobble-stitch texture, and safety eyes.

Jump to the rounds Pin it
How to crochet a stackable amigurumi frog
Amigurumi · Super Bulky
Skill
Beginner
Time
2-3 hours
Yarn weight
Super Bulky
Hook
3.5 mm
Rounds
11

Beginner

What the pattern's own author called it. Nothing here is graded again.

Super Bulky

What the sample was worked in. Any weight works; the size moves with it.

11

Each one is typed out whole and gets its own line.

This frog body is a single piece, worked continuously from a magic ring in eleven rounds, shaped with regular increases through round three and bobble-stitch texture added in rounds four and eight, all without breaking the round shape. Before you pick up the hook, have the super bulky yarn, a 3.5mm hook, 8mm safety eyes, polyester stuffing, and a sewing needle with thread ready — safety eyes are added in round six, the body is stuffed as you close it, and the mouth is embroidered after sewing, so nothing about finishing waits until the very end.

Common mistakes and their fixes

Bobble stitches placed in the wrong spot
Round 4 mixes increases and bobble stitches at set points rather than repeating evenly like round 3 — count stitches from the start of the round instead of guessing by eye.
Magic ring left loose at round 1
Pull the tail firmly before working round 2 so no hole remains at the base once the body is stuffed.
Losing the round start without a join
Since rounds are continuous rather than joined, a dropped stitch marker makes it easy to misplace the round 4 bobbles — replace the marker immediately if it slips.

The materials list

  1. Premier Parfait Chunky yarn in Lime Green (#49) – or any #6 Super Bulky yarn of your choice
  2. 3.5mm crochet hook (adjust size based on your yarn weight)
  3. Safety eyes – 8mm size for that perfect froggy expression
  4. Polyester stuffing for that perfect huggable shape
  5. Sewing thread for finishing touches
  6. Sewing needle for assembly

Listed by the pattern's own author, in their words.

Key to this pattern, 7 short forms

Creating the Body

Round 1

Start with 6 sc in a magic ring (6 stitches total)

Round 2

Work 6 increases around (12 stitches total)

Round 3

(inc, sc) repeat 6 times (18 stitches total)

Round 4

This is where the fun begins! Work: inc, sc, sc, inc, bob st, sc, sc, bob st, then (inc, 2 sc) repeat 3 times, inc (24 stitches total)

Round 5

Work 24 sc evenly around (24 stitches total)

Round 6

Time to add those adorable safety eyes! Position them carefully for the best expression.

Round 7

(dec, 2 sc) repeat 6 times (18 stitches total)

Round 8

Create texture with: 3 sc, bob st, 4 sc, bob st, 3 sc, bob st, 4 sc, bob st (18 stitches total)

Round 9

(sc, dec) repeat 6 times (12 stitches total)

Round 10

Now’s the time to stuff your froggie! Make sure it’s nice and plump.

Round 11

Work 6 decreases around (6 stitches total)

Assembly, in order

Step 1Close the opening: Slip stitch and leave a long tail for sewing
Step 2Final stuffing: Add any last bits of stuffing needed
Step 3Secure closure: Sew the opening closed securely
Step 4Create the smile: Use your sewing needle and thread to embroider a charming froggy mouth

Check these before you start

  • The 3.5mm hook is small for a #6 super bulky yarn on purpose; the tighter gauge keeps stitches closed so stuffing does not peek through.
  • Keep a stitch marker moving through every round from round 1 onward — with no join round used, losing the round start makes the bobble placement in round 4 hard to locate.
  • Add stuffing gradually as the rounds build rather than all at once at closure; the safety eyes need firm, even fill behind them to sit straight.
  • Don't overstuff the frog — it should be firm but still able to stack; take extra care with the bobble stitches in rounds 4 and 8 since they create the frog's distinctive texture; and place the safety eyes before round 7, while the opening is still large enough for easy access.

On one line

Rounds11
LevelBeginner
Time2-3 hours
Hook3.5 mm
YarnSuper Bulky

Set-up

  • Check that the yarn amount on hand covers a full body worked in super bulky weight — this piece does not use scraps.
  • Place a stitch marker in round 1 and move it every round; the body is worked in continuous rounds with no slip stitch join between them.
  • Work a small swatch first to confirm the 3.5mm hook gives a fabric tight enough to hold stuffing without gaps showing between stitches.
  • Read round 4 in full before starting it — the bobble stitches fall at specific points among the increases, not evenly spaced like round 3.

Finishing

  1. Weave in the tail left at the magic ring before closing the last round.
  2. Add any remaining stuffing to firm up the shape, then slip stitch the opening closed and leave a long tail for sewing.
  3. Sew the opening securely with the sewing needle and thread, then embroider the mouth over the closed seam for the finished froggy expression.

Construction

Rounds 1 through 3 double the stitch count at each round (6, 12, 18), the standard build for a rounded amigurumi start before any texture is added.

Round 4 combines increases with two bobble stitches placed among the stitches rather than a plain increase round, so the shaping and the texture happen in the same round instead of separate ones.

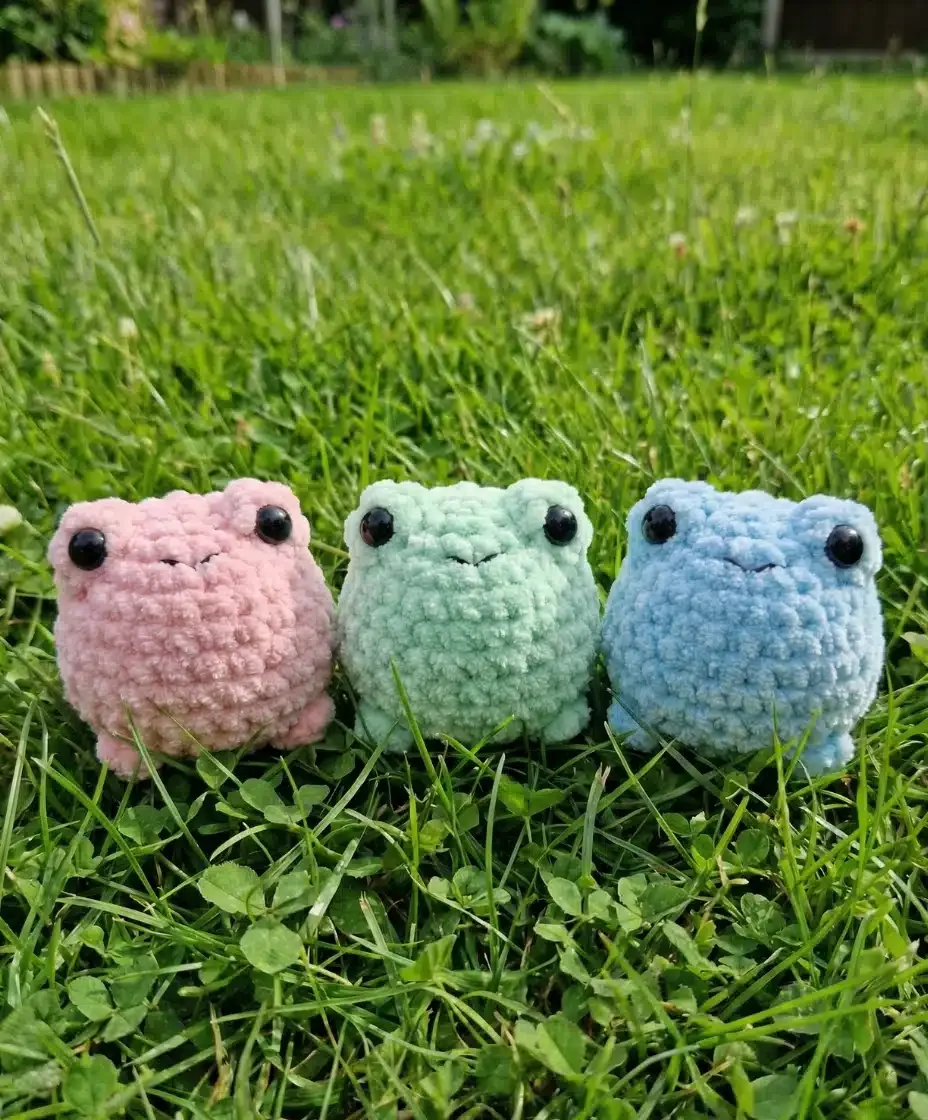
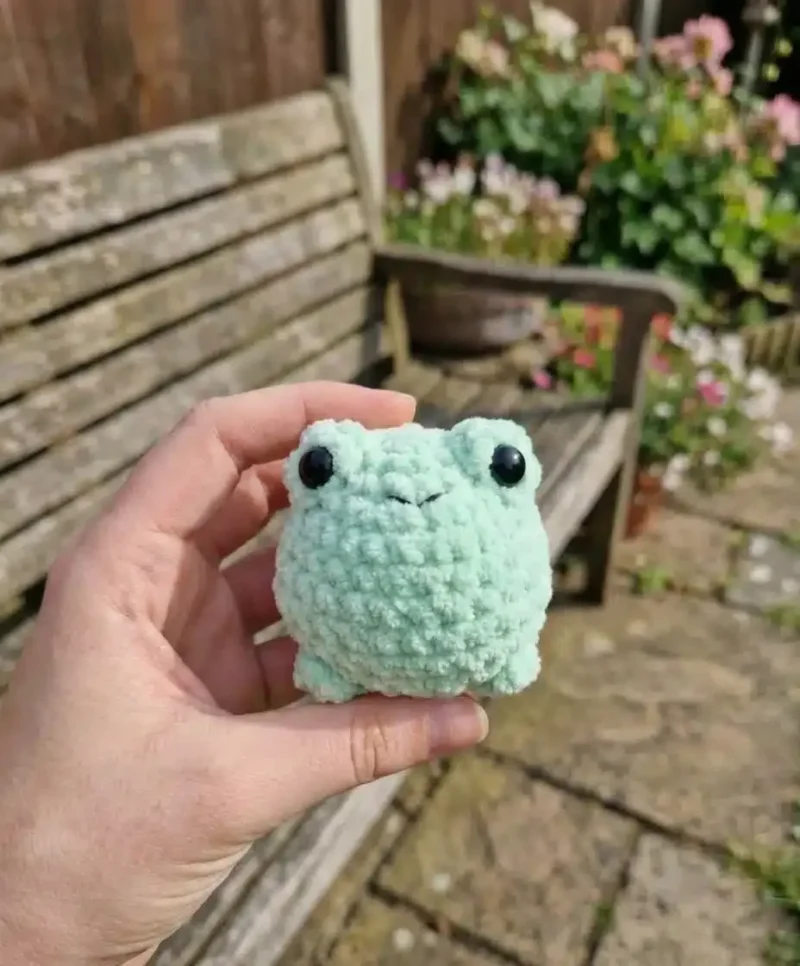
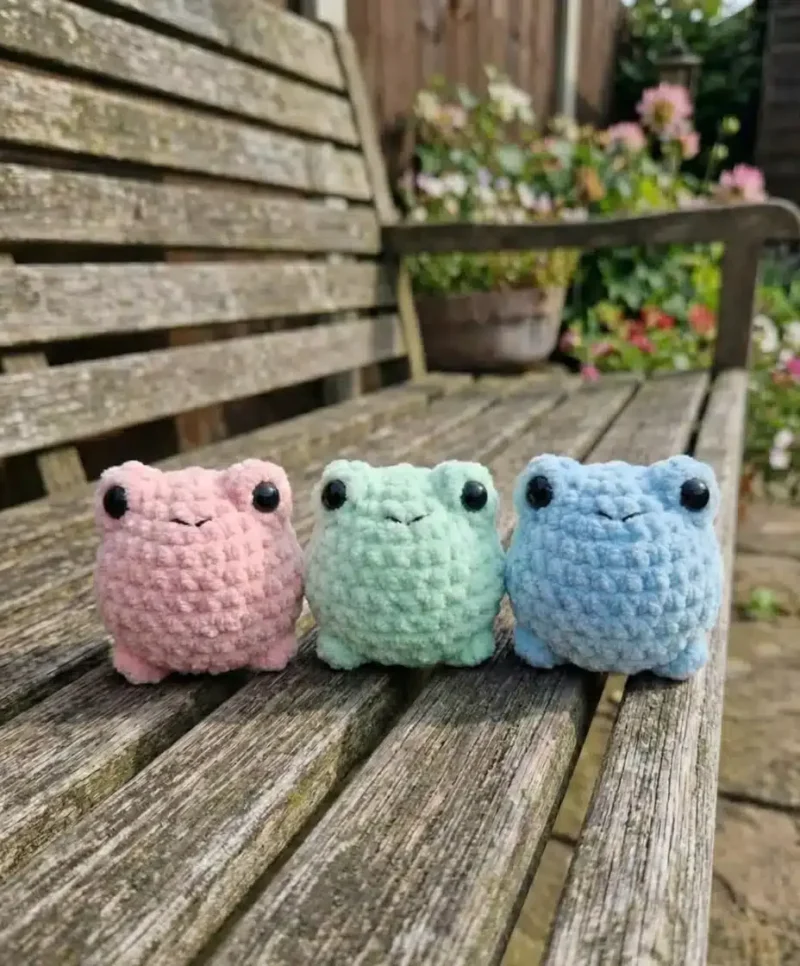
The frog's proportions are the real trick to this pattern — a slightly flattened bottom paired with a rounded top is what lets each finished frog stack neatly on another, turning the amigurumi body into a stackable toy or display piece.

Time per section

Rounds 1-3, foundation increasesabout 15 minutes, because the stitch counts are small and the shaping is a simple repeat
Round 4, bobble and increase roundabout 15-20 minutes, because the bobble placement needs stitch-by-stitch counting rather than an even repeat
Remaining rounds through finishingabout 1.5-2 hours, because stuffing, closing, sewing eyes, and embroidering the mouth are all done by hand after the last round

Photographs of this one

Every one was taken by whoever published the pattern, in the order the source listed them.
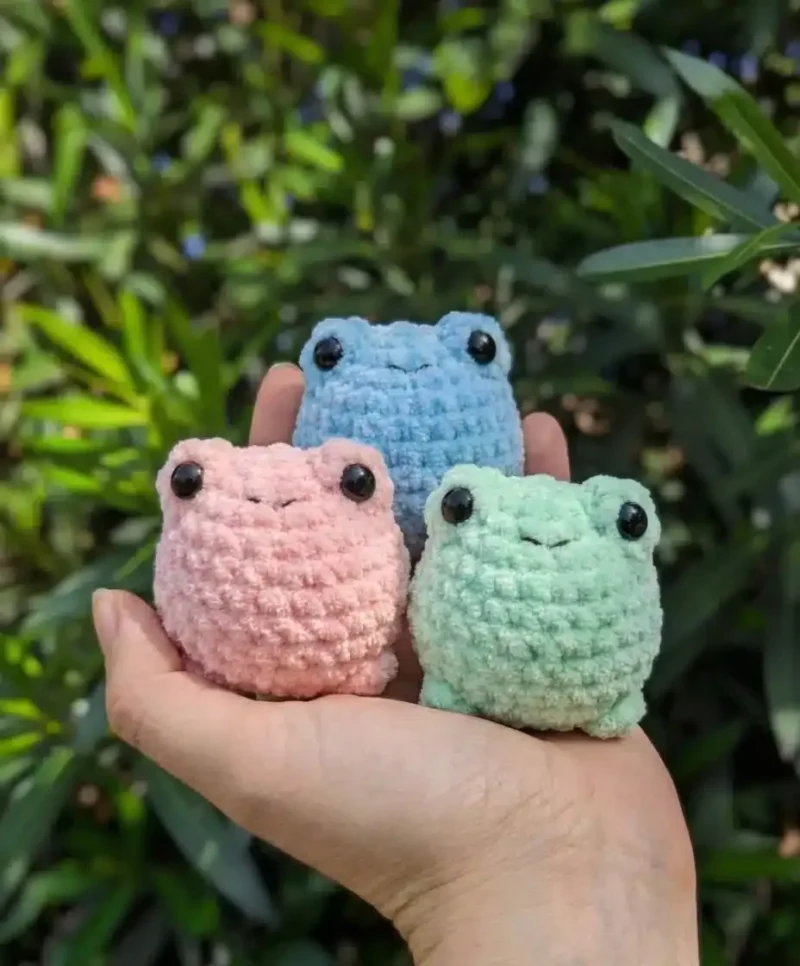
How to crochet a stackable amigurumi frog — photo 2
How to crochet a stackable amigurumi frog — photo 3
How to crochet a stackable amigurumi frog — photo 4

Common questions

Where exactly do the bobble stitches go in round 4?
They sit among the increases rather than in a repeat pattern — read through round 4 once before starting to see where each bobble falls relative to the plain stitches.
When should the safety eyes be attached?
Attach them in round 6, before the body is closed and heavily stuffed, since the eyes need to be placed and secured on the fabric while it can still be reached from the inside — ideally before round 7 while the opening is largest.

These answers came from whoever first published the pattern, kept word for word.