
Intermediate
What the pattern's own author called it. Nothing here is graded again.
 Crochet·Rituals
Amigurumi 45 Laid out for paper No account, no download
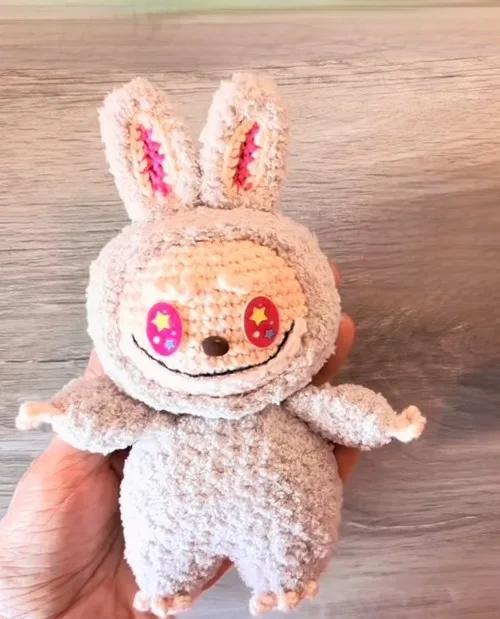
A 22-round head, a separate crocheted hat, chained ears, and tiny teeth build this amigurumi doll using 1.4-3.5 mm
Crochet Rituals · retyped from the source and laid out for print · added 13 Sep 2026
What the pattern's own author called it. Nothing here is graded again.

What the sample was worked in. Any weight works; the size moves with it.

Each one is typed out whole and gets its own line.
This doll comes together from seven separate pieces: a twenty-two-round head, a fourteen-round hat, a two-row ear worked flat and folded, a one-round strip of teeth, a five-round pair of feet, a nine-round pair of hands, and a nine-round body. Each part uses its own hook size — 2 mm for the head, feet, hands, and ear; 3.5 mm for the hat, the body, and the later rounds of the feet and hands; and 1.4 mm for the tiny teeth — so keep the doll's full set of hooks within reach alongside stuffing, a yarn needle, and scissors. Because color choice is left open, decide on a main shade plus a white contrast for the ear and pink accents for the feet and hands before starting, and settle on a stuffing density in advance so all seven pieces hold the same firmness.
Listed by the pattern's own author, in their words.
Key to this pattern, 8 short forms
Hook: 2.0 mm
Start with a magic ring, 6sc = 6sc
inc x 6 = 12sc
(1sc, inc) x 6 = 18sc
(2sc, inc) x 6 = 24sc
(3sc, inc) x 6 = 30sc
(4sc, inc) x 6 = 36sc
(5sc, inc) x 6 = 42sc
(6sc, inc) x 6 = 48sc
R9-15: 48sc (7 rounds)
(6sc, dec) x 6 = 42sc
(5sc, dec) x 6 = 36sc
(4sc, dec) x 6 = 30sc
(3sc, dec) x 6 = 24sc
(2sc, dec) x 6 = 18sc
(1sc, dec) x 6 = 12sc
dec x 6 = 6sc
Hook: 3.5 mm
Start with a magic ring, 6sc = 6sc
inc x 6 = 12sc
(1sc, inc) x 6 = 18sc
(2sc, inc) x 6 = 24sc
(3sc, inc) x 6 = 30sc
(4sc, inc) x 6 = 36sc
R7-13: 36sc (7 rounds)
(4sc, dec) x 6 = 30sc, fasten off
Hook: 2.0 mm
Start with a slip knot and make 6ch. 5sc Last sc: Change color to white yarn.
FLO: sc. inc. sc. inc. (inc top) (sc. inc. sc. inc. sc/on-chain) = 16sc 1sc on the last side and slst. fasten offSew 2 pieces together
Hook: 1.4 mm
Start with a slip knot and make 3ch. (3ch sc hdc) x 10 times. Leave a long yarn tail for sewing
Hook: 2.0 mm
Start with a slip knot and make 5 chains (ch). 3sc, (3sc in 1sc), 3sc/other side = 9sc
Back loops only (BLO) slst/ch, inc. sc, (slst/3ch slst sc/toe) x 3, slst, 2sc. inc = 10sc
slst/ch, 4sc, (2sc corner), 4sc = 10sc Last sc: Change color to pink yarn.
slst/ch2, (4hdc, hdc/inc) x 2 = 12sc Change hook to 3.5 mm
slst/ch, 12sc (1 round) Slst and fasten off
Hook: 2.0 mm
Start with a slip knot and make 3ch. (3ch, 2slst) x 4 (finger), ch1
(4sc front) + (4sc back) = 8sc Join 4sc
slst/ch, (4sc join), ch1/turn = 4sc Last sc: Change color to pink yarn.
Front loops only (FLO): (4sc front) + (4sc back) = 8sc Change hook to 3.5 mm
slst/ch, 8sc
slst/ch, 8sc (3 rounds) Join 4sc
slst/ch, (4sc join), fasten off
Hook: 3.5 mm Make the mark at the middle of the feet Connect legs: slst in the 2nd leg of the mark and 1ch. Slst in the 1st leg of the mark
slst/ch2, (12hdc leg2) + (12hdc leg1) = 24sc
slst/ch1, (3sc, inc) x 6 = 30sc
slst/ch1, 30sc (4 rounds)
slst/ch, (4sc, dec) x 5 = 25sc
slst/ch, (3sc, dec) x 5 = 20sc Arms connect body
slst/ch, sc, dec, (3sc arm) dec 3sc/middle, dec. (3sc arm) dec, 2sc = 16sc Slst and fasten off
| Rounds | 45 |
|---|---|
| Parts | 7 |
| Level | Intermediate |
| Time | 4-6 hours |
| Hook | 2 mm |
| Yarn | Fingering |
The head's increase pattern adds six stitches every round in the early rows (6, 12, 18), the standard spacing that keeps a crocheted sphere flat and round rather than cupped or ruffled.
The ear is worked flat from a starting chain instead of in the round, then a second row is worked in the front loop only before two pieces are sewn together; this produces a flat, structured ear rather than a rounded one.
The hat is worked with the same magic-ring increase structure as the head but stops at fourteen rounds instead of continuing to a full sphere, making it a separate topper piece rather than a continuation of the head.
| Head | about 60-75 minutes because it runs twenty-two rounds with several increase and decrease rounds to track |
|---|---|
| Hat | about 30-40 minutes because it repeats the head's increase pattern across fourteen rounds with a larger hook |
| Ear and teeth | about 15-20 minutes because both are small but fiddly, with a color change on the ear and tiny stitches on the teeth |
| Body, feet, and hands | about 45-60 minutes because the feet run five rounds, the hands run nine, and the body runs nine, each with its own color and hook changes |
Every one was taken by whoever published the pattern, in the order the source listed them.
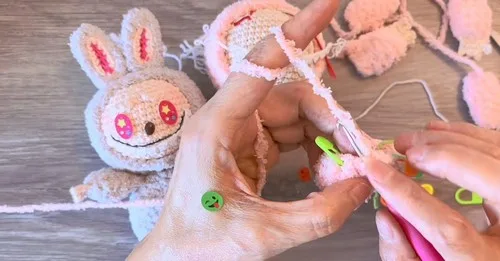
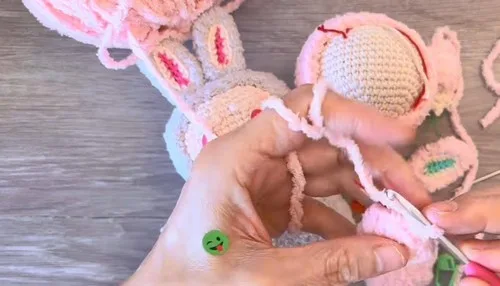
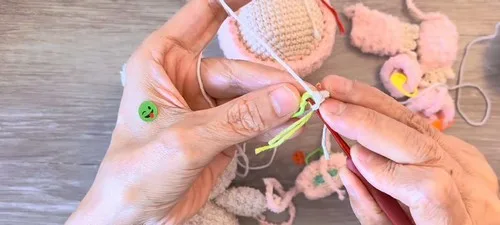
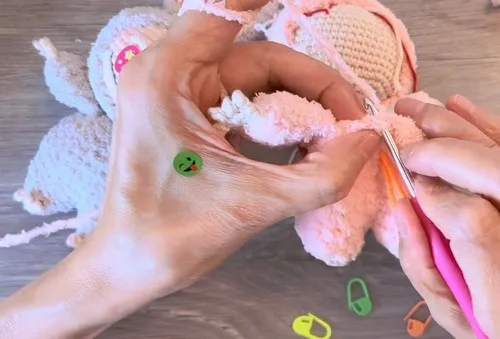
These answers came from whoever first published the pattern, kept word for word.