
Intermediate
What the pattern's own author called it. Nothing here is graded again.
 Crochet·Rituals
Baby Garments 14 Laid out for paper No account, no download
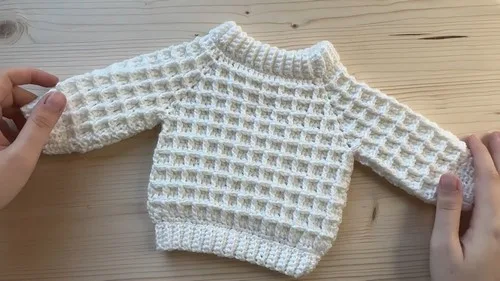
Textured waffle baby sweater, top-down yoke, 3.5mm/4mm hooks, 58-row collar into 21-row body.
Crochet Rituals · retyped from the source and laid out for print · added 16 Sep 2026
What the pattern's own author called it. Nothing here is graded again.

What the sample was worked in. Any weight works; the size moves with it.

Each one is typed out whole and gets its own line.
This sweater starts flat, as a strip of 58 single crochet rows worked in back loop only, then joins into a circle to form the collar. From there the yoke builds outward with V stitches marking four corners, alternating rounds of front post and back post stitches to create the waffle texture that carries through the body. Before picking up the hook, have both the 3.5 mm and 4 mm sizes on hand, since ribbing and body call for different gauges, and set aside a quiet stretch to work the 58-row collar without losing count.
Listed by the pattern's own author, in their words.
Key to this pattern, 6 short forms
Start with a slip knot before chaining 12.
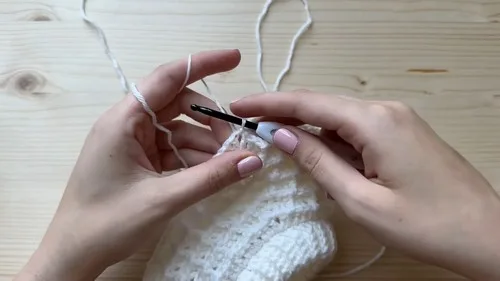
Chain 12; single crochet into the second chain from the hook and continue to the end for 11 single crochets.
58 Chain one, turn, and single crochet in the back loop only across.Join: Slip stitch the last row to the edge of the foundation chain; single crochet both sides of the collar together, forming a circle. (58 sc)
Continue the yoke for a total of 9 rows.
Begin with a V stitch (double crochet, chain one, double crochet) in the first stitch; work double crochets and V stitches to form four corners; slip stitch to join.
Alternate between rounds of back post and front post stitches with V stitches at each corner.
Work a round of single crochet, decreasing by single crocheting two stitches together every three stitches.
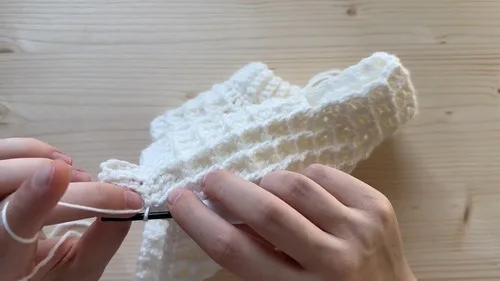
Chain six; single crochet back down the chain; slip stitch the ribbing piece to the body; repeat twice; continue with back loop only single crochet for the ribbing all the way around.
(Join): Join the ends of the ribbing to complete the bottom.
(Start): Slip stitch into the second chain of the chain-4 space under the arm.
onward: Continue the alternating waffle pattern used for the body; work for a total of 20 rows from the beginning of the sleeve.
Work a round of single crochet, decreasing by single crocheting two together every two stitches.
Chain six; single crochet back down the chain; join the ribbing to the sleeve; continue the back loop only single crochet ribbing all the way around.
(Join): Join the ends of the ribbing to finish the sleeve.
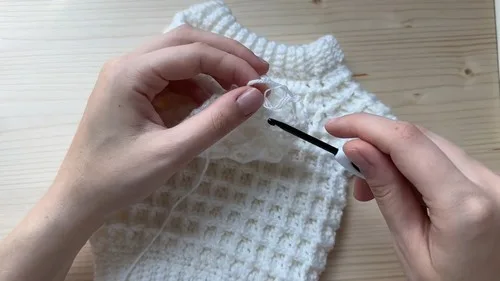
Armholes Close the armholes by slip stitching the V stitches together.
onward: Continue the alternating waffle pattern used in the yoke for the body; repeat the pattern for a total of 21 rows from the start of the yoke.
| Rounds | 14 |
|---|---|
| Parts | 6 |
| Level | Intermediate |
| Time | 4-6 hours |
| Hook | 3.5 mm |
| Yarn | Worsted |
The four V stitch corners placed in Round 1 of the yoke act as the increase points; repeating them through all nine yoke rounds is what lets the fabric expand from neckline to armhole width.
The collar is worked flat in rows and only joined into a circle at the end, so the 58 back-loop-only rows can be counted and checked on a flat strip before the shape is closed.
| Collar | about 1.5 to 2 hours, because 58 short rows in back loop only add up even though each row is quick |
|---|---|
| Yoke | about 1.5 hours, because tracking four V stitch corners across 9 rounds of alternating post stitches slows the pace |
| Body, Bottom Ribbing, and Sleeves | about 2 hours, because the body continues the waffle pattern to 21 total rows and both sleeves repeat their own ribbing and shaping |
Every one was taken by whoever published the pattern, in the order the source listed them.
These answers came from whoever first published the pattern, kept word for word.