Skip to the patterns
Crochet·Rituals
Menu

Amigurumi 9 Laid out for paper No account, no download

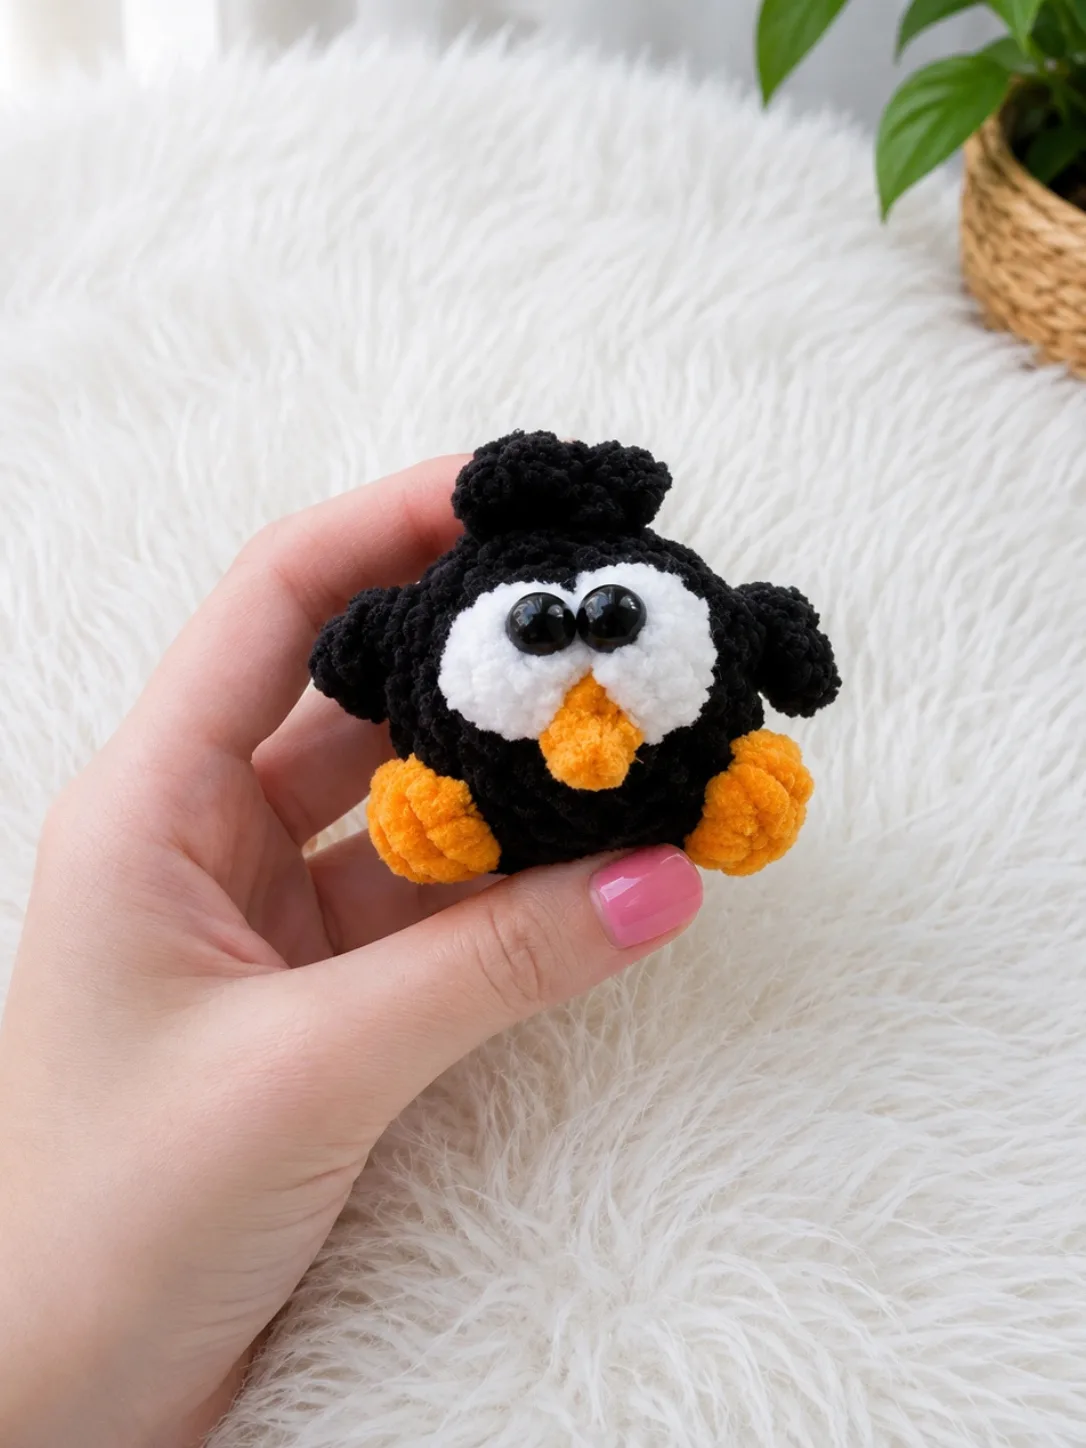
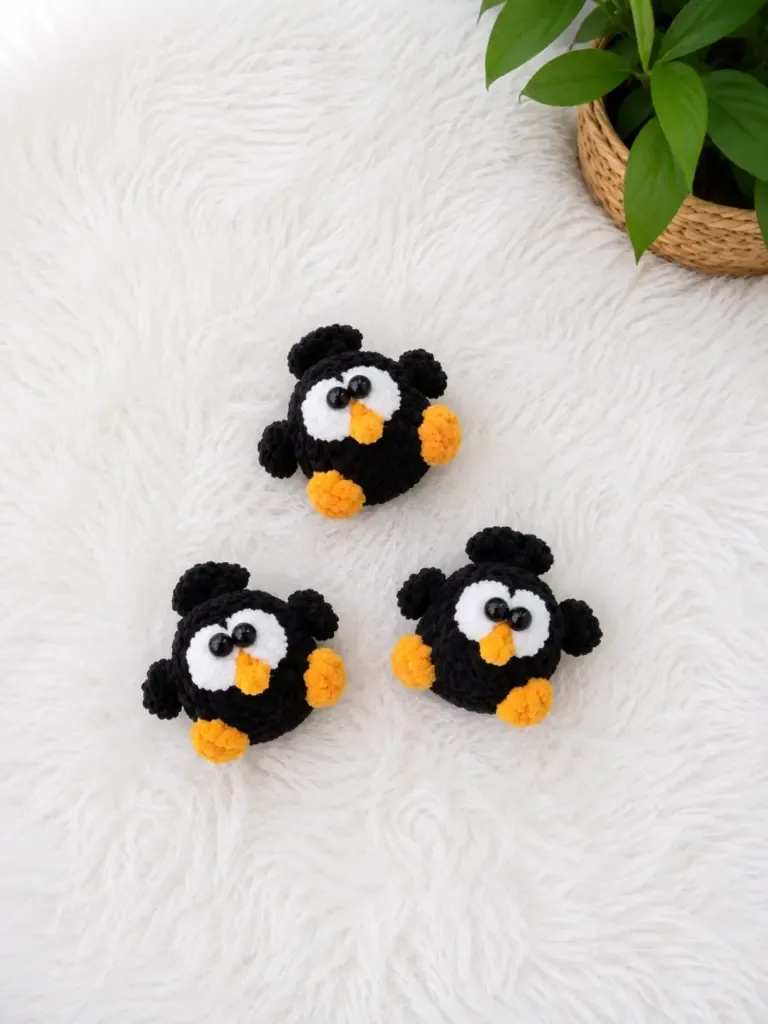
Baby crow amigurumi pattern with big eyes and puff feet

Plush black crow amigurumi: 9-round spiral body, orange puff feet, optional crest, 3.25mm hook.

Jump to the rounds Pin it
Baby crow amigurumi pattern with big eyes and puff feet
Amigurumi · Bulky
Skill
Intermediate
Time
3-4 hours
Yarn weight
Bulky
Hook
3.0 mm
Rounds
9

Intermediate

What the pattern's own author called it. Nothing here is graded again.

Bulky

What the sample was worked in. Any weight works; the size moves with it.

9

Each one is typed out whole and gets its own line.

This baby crow is a nine-round body worked bottom to top in a continuous spiral, mostly in black plush yarn, with orange puff stitches marking the feet and white puff stitches anchoring the eyes. A short front-loop chain at round 4 forms the tail before the back loop closes it in round 5. An optional flat crest folds the top opening in half and joins it with a few chains worked through both layers. Have plush yarn in black, white, and orange on hand, a 3.25 mm hook, two 8 mm or 10 mm craft eyes, fiberfill, glue, and a stitch marker before starting.

Common mistakes and their fixes

Drifting off the spiral's start point
Move the stitch marker into the first stitch of each new round as soon as you finish the previous one, since the body is never slip-stitched closed.
Working the tail chain into both loops
Round 4's tail chain must go into the front loop only; working into both loops leaves no back loop free for Round 5 to close the tail properly.
Gluing eyes without locating Round 7 first
Find both white puff stitches from Round 7 before opening the glue — pressing an eye onto the wrong stitch is hard to correct once the glue sets.

The materials list

Yarn

  1. Plush yarn (100 g / 120 m) in black, white, and orange — a velvet or chenille-style plush works beautifully here

Hook size

  1. D-3 / 3.0 mm to E-4 / 3.5 mm (the sample uses 3.25 mm)

Glue-on craft eyes

  1. 8 mm or 10 mm (2 eyes)

Stuffing

  1. Polyester fiberfill
  2. Strong craft glue for attaching the eyes
  3. Stitch markers
  4. Yarn needle / tapestry needle with a wide eye
  5. Scissors

Listed by the pattern's own author, in their words.

Key to this pattern, 11 short forms

Body (worked bottom to top, in black unless otherwise noted)

Round 1

6 sc in MR. (6)

Round 2

inc in each st around. (12)

Round 3

sc, inc repeat 6 times around. (18)

Round 4

(Working into the Front Loop Only of the next st: sl st, ch 3, 3 dc, ch 3, sl st) — this forms the tail; then 5 sc in next 5 sts, PS in orange in next st, 5 sc in next 5 sts, PS in orange in next st, 5 sc in next 5 sts. (18) Stitch count of 18 does not include the tail chain stitches.

Round 5

Working into the Back Loop Only of Round 4 stitches throughout — sc in each of the 18 sts around. (18) This round closes the back of the tail and continues the body cleanly.

Round 6

5 sc, then work right wing: ch 4, sl st into 2nd ch from hook, 2 sc along remaining ch, sl st back into the same body st to secure; 5 sc, then work beak in orange: ch 3, sl st into 2nd ch from hook, sl st into next ch, sl st back into same body st to secure; 5 sc, then work left wing same as right wing; 3 sc. (18 body sts)

Round 7

9 sc, PS in white in next st, PS in white in next st, 7 sc. (18) These two white puff stitches will be the eye bases — place your stitch marker here if you want to track eye position.

Round 8

sc, dec repeat 6 times around. (12) Stuff the body firmly with fiberfill now.

Round 9

dec 6 times around. (6) If you are not making the crest, pull the yarn tail through all 6 remaining stitches and close the opening. If you are making the crest, do not close — proceed to the Crest instructions below.

Crest (optional — worked over the top opening)

After Round 9, fold the remaining opening flat in half so the two edges align. If needed, work 1–2 slip stitches to shift the starting position to the center of one folded edge.

Working through both folded layers together: (ch 4, sl st) twice , then sl st to close. Cut yarn and weave in the end, using your yarn needle to tuck the tail inside the crow’s body.

Assembly, in order

Step 1Locate the two white Puff Stitches from Round 7 — these are your eye anchors.
Step 2Apply a small amount of strong craft glue to the back of each 8 mm or 10 mm craft eye.
Step 3Press one eye firmly onto each white Puff Stitch and hold in place until the glue sets.
Step 4If a small gap remains between the two white Puff Stitches, thread a fine yarn or sewing thread onto your needle and work a few small stitches to close it neatly before the glue dries.
Step 5Weave in all remaining yarn ends, tucking any tails inside the body with your tapestry needle.

Check these before you start

  • Plush and chenille-style yarns are forgiving on gauge but unforgiving on tension — keep stitches snug so the fiberfill stays hidden, adjusting between the 3.0 mm and 3.5 mm range if your fabric loosens.
  • Round 4 and Round 5 depend on each other: Round 4 works into the front loop only to raise the tail, and Round 5 works into the back loop only of the same round to seal it, so keep the loop orientation clear before moving on.
  • Do not join or turn at the end of any body round unless the instructions say so — the spiral relies on a moving stitch marker, not a slip-stitch join, to track the round start.

On one line

Rounds9
Parts2
LevelIntermediate
Time3-4 hours
Hook3.0 mm
YarnBulky

Set-up

  • Confirm the 100 g / 120 m skein of black plush yarn is enough to carry the body through all 9 rounds plus the tail chain, with separate small amounts of orange and white on hand for the puff stitches.
  • Place a stitch marker in the first stitch of Round 1 and plan to move it up at the start of every round, since the body is never joined.
  • Read Round 4 in full before you reach it — it holds the front-loop tail chain and two orange puff stitches in the same round, and it is easy to lose your place mid-round.
  • Work a few stitches with your chosen hook and plush yarn first to check the fabric is dense enough that stuffing will not peek through.

Finishing

  1. Stuff the body firmly through the top opening before closing it, working fiberfill into the tail and puff-stitch areas so no gaps show once shaping is done.
  2. Fold the remaining top opening flat with the two edges aligned, then work the crest chains through both layers together to close the seam.
  3. Glue an 8 mm or 10 mm craft eye onto each white puff stitch from Round 7, closing any visible gap between them with a few small hand stitches, then weave in all remaining ends and tuck them into the body.

Construction

The increases are front-loaded: Round 2 doubles the base to 12 stitches and Round 3 doubles it again to 18, so all the shaping that rounds out the base happens before Round 4, after which the stitch count holds steady for the rest of the body.

The crest is worked flat rather than in the round because it is not adding height to the spiral — it folds the last open edge in half and stitches through both layers to seal the top, which a continuous round could not do.

Time per section

Body (Rounds 1-9)about 2 to 3 hours because the round count is short but Round 4 combines a tail chain with two color changes for the orange puff stitches
Crestabout 15 to 20 minutes because it is only a handful of chains worked through two folded layers
Assembly and finishingabout 30 to 45 minutes because the glued eyes need time to set and every yarn end needs weaving in

Photographs of this one

Every one was taken by whoever published the pattern, in the order the source listed them.
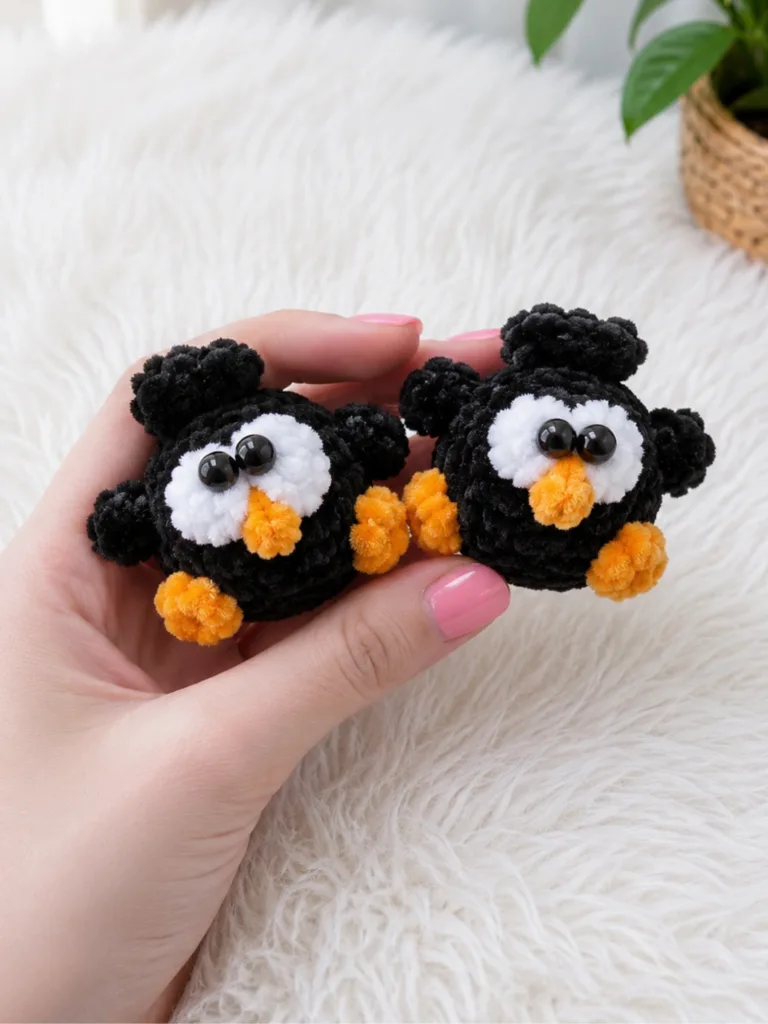
Baby crow amigurumi pattern with big eyes and puff feet — photo 2
Baby crow amigurumi pattern with big eyes and puff feet — photo 3

Common questions

Is the crest necessary?
No, the crest is marked optional and is worked only after the body's 9 rounds are complete. Skip it and simply close the top opening if you prefer a smooth head.
What if there is a gap between the eyes after gluing?
Thread fine yarn or sewing thread onto your needle and work a few small stitches between the two white puff stitches before the glue fully dries. This closes the gap neatly without disturbing the eye placement.
Why is the body never joined at the end of a round?
The body is worked in a continuous spiral, and joining would create a visible seam line running up the crow. A stitch marker tracks the round start instead, so keep moving it up each round.

These answers came from whoever first published the pattern, kept word for word.