Skip to the patterns
Crochet·Rituals
Menu

Bags 18 Laid out for paper No account, no download

Ocean blue ombre waistcoat stitch bucket bag

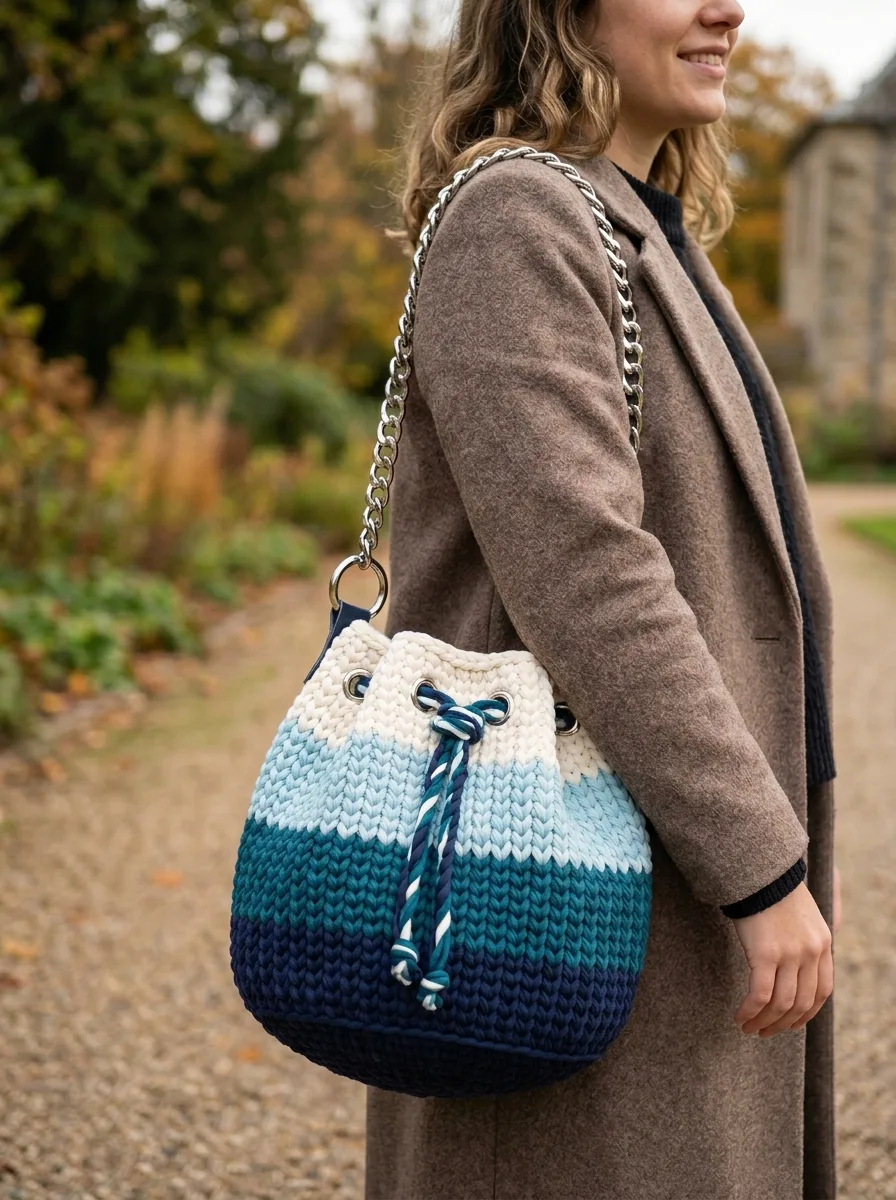
Waistcoat stitch bucket bag: 12-round single crochet base plus 33 rounds of navy-to-cream waistcoat stitch body, 8mm

Jump to the rounds Pin it
Ocean blue ombre waistcoat stitch bucket bag
Bags · Chunky
Skill
Intermediate
Time
4-6 hours
Yarn weight
Chunky
Hook
8 mm
Rounds
18

Intermediate

What the pattern's own author called it. Nothing here is graded again.

Chunky

What the sample was worked in. Any weight works; the size moves with it.

18

Each one is typed out whole and gets its own line.

This bucket bag starts as a flat navy base worked in 12 continuous rounds of single crochet, then rises straight up in waistcoat stitch through four color bands — navy, teal, light blue, and cream — for that gradient ombre effect. The waistcoat stitch gives the body a dense, knit-like V texture that holds its shape without stuffing. Before starting, have your stitch marker, 8mm hook, and all four yarn colors sorted by weight, plus the grommets and chain strap ready for assembly once the crochet is complete.

The color blocking shown here moves from navy through teal and light blue to cream, but you can easily customize it with any palette you love — try sunset oranges and pinks, forest greens, or even a rainbow progression.

This pattern is rated intermediate. You should be comfortable working in continuous rounds, single crochet, increasing evenly, and changing colors. The waistcoat stitch may be new to you, but it is simply a variation of single crochet, and it is explained thoroughly in the abbreviations and within the body section below.

Common mistakes and their fixes

Working waistcoat stitch under top loops
Push the hook into the center of the vertical V in the body of the stitch, not under the horizontal top loops. Working under the top loops by habit will flatten the texture back into ordinary single crochet.
Losing track of the round start
Move the stitch marker up at the start of every round, especially through the 12 base rounds where stitch counts change each time. Without it, continuous rounds will drift and the increase pattern will fall out of step.
Crocheting too tightly in waistcoat stitch
Waistcoat stitch already tightens the fabric on its own, so work this section looser than your normal tension. If the fabric still feels stiff, go up a hook size rather than forcing the stitches.

The materials list

Yarn

  1. Chunky cotton tube yarn or t-shirt yarn (approximately 250g total)
  2. Recommended yarns: Hoooked Ribbon XL, Yarn and Colors Urban, or similar chunky cotton tube yarn for best stitch definition

Color A

  1. Navy blue (75g)

Color B

  1. Teal (60g)

Color C

  1. Light blue (55g)

Color D

  1. Cream or off-white (60g)

Hook

  1. 8mm (US L/11) crochet hook

Hardware and Notions

  1. 6 silver grommets (12mm inner diameter)
  2. 2 D-rings or O-rings (20mm)
  3. 2 leather or faux leather connector tabs with rivets
  4. 1 chain strap (approximately 100cm)
  5. Grommet setting tool or pliers
  6. Tapestry needle
  7. Stitch marker
  8. Sharp scissors (for cutting grommet holes)
  9. Pins or scrap yarn (for marking grommet positions)

Finished Dimensions

  1. approximately 25cm (10 inches)
  2. Diameter at widest point: approximately 22cm (8.5 inches)

Listed by the pattern's own author, in their words.

Key to this pattern, 7 short forms

Base of the Bag

The base is worked in continuous rounds. Use a stitch marker to track your round beginnings.

With Color A (navy):

Round 1

Create a magic ring. Work 6 sc into the ring. Pull tight. (6 sts)

Round 2

Inc in each st around. (12 sts)

Round 3

*Sc 1, inc* repeat around. (18 sts)

Round 4

*Sc 2, inc* repeat around. (24 sts)

Round 5

*Sc 3, inc* repeat around. (30 sts)

Round 6

*Sc 4, inc* repeat around. (36 sts)

Round 7

*Sc 5, inc* repeat around. (42 sts)

Round 8

*Sc 6, inc* repeat around. (48 sts)

Round 9

*Sc 7, inc* repeat around. (54 sts)

Round 10

*Sc 8, inc* repeat around. (60 sts)

Round 11

*Sc 9, inc* repeat around. (66 sts)

Round 12

*Sc 10, inc* repeat around. (72 sts) Your base should measure approximately 18cm (7 inches) across. If your base is smaller, add another increase round. If larger, stop one round earlier.

Body of the Bag — Waistcoat Stitch Section

Now we switch to the waistcoat stitch and work straight up without increasing. This is where your bag takes shape.

Still with Color A (navy):

Round 13

Working in waistcoat stitch only from this point forward, ws in each st around. Do not increase. (72 sts)

Rounds 14–20

Rnds 14-20: Ws in each st around. (72 sts) — 7 rounds total in navyAt the end of Rnd 20, change to Color B (teal). To change colors cleanly, complete the last stitch of the round with your new color. Pull the new yarn through for the final yarn over.

Color B (teal):

Rounds 21–27

Rnds 21-27: Ws in each st around. (72 sts) — 7 rounds total in tealChange to Color C (light blue) at end of Rnd 27.

Color C (light blue):

Rounds 28–34

Rnds 28-34: Ws in each st around. (72 sts) — 7 rounds total in light blueChange to Color D (cream) at end of Rnd 34.

Color D (cream):

Rounds 35–44

Rnds 35-44: Ws in each st around. (72 sts) — 10 rounds total in cream

The cream section is slightly taller because this is where the drawstring closure and grommets will go.

Round 45

Sl st in each st around to create a finished edge. Fasten off and weave in all ends securely.

Creating the Drawstring Cord

For the twisted cord drawstring, you will need approximately 2 meters each of Color A (navy) and Color D (cream).

Step 1: Cut two lengths of each color, each about 2 meters long. You will have 4 strands total.

Step 2: Hold all 4 strands together and tie a knot at each end.

Step 3: Secure one end (close it in a drawer or have someone hold it). Twist the strands clockwise until they are very tightly wound and start to kink.

Step 4: Fold the twisted cord in half, keeping tension. The cord will naturally twist back on itself, creating a neat twisted rope.

Step 5: Tie knots at both ends to secure. Trim any uneven ends.

Your finished cord should be approximately 90cm long. This gives enough length to thread through the grommets with decorative tails hanging.

Assembly, in order

Step 1Weave in all ends on the wrong side of your work. For bags, I recommend weaving ends through at least 3 inches of stitches and doubling back for security.
Step 2Block if needed. Wet blocking can help even out your stitches. Soak the bag in cool water, squeeze out excess (do not wring), and stuff with plastic bags to shape while drying.
Step 3Caring for your bag: Spot clean with mild soap and cool water. If the bag needs a full wash, hand wash gently and reshape while drying. Remove hardware if possible before washing.

Check these before you start

  • Waistcoat stitch goes into the center of the vertical V, not under the top loops; work this part slightly looser than your usual tension, since the stitch naturally tightens the fabric as you go.
  • Change colors at the last stitch of the previous round so the new color pulls through on the final yarn over, keeping the color block transition clean on the right side.
  • Keep the stitch marker moving every round through all 12 base rounds and the full waistcoat section — continuous rounds drift without it, especially once increases stop and the stitch count holds steady.

On one line

Rounds18
Parts3
LevelIntermediate
Time4-6 hours
Hook8 mm
YarnChunky

Set-up

  • Weigh out each color separately before casting on — navy (75g), teal (60g), light blue (55g), and cream (60g) — so you don't run short partway through a round.
  • Place a stitch marker in Rnd 1 and move it up every round; continuous rounds have no slip stitch join to mark your place for you.
  • Work a small swatch in waistcoat stitch first to check gauge against the stated 22cm base diameter, since this stitch tightens fabric more than standard single crochet.
  • Read through Rnd 13 before you get there — it is the hand-off round where single crochet stops and waistcoat stitch begins, and it is easy to work by habit instead.

Finishing

  1. Weave in all ends on the wrong side, running each one through at least 3 inches of stitches and doubling back for security given the bag's chunky cotton fiber.
  2. Wet block the bag if the rounds need evening out: soak in cool water, squeeze out excess without wringing, and stuff with plastic bags to hold the 22cm diameter and 25cm height while it dries.
  3. Set the 6 grommets along the top edge, attach the D-rings to the leather connector tabs with rivets, and clip on the 100cm chain strap once the crochet piece is fully dry.
  4. Grommet placement: position the 6 grommets evenly around the cream section, approximately 3 rounds down from the top edge — between Rnds 41 and 42. With 72 stitches in the round, space a grommet every 12 stitches for even spacing.
  5. Grommet installation: mark each grommet position with pins or scrap yarn. Using sharp scissors, carefully cut small holes just large enough for the grommet barrel. Insert the grommet from the right side of the bag, place the washer on the inside, then use your grommet setting tool to secure, applying firm pressure to crimp the grommet closed. Practice on a swatch first if you have never installed grommets, since once you cut the hole there is no going back.
  6. Leather tabs and chain strap: position one leather connector tab on each side of the bag opening, directly opposite each other. Push the rivets or screws through the crochet fabric and secure according to your hardware instructions, then attach your D-rings or O-rings to the tabs and connect the chain strap to both rings. If you cannot find leather tabs, you can crochet small straps instead: chain 15, sc in each chain across, fold in half around your ring, and sew to the bag.
  7. Threading the drawstring: weave the twisted cord in and out through the grommets, starting at the front of the bag — out through one grommet, in through the next, and continue all the way around so both cord ends exit at the front. Pull the cord to cinch the bag closed; the decorative twisted tails hang at the front.

Construction

The increases are front-loaded entirely into the base: Rnd 1 starts at 6 stitches from a magic ring, and each of the following rounds adds stitches evenly until the base reaches its full 72-stitch circumference, after which the body rounds hold that count with no further shaping.

Time per section

Base of the Bagabout 45-60 minutes, because 12 rounds of increases need careful counting to land the stitch total correctly
Body of the Bag — Waistcoat Stitch Sectionabout 2-3 hours, because the waistcoat stitch is slower per stitch and spans multiple color bands across the full body height
Drawstring cord and assemblyabout 45-60 minutes, because twisting and folding the cord by hand plus setting 6 grommets and attaching hardware both take steady, deliberate work

Photographs of this one

Every one was taken by whoever published the pattern, in the order the source listed them.
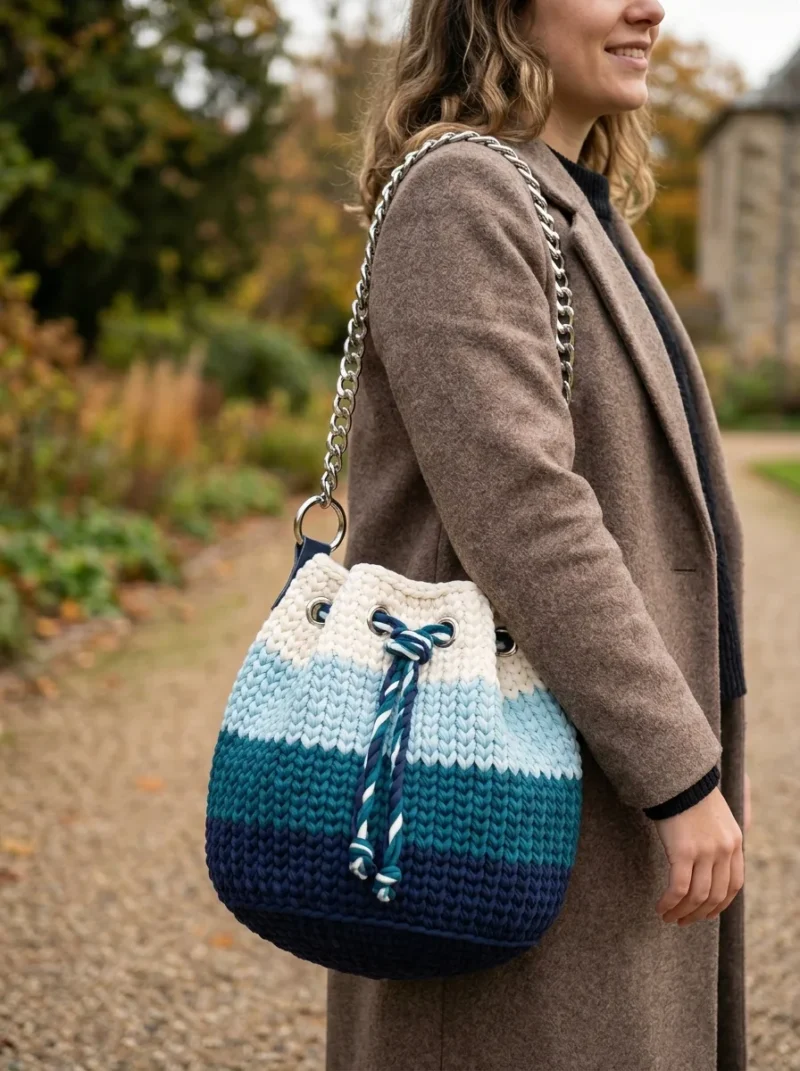
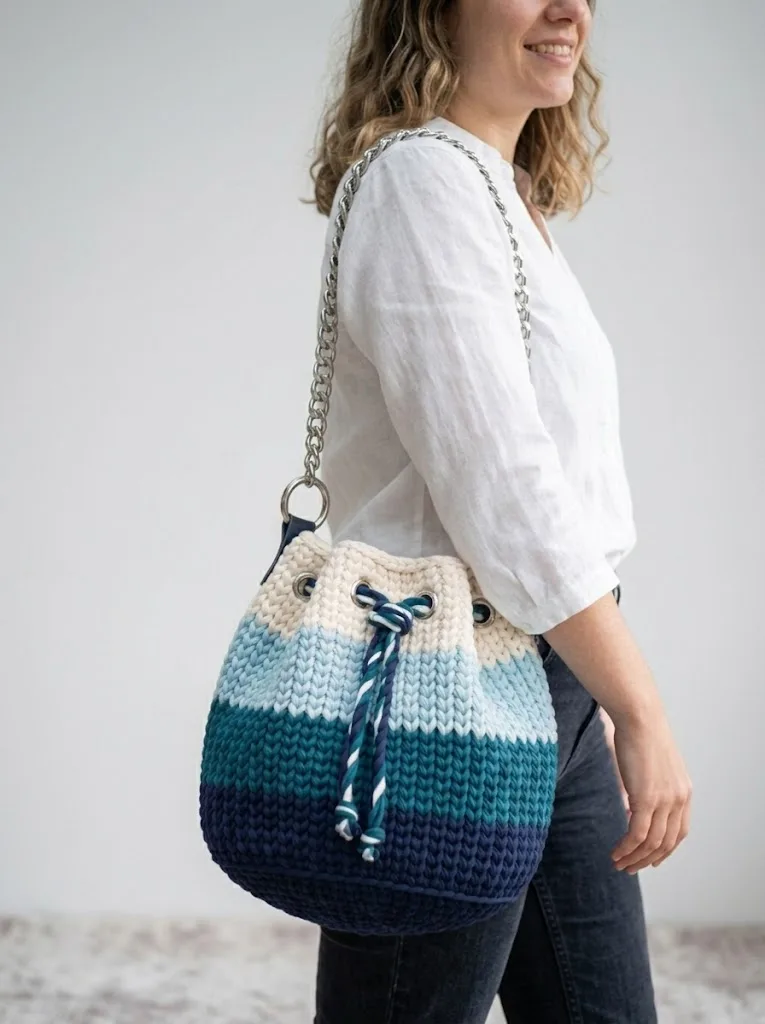
Ocean blue ombre waistcoat stitch bucket bag — photo 2
Ocean blue ombre waistcoat stitch bucket bag — photo 3

Common questions

Can waistcoat stitch be substituted with regular single crochet?
Regular single crochet will not give the same dense, knit-like V texture that defines this bag's body. The fabric will also be looser and less structured, so the bucket shape may not hold as well without added stuffing or stiffening.
Does the bag need stuffing to keep its shape?
The dense waistcoat stitch body holds its shape well on its own, so stuffing is not required for everyday structure. Stuffing with plastic bags is only used temporarily during wet blocking to set the 22cm diameter while drying.

These answers came from whoever first published the pattern, kept word for word.