
Intermediate
What the pattern's own author called it. Nothing here is graded again.
 Crochet·Rituals
Amigurumi 61 Laid out for paper No account, no download
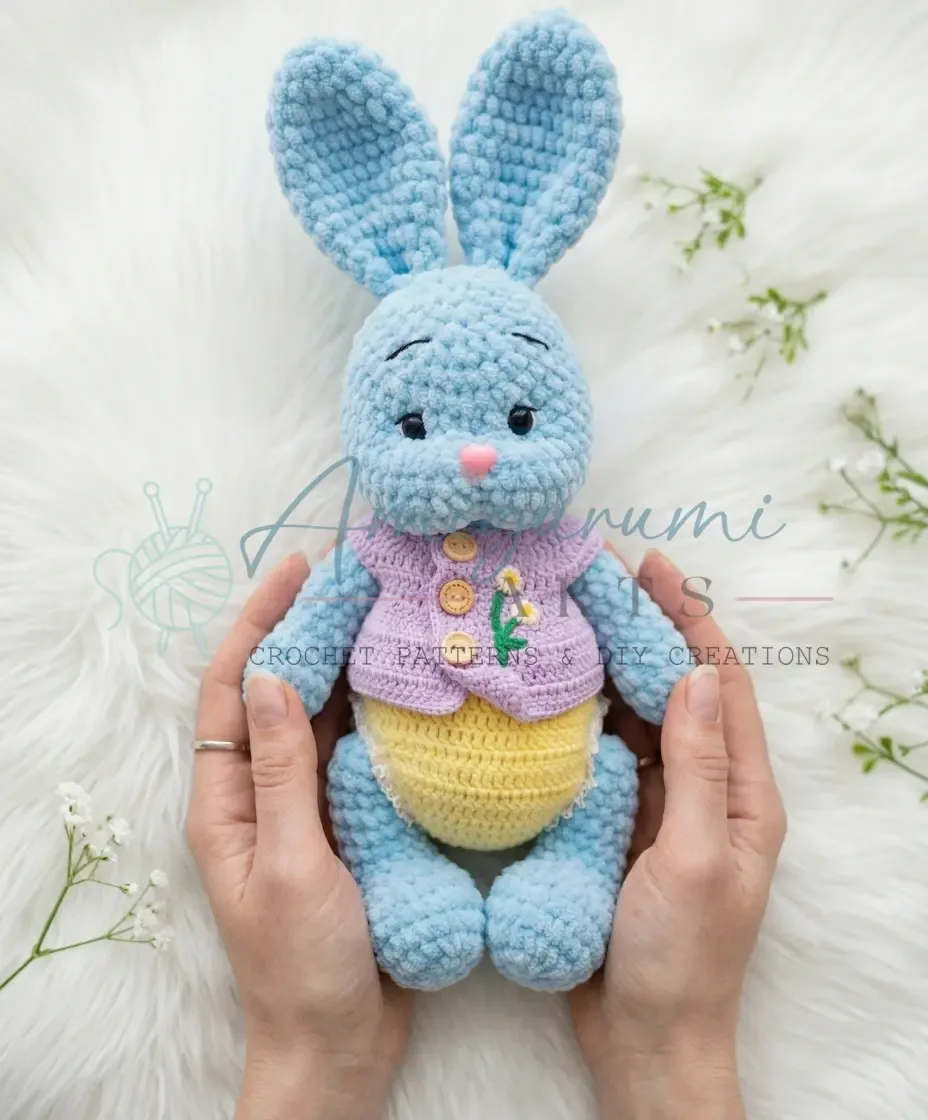
Plush bunny amigurumi worked in spiral rounds; body alone runs 17 rounds on an E-4 (3.5mm) hook.
Crochet Rituals · retyped from the source and laid out for print · added 5 Oct 2026
What the pattern's own author called it. Nothing here is graded again.

What the sample was worked in. Any weight works; the size moves with it.

Each one is typed out whole and gets its own line.
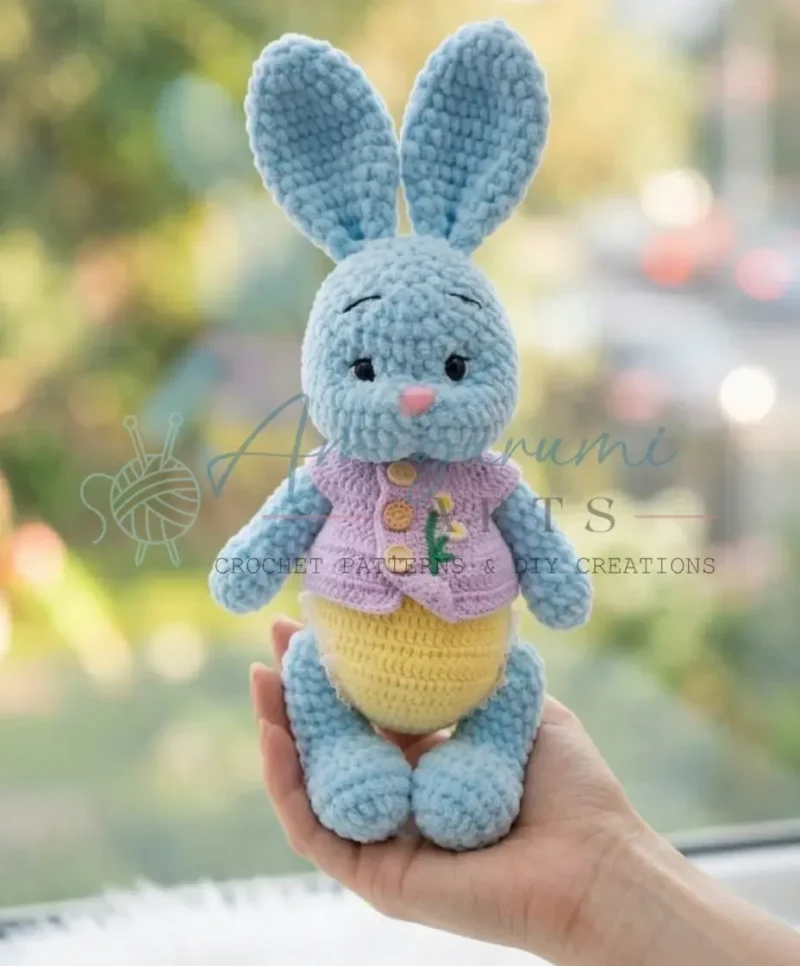
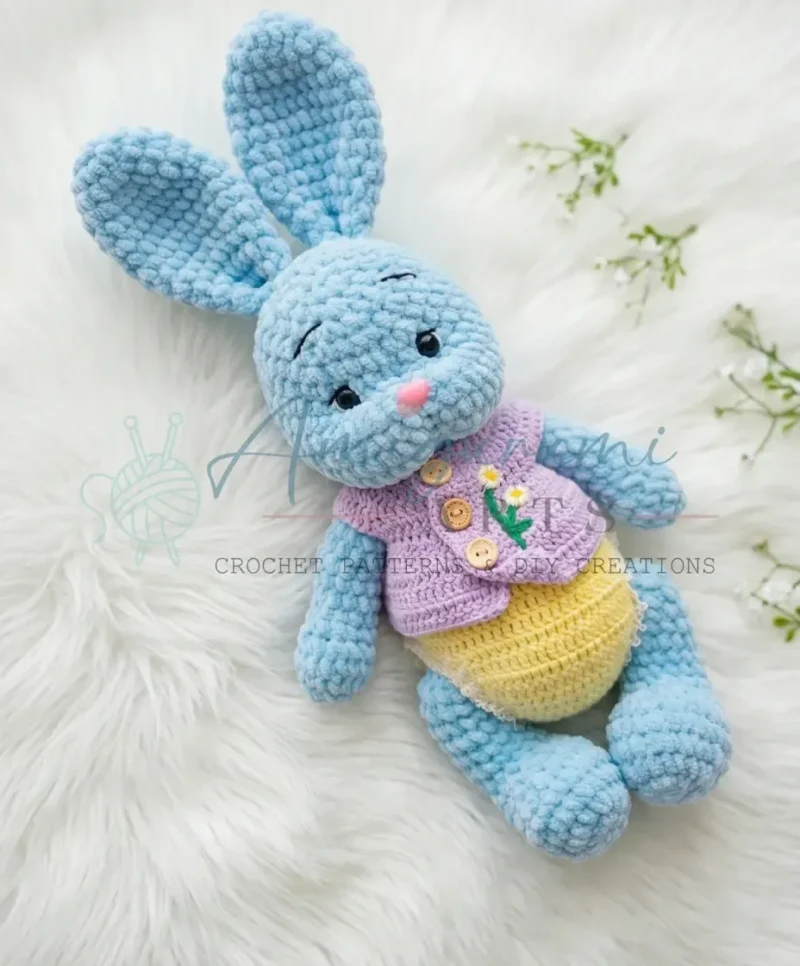
This bunny rabbit amigurumi builds from six separate pieces — two legs, two arms, a tail, a body, two ears, and a head — each worked in continuous spiral rounds from bulky velvet or plush yarn on an E-4 (3.5 mm) hook. The legs begin from a flat oval foundation chain rather than a magic ring, while the body, arms, tail, ears, and head all grow from a standard magic ring through steady six-stitch increases. Before picking up the hook, have fiberfill, a stitch marker, screw-back eyes, a safety nose, and semi-cotton contrast yarn for the hand-stitched eye indentations ready on the table.
Listed by the pattern's own author, in their words.
Key to this pattern, 8 short forms
Start with a foundation chain of 8 ch. Working into the second ch from hook: 1 inc, then sc in the next 5 ch, work 3 sc in the last ch. Continue along the opposite side of the foundation chain: 4 sc. Place SM. (16)
(1 inc, 1 sc) × 3, 1 sc, (1 inc, 1 sc) × 3, 3 sc. (22)
(1 sc, 1 inc) × 4, 3 sc, (1 sc, 1 inc) × 4, 3 sc. (30)
Sc in each st around — 2 rounds. (30)
1 sc, 5 dec, 3 sc, 1 dec, 10 sc, 1 dec, 2 sc. (23)
1 sc, 3 dec, 16 sc. (20)
1 sc, 2 dec, 15 sc. (18)Begin stuffing the leg gradually at this point.
Sc in each st around — 7 rounds. (18)Work 4 sc, then fold the leg flat so both edges align. Working through both layers at once, work: 1 dec, 5 sc, 1 dec — placing the decreases at the side edges. (7) Fasten off, leaving a short tail. Weave end inside the leg. Make the second leg the same way.
MR, 6 sc. Pull ring closed. (6)
6 inc. (12)
(1 sc, 1 inc) × 6. (18)
Sc in each st around. (18)
2 sc, 3 dec, 10 sc. (15)
3 sc, 1 dec, 10 sc. (14)
Sc in each st around — 6 rounds. (14)Stuff the arm gradually as you work.Work 5 sc, then fold the arm flat so both edges align. Working through both layers at once, work: 1 dec, 3 sc, 1 dec — placing the decreases at the side edges. (5) Fasten off, leaving a short tail. Weave end inside the arm. Make the second arm the same way.
MR, 6 sc. Pull ring closed. (6)
6 inc. (12)
6 dec. (6)Sl st to close. Fasten off and cut yarn. No stuffing needed.
MR, 6 sc. Pull ring closed. (6)
6 inc. (12)
(1 sc, 1 inc) × 6. (18)
(2 sc, 1 inc) × 6. (24)
(3 sc, 1 inc) × 6. (30)
(4 sc, 1 inc) × 6. (36)
(5 sc, 1 inc) × 6. (42)
Sc in each st around. (42)Position your stitch marker at the back of the body. Attach both legs before working Rnd 9.
3 sc, then work 7 sc joining the first leg (working across the inner folded edge of that leg), 14 sc across the body front, then work 7 sc joining the second leg (working across the inner folded edge of that leg), 11 sc. (42)
3 sc, then work 7 sc joining the first leg (working across the flat folded row of that leg), 14 sc, then work 7 sc joining the second leg (working across the flat folded row of that leg), 11 sc. (42)
Sc in each st around — 3 rounds. (42)Work 1 sc, then reposition your stitch marker. Begin stuffing the body gradually.
3 sc, 7 sc (over first leg), 1 sc, (1 dec, 1 sc) × 4 (these 4 decreases shape the tummy) , 1 sc, 7 sc (over second leg), 11 sc. (38)
6 sc, 1 dec, 14 sc, 1 dec, 14 sc. (36)
(4 sc, 1 dec) × 6. (30)
(3 sc, 1 dec) × 6. (24)
Sc in each st around — 3 rounds. (24)
3 sc, then work 5 sc joining the first arm (working across the flat folded edge), 7 sc across the body, then work 5 sc joining the second arm (working across the flat folded edge), 4 sc. (24)Stuff the body firmly. Sl st to close. Fasten off and cut yarn.
MR, 6 sc. Pull ring closed. (6)
6 inc. (12)
(1 sc, 1 inc) × 6. (18)
Sc in each st around — 1 round. (18)
(2 sc, 1 inc) × 6. (24)
Sc in each st around — 5 rounds. (24)
(2 sc, 1 dec) × 6. (18)
Sc in each st around — 3 rounds. (18)Fold the ear flat so both edges align. Working through both layers, work 9 sc across. Then fold once more and work 4 sc through both layers — the 9th stitch lands at the fold point. Fasten off, cut yarn, and weave the tail to the inside.
MR, 6 sc. Pull ring closed. (6)
6 inc. (12)
(1 sc, 1 inc) × 6. (18)
(2 sc, 1 inc) × 6. (24)
(3 sc, 1 inc) × 6. (30)
(4 sc, 1 inc) × 6. (36)
(5 sc, 1 inc) × 6. (42)
(6 sc, 1 inc) × 6. (48)
Sc in each st around — 3 rounds. (48)
13 sc, 1 dec, 2 sc, 1 dec, 2 sc, 1 dec, 25 sc. (45)
12 sc, 1 dec, 2 sc, 1 dec, 2 sc, 1 dec, 23 sc. (42)
Sc in each st around. (42)
(5 sc, 1 dec) × 6. (36)
(4 sc, 1 dec) × 6. (30)Insert safety eyes between Rnds 13 and 14, positioned above the first and last decrease points from Rnds 12–13, with approximately 6 stitches between them. Begin stuffing the head.
(3 sc, 1 dec) × 6. (24)
(2 sc, 1 dec) × 6. (18)
(1 sc, 1 dec) × 6. (12)
6 dec. (6)Continue stuffing fully as you close. Fasten off, cut yarn, and weave the tail into the head.
| Rounds | 61 |
|---|---|
| Parts | 6 |
| Level | Intermediate |
| Time | 4-6 hours |
| Hook | 12 mm |
| Yarn | Bulky |
The legs open with a flat ch-8 foundation worked on both sides — an increase and 3-sc at the far end, plain sc back along the opposite side — to shape an oval foot, rather than starting from a magic ring the way the arms and body do.
The arms and body both begin MR, 6 sc and increase by six stitches each round (6 to 12 to 18), a radial increase typical for domed amigurumi starts, before the body continues for 17 rounds total and the arms later taper down through a decrease round.
Tail, ears, and head all start the same way the arms and body do — MR, 6 sc, then 6 single-crochet increases — before each piece branches into its own shaping: the tail closes almost immediately, the ears taper with a single decrease round before a folded closure, and the head continues increasing all the way to 48 stitches before its multi-round decrease taper down to 6.
| Legs (both) | about 1.5 hours total, because each leg runs 8 rounds plus an oval foundation start and a mid-pattern decrease closure that needs careful placement. |
|---|---|
| Arms (both) | about 1 hour total, because each arm's 7 rounds include a shaping decrease row to narrow toward the paw. |
| Body | about 1 to 1.5 hours, because 17 rounds of continuous increase and straight spiral make it the largest single piece. |
| Tail | about 15–20 minutes, since it is only 3 rounds worked down to a quick decrease closure. |
| Ears (both) | about 45 minutes total, because each ear runs 14 rounds before the fold-and-close finishing step. |
| Head | about 1 to 1.5 hours, since it is the most heavily shaped piece with 20 rounds including the muzzle decreases and eye placement. |
Every one was taken by whoever published the pattern, in the order the source listed them.
These answers came from whoever first published the pattern, kept word for word.