Skip to the patterns
Crochet·Rituals
Menu

Amigurumi 9 Laid out for paper No account, no download

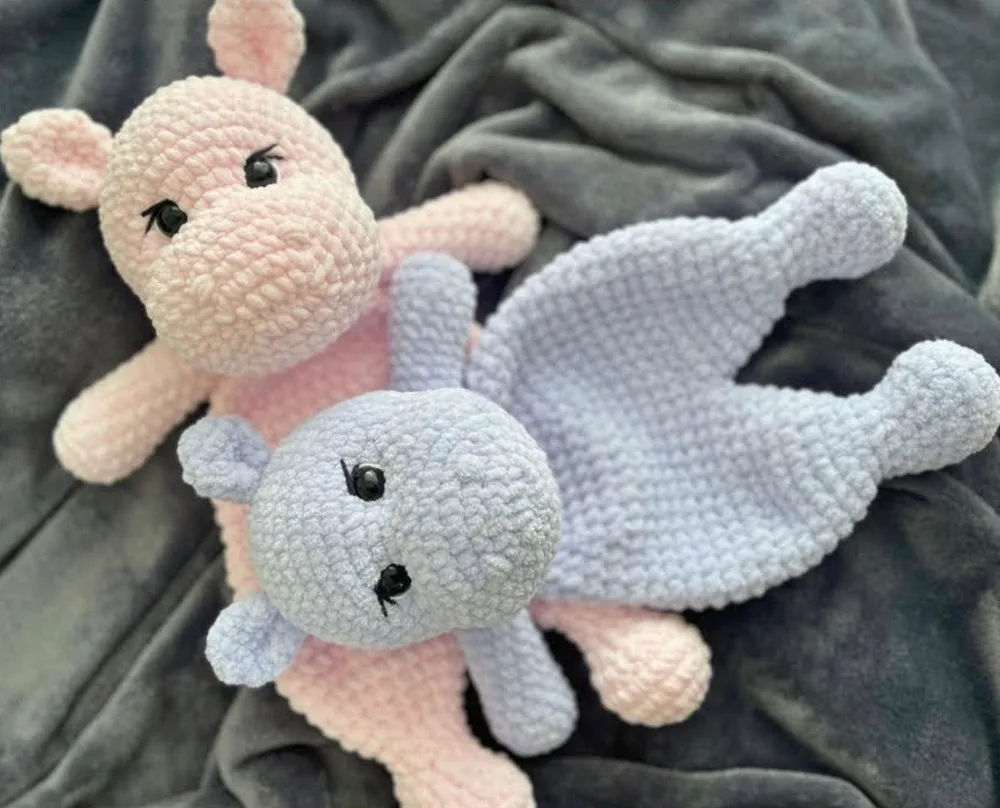
Crochet a hippo amigurumi for baby-friendly toys

Hippo amigurumi: 4 head rounds, 5 ear rounds, 3 arm rounds, 4.5mm and 6.5mm hooks.

Jump to the rounds Pin it
Crochet a hippo amigurumi for baby-friendly toys
Amigurumi · Bulky
Skill
Intermediate
Time
4-6 hours
Yarn weight
Bulky
Hook
4.5 mm
Rounds
9

Intermediate

What the pattern's own author called it. Nothing here is graded again.

Bulky

What the sample was worked in. Any weight works; the size moves with it.

9

Each one is typed out whole and gets its own line.

This hippo amigurumi works up in two hook sizes across three parts: a head shaped with a muzzle and closed with final decreases, two ears built from a magic ring with a sharp increase and matched decrease, and two arms worked in back loops only for a ridged look. Before picking up the hook, have both the 4.5 mm and 6.5 mm sizes on hand, plush yarn wound and ready, a stitch marker clipped nearby, safety eyes sized at 1.8 cm or 2 cm, and polyester fiber fill within reach for stuffing as you close each piece.

Common mistakes and their fixes

Losing the Round 1 stitch marker
Without it, the first stitch of the head's increase round becomes hard to relocate once several more rounds are worked. Reposition the marker immediately if it slips.
Treating ear increases and decreases as mirrored
Round 2 doubles every stitch while Round 5 decreases only twice, not evenly across the round. Check the stitch count after each round rather than assuming a matched pattern.
Crocheting arm rounds into both loops
Rounds 3 through 14 call for back loop only, and working into both loops flattens the ridged texture and changes the arm's finished width. Check loop placement every few rounds.

The materials list

  1. 2 balls of plush yarn (example: DOL from Yarn Art, Dolphin Baby from Himalaya, 100g, 120m)
  2. 4.5 mm crochet hook (for the head, arms, and ears)
  3. 6.5 mm crochet hook (for the body)
  4. Stitch marker
  5. Eye buttons (1.8 cm or 2 cm)
  6. Polyester fiber fill for stuffing

Listed by the pattern's own author, in their words.

Key to this pattern, 1 short form

Head

Round 1

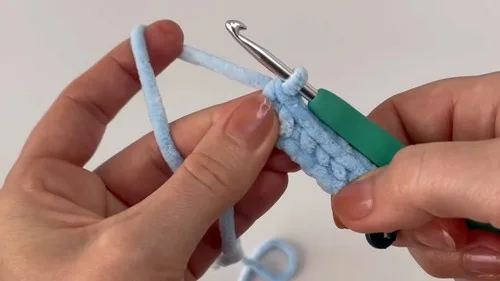
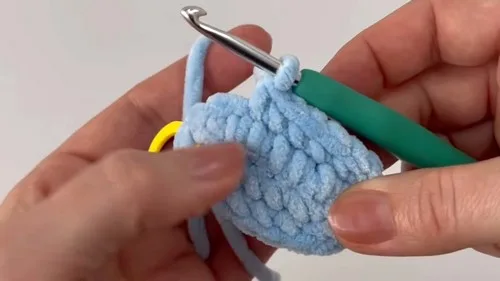
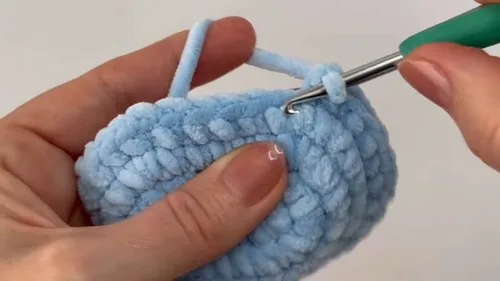
Chain 7; starting from the second chain, make 5 sc; mark the first stitch with a stitch marker; in the last chain, make 3 sc in the same chain; crochet on the other side of the chain and make 1 sc in the next 4 chains; in the very last stitch, make 2 sc.Following Rounds: Continue increasing and making sc as per the increases, shaping the muzzle and the head.After shaping the head, make two rounds of 38 sc each without increases.Start decreasing by removing every fifth stitch in the following round, then decrease in every fourth stitch, and so forth.Insert the safety eyes and finish stuffing the muzzle.Close the head with a yarn needle after the final decreases.

Ears

Round 1

Make a magic ring using a 4.5 mm hook; chain 1, then make 5 sc into the magic ring. (6 sc including the chain)

Round 2

Increase each stitch in the next round to double the number of stitches.

Rounds 3–4

Make 1 sc in each stitch for two rounds.

Round 5

Decrease twice in the next round.

Round 6

Finish with a round of 1 sc in each stitch; slip stitch at the end.

Arms

Round 1

Make a magic ring; make 6 sc into the magic ring and join with a slip stitch. (6)

Round 2

Increase every stitch in the next round.

Rounds 3–14

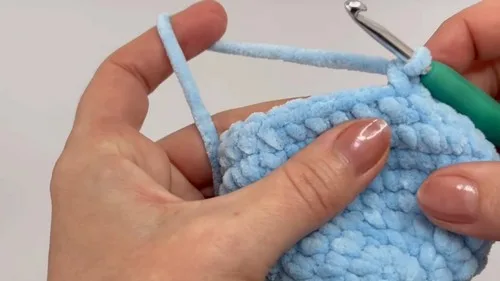
Make 1 sc in each back loop only for 12 rounds.Fill with polyester fiber partially to shape the arms.

Assembly, in order

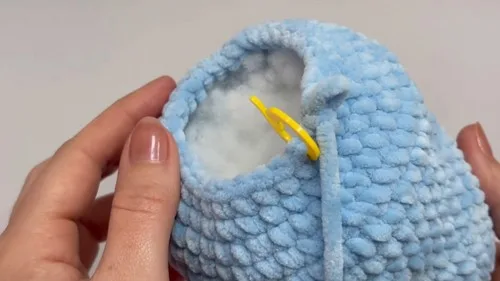
Step 1Insert the safety eyes and finish stuffing the muzzle before closing the head.
Step 2Close the head with a yarn needle after the final decreases.

Check these before you start

  • The stitch marker placed on Head Round 1's first stitch anchors the muzzle's increase corner; losing track of it makes the following shaped rounds hard to read.
  • Arms are worked in back loops only for all twelve rounds after the increase round, which thins the fabric and creates a ridged texture. Keep tension even here so the ridge rows look consistent across both arms.

On one line

Rounds9
Parts3
LevelIntermediate
Time4-6 hours
Hook4.5 mm
YarnBulky

Set-up

  • Confirm yarn quantity: two 100 g balls of plush yarn at 120 m each should cover the head, ears, and arms; weigh what remains if reusing yarn from another project.
  • Lay out both hooks before starting: 4.5 mm for the head, ears, and arms, and 6.5 mm for the body.
  • Have the stitch marker ready for Round 1 of the head, where the first stitch gets marked right away and stays marked through the shaping rounds.
  • Read through the head's full round sequence once before starting, since the shaping rounds between the 7-chain base and the two 38-sc rounds build directly on each other.

Finishing

  1. Insert the safety eyes and pack the muzzle with polyester fiber fill before the head's final decrease rounds narrow the opening.
  2. Close the head with a yarn needle once the decrease rounds run out.
  3. Weave in loose ends from the ears and arms, then stitch both ears and both arms onto the head and body with a yarn needle, checking placement before securing.

Construction

Head Round 1 builds its own increase corners directly into a 7-chain oval base, with 3 sc worked into the last chain and 2 sc into the very last stitch, so the muzzle's shape begins at the first round rather than being added later through separate increases.

Ears start from a magic ring and jump straight to doubling every stitch in Round 2, producing a flat disc base before settling into two plain rounds, which keeps the ear's curve concentrated near its center rather than at its opening.

Time per section

Headabout 45-60 minutes, because the 4 rounds include the shaped muzzle base plus two 38-sc rounds without increases, which take longer per round
Ears (pair)about 20-30 minutes total, because each ear works 5 rounds but stays small compared to the head
Arms (pair)about 30-40 minutes total, because each arm's rounds worked in back loops only slow the stitch rate even though the stitch count stays small

Photographs of this one

Every one was taken by whoever published the pattern, in the order the source listed them.
Crochet a hippo amigurumi for baby-friendly toys — photo 2
Crochet a hippo amigurumi for baby-friendly toys — photo 3
Crochet a hippo amigurumi for baby-friendly toys — photo 4
Crochet a hippo amigurumi for baby-friendly toys — photo 5
Crochet a hippo amigurumi for baby-friendly toys — photo 6

Common questions

Why does the head start with a chain instead of a magic ring?
Round 1 of the head builds an oval base from a 7-chain foundation, working 5 sc up one side and increasing at both chain ends. This gives the muzzle its elongated shape, unlike the round magic-ring start used for the ears and arms.
How much yarn is actually needed for one hippo?
The materials list two 100 g balls at 120 m each of plush yarn. That covers the head, ears, and arms combined for one finished piece.
Why are the arms only partially stuffed?
The pattern calls for partial fiber fill in the arms so they keep some give and bend rather than sitting rigid against the body.

These answers came from whoever first published the pattern, kept word for word.