
Intermediate
What the pattern's own author called it. Nothing here is graded again.
 Crochet·Rituals
Amigurumi 10 Laid out for paper No account, no download
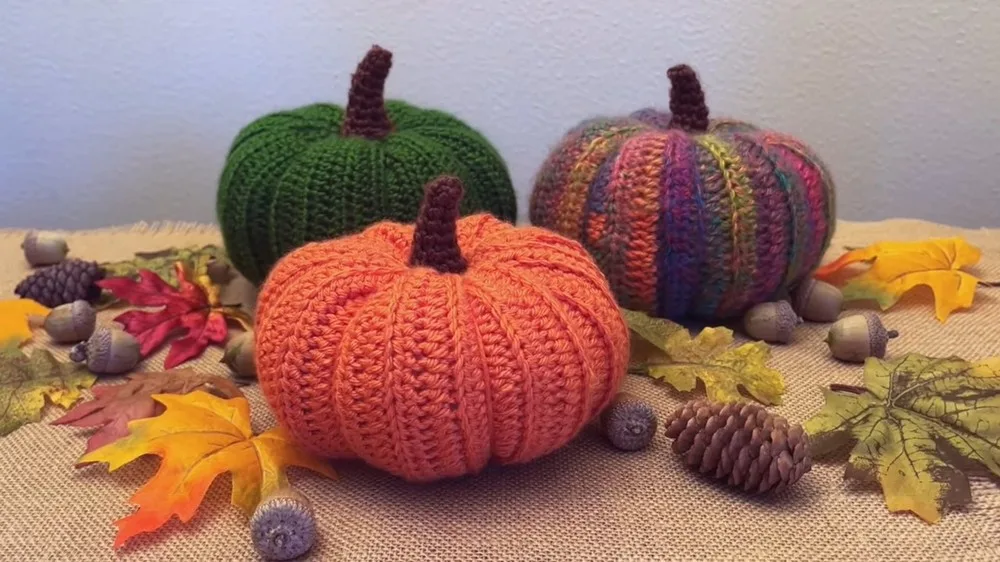
A stuffed crochet pumpkin: 3-round folded body, 7-round stem, 4mm hook, worsted yarn.
Crochet Rituals · retyped from the source and laid out for print · added 4 Oct 2026
What the pattern's own author called it. Nothing here is graded again.

What the sample was worked in. Any weight works; the size moves with it.

Each one is typed out whole and gets its own line.
This pumpkin starts as a flat strip, then folds in on itself to build the familiar ridged shape. The body works up in three rounds of back-loop half double crochet, repeated until the strip reaches the height you want, then it is folded, seamed along the back loops, and gathered at both openings before stuffing. A separate seven-round stem, worked in the round and stuffed on its own, finishes the piece. Have your hook, marker, darning needle, and fiberfill within reach before you begin, since the folding step moves quickly once the strip is long enough.
Listed by the pattern's own author, in their words.
Key to this pattern, 5 short forms
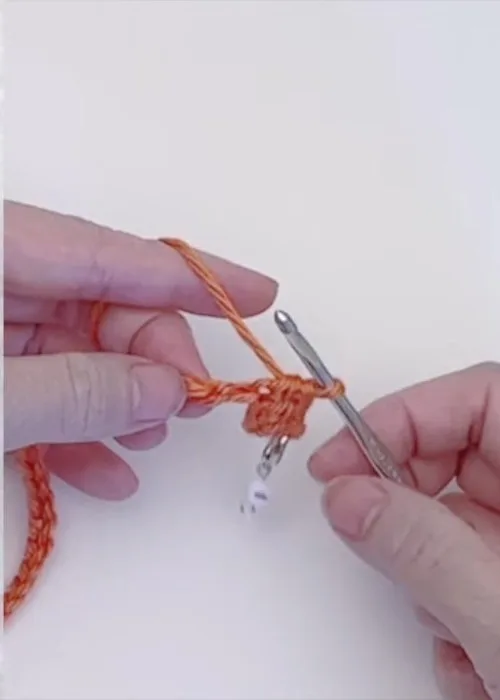
Ch 32; ch 2 (counts as a hdc); hdc in the 4th ch from the hook; work hdc in the back bumps for base chains across; mark the first stitch; continue working hdc for the rest of the chains; hdc in the last chain.
Ch 2, turn, and work hdc in the back loop of each stitch across.
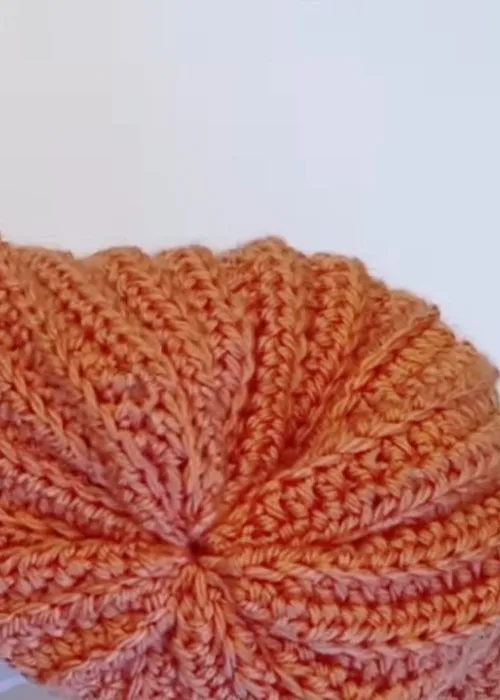
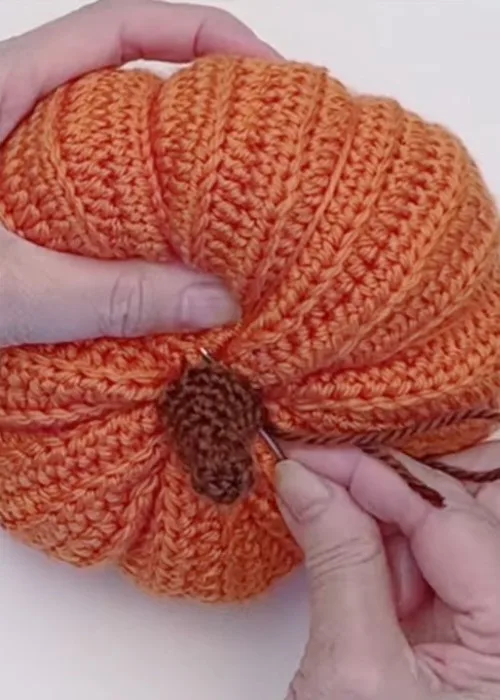
Ch 1, turn, and fold the piece together with stitches lined up; remove the hook from the back, insert it from the front, pull up a loop, and make a sl st; insert the hook from the front, pick up the back loop only, and make a sc; repeat sc pattern until you reach the end; fasten off and turn the piece inside out.Repeat rows 2 and 3 until you reach the desired height.Run a running stitch around both openings; pull and tighten, tie knots, and hide loose ends inside.Stuff the pumpkin with fiberfill.Close the opening with a running stitch and knots.Use a darning needle with double strands of yarn to create indentations: thread the yarn, cut, and tie the four strings together; repeat three more times for eight strands; gently pull the strands to create indentations; tie knots to secure and hide loose ends.
Ch 5 for the foundation.
Ch 1, skip one chain, and sc in the next five chains.
Ch 1, turn, and sc across; sl st to join with the beginning stitch to form a tube.
Ch 1, two sc in the first and second stitches, inc in the third stitch, sc in the next two stitches, and sl st to join. (6 sc)
Repeat the increase pattern from Round 4. (6 sc)
Repeat the same pattern as Round 4 but do not increase the middle stitch.
Ch 1, two sc in the first and second stitches, inc in the next stitch, sc in the next two stitches, inc in the same stitch, repeat the pattern one more time. (12 sc)Close the top of the stem by sewing the sides together with invisible stitches and a slip knot.
| Rounds | 10 |
|---|---|
| Parts | 2 |
| Level | Intermediate |
| Time | 4-6 hours |
| Hook | 4 mm |
| Yarn | Worsted |
The body is worked flat in back-loop-only hdc rows so that, once folded and seamed, the untouched front loops form the raised ridges that run down the pumpkin.
The stem increases happen in Round 4 across stitches one through three, then repeat in Round 5, which is what shapes the stem's slight taper before it is sewn shut at the top.
| Body | about 1.5-2 hours, because Rounds 2 and 3 repeat several times to reach the desired height and each fold-and-seam row takes care |
|---|---|
| Stem | about 45 minutes, because 7 rounds worked in the round with an increase round and a hand-sewn closure add fiddly shaping |
| Assembly and finishing | about 30-45 minutes, because stuffing, pinning, and sewing the stem to the body by hand takes patience to keep it centered |
Every one was taken by whoever published the pattern, in the order the source listed them.
These answers came from whoever first published the pattern, kept word for word.