
Intermediate
What the pattern's own author called it. Nothing here is graded again.
 Crochet·Rituals
Amigurumi 58 Laid out for paper No account, no download
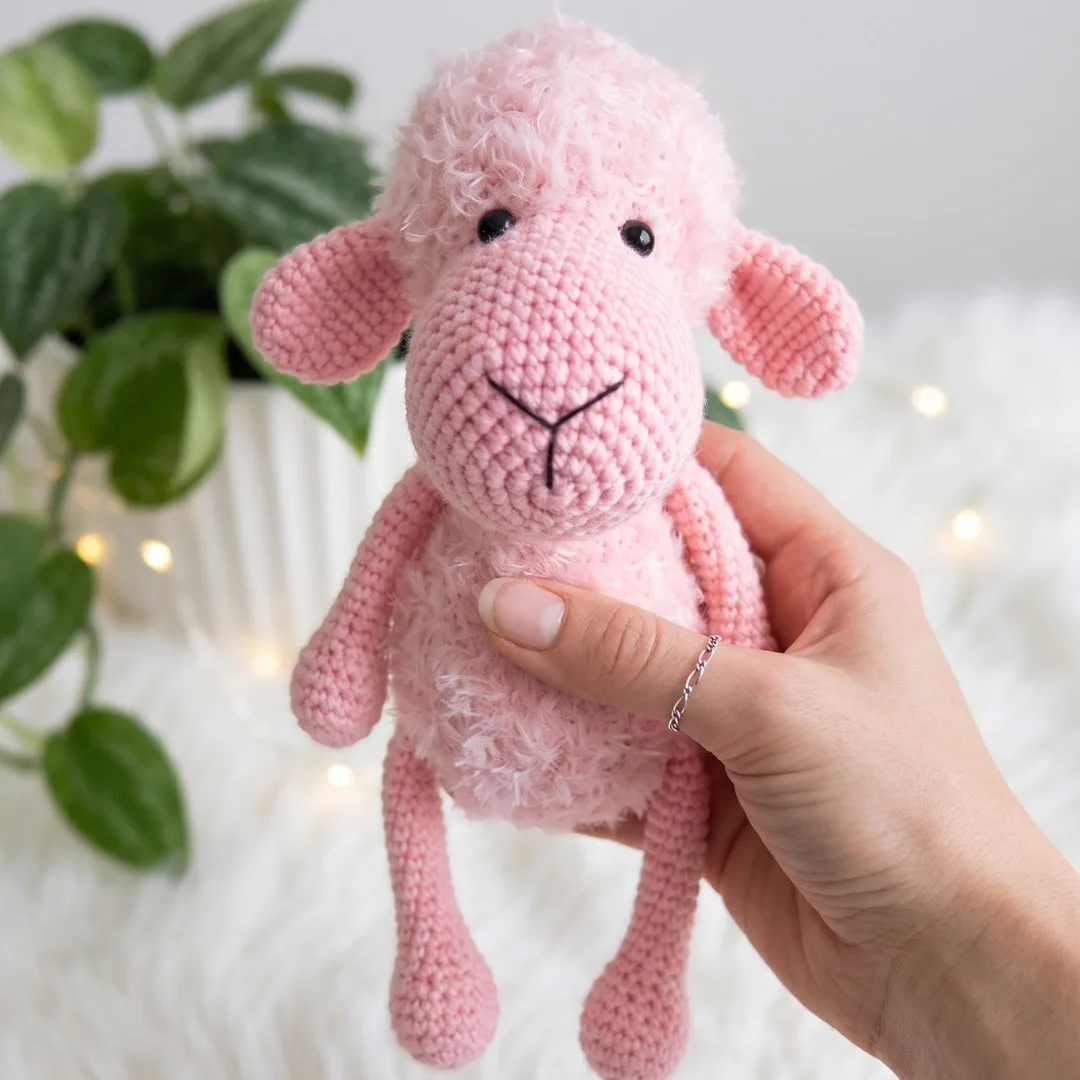
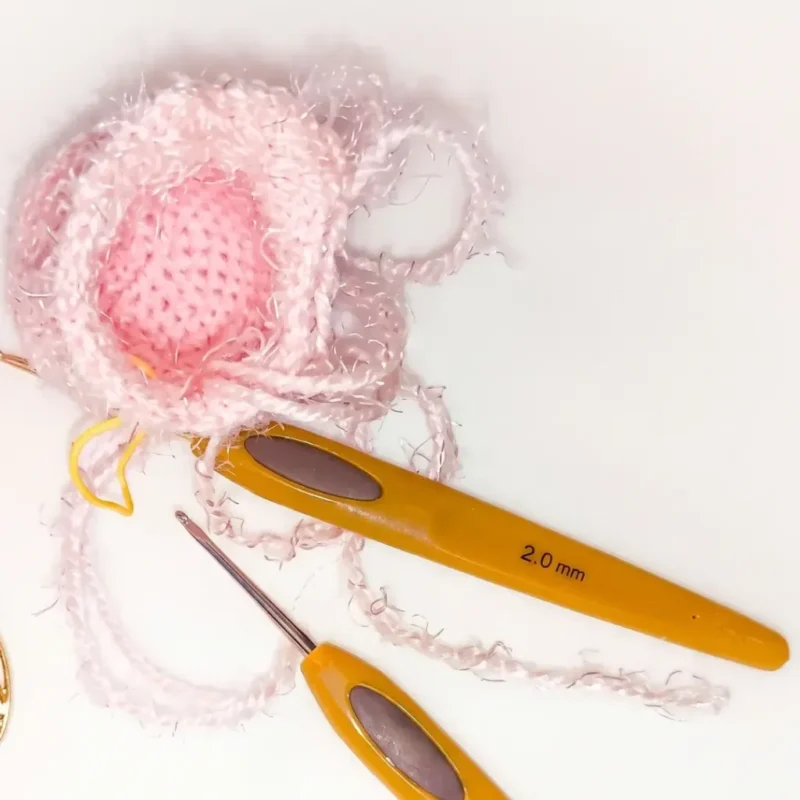
Amigurumi lamb: 20-round head, 27-round body, 8-round arms, 27-round legs. C-2 hook for fluffy yarn, B-1 for smooth.
Crochet Rituals · retyped from the source and laid out for print · added 15 Sep 2026
What the pattern's own author called it. Nothing here is graded again.

What the sample was worked in. Any weight works; the size moves with it.

Each one is typed out whole and gets its own line.
This lamb combines two yarn weights on purpose: a smooth fingering-to-sport yarn for the muzzle and limbs, and a fluffy or bouclé yarn for the head and body, so the face reads clean while the wool looks textured. Everything is built in continuous spiral rounds from the bottom up, with the head worked in two yarn zones — smooth at the base, textured above — and stuffed as the rounds close. The finished lamb stands approximately 18–20 cm (7–8 inches) tall. Before starting, have both yarns wound, a stitch marker on hand, and 6 mm eyes ready to place.
Listed by the pattern's own author, in their words.
Key to this pattern, 8 short forms
Work in smooth yarn. Stuff only the lower (rounded) portion.
6 sc in MR. (6)
inc in each st around. (12)
sc, inc repeat 6 times around. (18)
sc in each st around. (18)
sc, dec repeat 6 times around. (12)
sc in each st around. (12)
2 sc, dec repeat 3 times around. (9)
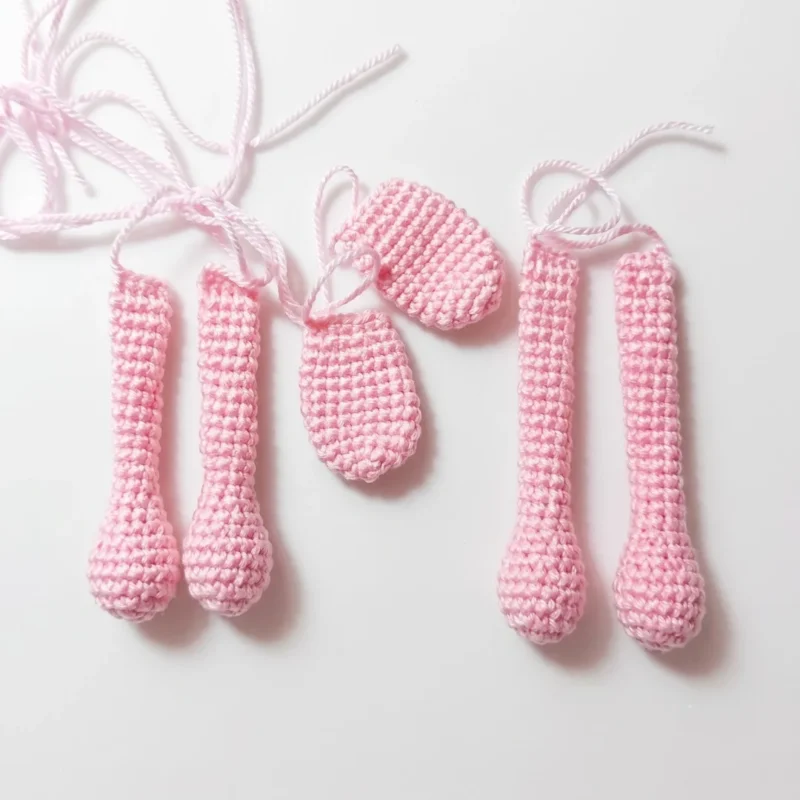
sc in each st around. (9)Fold the arm flat and close by working 4 sc across the opening through both layers. Fasten off and leave a yarn tail for joining into the body.
Work in smooth yarn. Stuff only the lower (rounded) portion.
6 sc in MR. (6)
inc in each st around. (12)
sc, inc repeat 6 times around. (18)
sc in each st around. (18)
sc, dec repeat 6 times around. (12)
sc in each st around. (12)
2 sc, dec repeat 3 times around. (9)
sc in each st around. (9)Fold flat and close by working 4 sc across the opening through both layers. Fasten off and leave a yarn tail for joining into the body.
Work in smooth yarn. Do not stuff.
6 sc in MR. (6)
inc in each st around. (12)
sc, inc repeat 6 times around. (18)
sc in each st around. (18)
sc, dec repeat 6 times around. (12)Fold flat and join the two layers by working 6 sc across the opening through both layers. Then fold in half once more and tack with a needle to hold the shape. Fasten off and leave a long yarn tail for sewing.
Begin with smooth yarn for the muzzle, then switch to textured yarn for the upper head. Stuff as you go.
The muzzle and lower face are worked in smooth yarn:
6 sc in MR. (6)
inc in each st around. (12)
sc, inc repeat 6 times around. (18)
2 sc, inc repeat 6 times around. (24)
3 sc, inc repeat 6 times around. (30)
4 sc, inc repeat 6 times around. (36)
5 sc, inc repeat 6 times around. (42)
sc in each st around. (42)
5 sc, dec repeat 6 times around. (36)
sc in each st around. (36)
4 sc, dec repeat 6 times around. (30)Switch to textured yarn here (and switch to your larger hook — C-2 / 2.5 mm or your preferred size for the fluffy yarn).Before beginning Rnd 18, attach your 6 mm safety eyes between Rnds 17 and 18. Note: the section where the increases were worked forms the lamb’s forehead. Place eyes with approximately 4–6 sts between them.
12 sc, inc 6 times, 12 sc. (36)
5 sc, inc repeat 6 times around. (42)
sc in each st around. (42)
5 sc, dec repeat 6 times around. (36)
4 sc, dec repeat 6 times around. (30)
3 sc, dec repeat 6 times around. (24)
2 sc, dec repeat 6 times around. (18)
sc, dec repeat 6 times around. (12)Fold flat and join the two layers by working 6 sc across the opening through both layers. Then fold in half once more and tack with a needle to hold the shape. Fasten off and leave a long yarn tail for sewing.
dec 6 times around. (6)Fasten off, leaving a long tail. Pull the tail through the remaining 6 sts to close. Weave the end inside the head.
Work entirely in textured yarn. Stuff as you go.
6 sc in MR. (6)
inc in each st around. (12)
sc, inc repeat 6 times around. (18)
2 sc, inc repeat 6 times around. (24)
3 sc, inc repeat 6 times around. (30)
4 sc, inc repeat 6 times around. (36)
5 sc, inc repeat 6 times around. (42)
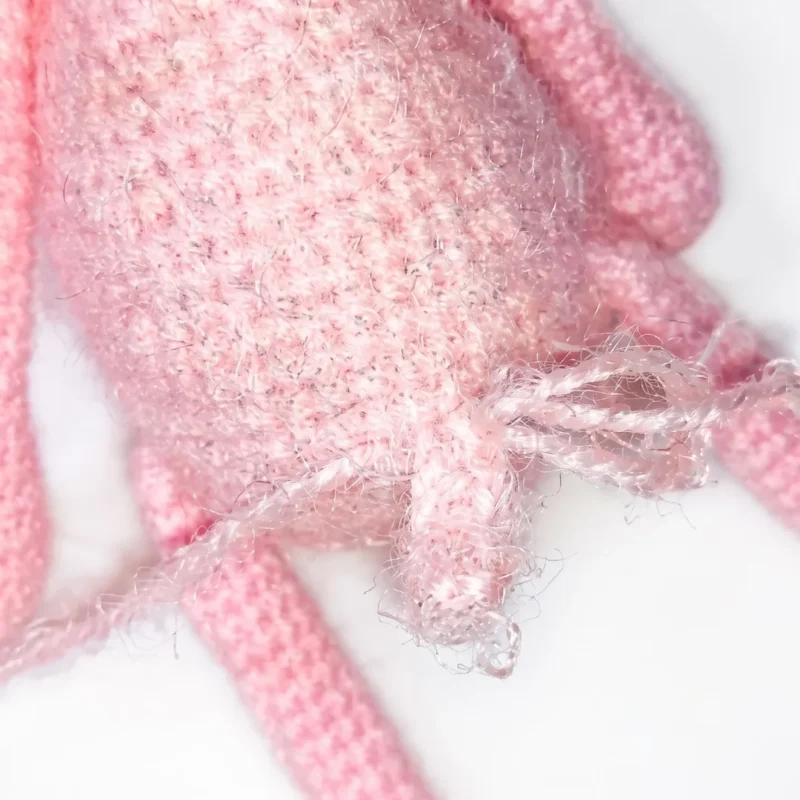
sc in each st around. (42)During Rnd 8 (or Rnd 9 if you prefer a slightly higher leg placement), join the legs: work 4 sc through both the body stitch and the top of one leg simultaneously, work 17 sc across the body, then join the second leg the same way with 4 sc, and continue around. Both legs should face forward.
5 sc, dec repeat 6 times around. (36)
sc in each st around. (36)
4 sc, dec repeat 6 times around. (30)
sc in each st around. (30)
3 sc, dec repeat 6 times around. (24)
sc in each st around. (24)
2 sc, dec repeat 6 times around. (18)
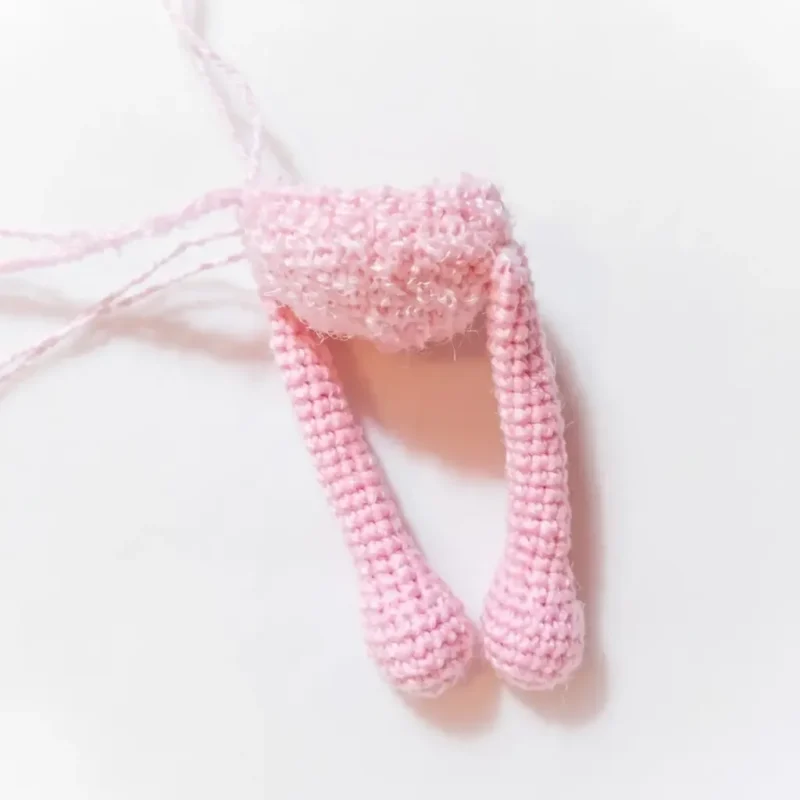
sc in each st around. (18)During Rnd 24, join the arms in the same way as the legs: work 4 sc through both the body stitch and the top of one arm simultaneously, work 5 sc across the body, then join the second arm the same way with 4 sc, and continue around. Arms should align directly above the legs.
sc in each st around. (18)Finish the round at the center back. Fasten off, leaving a long yarn tail for sewing the head on.
| Rounds | 58 |
|---|---|
| Parts | 5 |
| Level | Intermediate |
| Time | 4-6 hours |
| Hook | 2.5 mm |
| Yarn | Fingering / Sport / Novelty |
The Arms begin with two smooth-yarn stages — one stuffed, one unstuffed — before finishing entirely in textured yarn, which means the join to the body naturally shifts from smooth to fluffy without a visible seam.
The Head starts in smooth yarn through its early increase rounds (Rnd 1 through at least Rnd 3) to build the muzzle, then hands off to textured yarn for the upper head, so the boundary row doubles as both a color-zone line and the point later used to angle the head onto the body.
| Head | about 90-120 minutes, because it runs 20 rounds and includes a mid-piece yarn and hook change |
|---|---|
| Assembly and finishing | about 45-60 minutes, because the head must be sewn at the exact boundary row to get the tilt right, plus ear placement |
Every one was taken by whoever published the pattern, in the order the source listed them.
These answers came from whoever first published the pattern, kept word for word.