Skip to the patterns
Crochet·Rituals
Menu

Amigurumi 9 Laid out for paper No account, no download

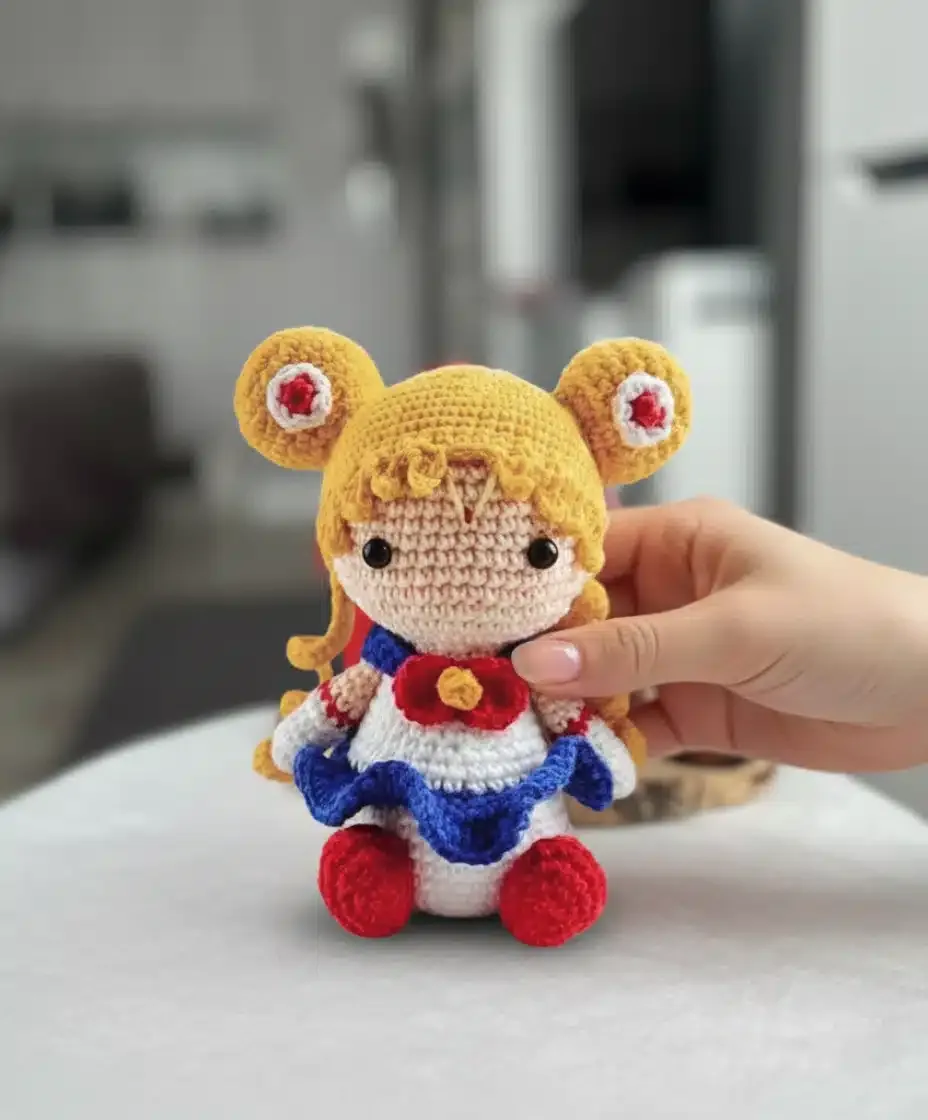
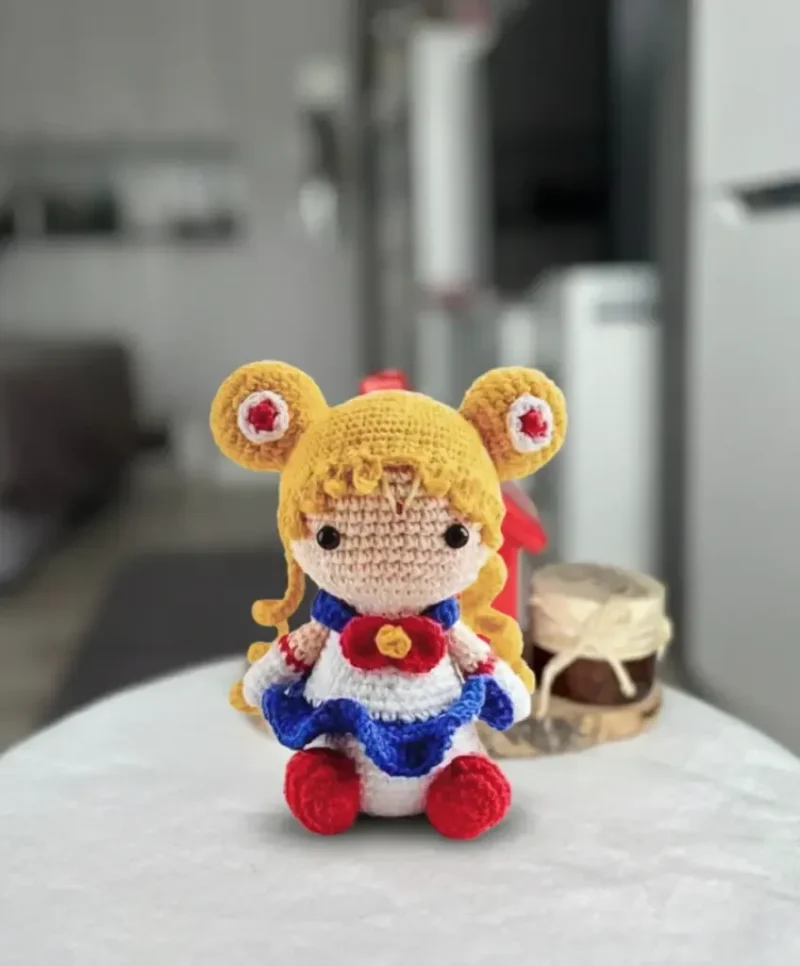
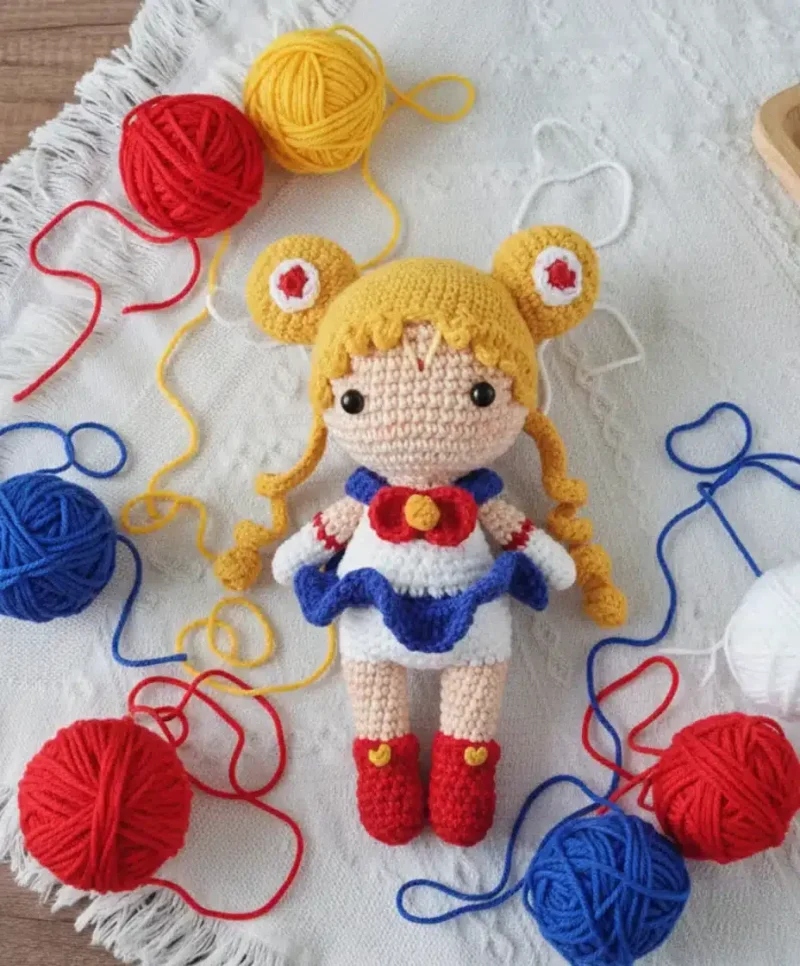
Moon guardian amigurumi doll pattern in 13cm scale

13cm amigurumi doll, 2.00mm hook, spiral rounds with safety eyes and a yellow hair cap.

Jump to the rounds Pin it
Moon guardian amigurumi doll pattern in 13cm scale
Amigurumi · Fingering
Skill
Intermediate
Time
4-6 hours
Yarn weight
Fingering
Hook
2.00 mm
Rounds
9

Intermediate

What the pattern's own author called it. Nothing here is graded again.

Fingering

What the sample was worked in. Any weight works; the size moves with it.

9

Each one is typed out whole and gets its own line.

This 13cm doll builds from a single spiral body and head, worked in white then beige with a blue stripe marking the uniform line, before the face is set with 7mm safety eyes. Separate pieces — arms with red sleeve cuffs, a yellow hair cap finished in curls, twin hair buns, a sailor collar, bow tie, pleated skirt, and legs — are made individually, stuffed, and joined with their own tails. Before starting, have all six yarn colors sorted, a 2.00mm hook in hand, and fiberfill ready for firm, continuous stuffing.

Common mistakes and their fixes

Losing track of the round start
Move the stitch marker up at the end of every round, particularly through the 43-round body-and-head section where there is no natural break to reorient.
Overstuffing the arms
Stuff only the lower half of each arm as instructed; filling the whole piece makes it too rigid to sit naturally against the body.
Bulky color-change joins
Pull the new yarn through the final two loops of the last stitch in the old color rather than tying off and rejoining, which leaves a smoother line between white, beige, and red sections.

The materials list

Yarn Requirements

  1. Beige, blue, red, white, yellow, and light yellow yarn colors
  2. YarnArt Jeans yarn recommended (160m in 50g, 55% cotton/45% polyacryl blend)

Tools and Notions

  1. 2.00mm crochet hook (or size appropriate for your yarn)
  2. 7mm black safety eyes
  3. Polyester fiberfill stuffing
  4. Tapestry needle for sewing
  5. Scissors
  6. Stitch markers
  7. Pins for assembly

Listed by the pattern's own author, in their words.

Key to this pattern, 11 short forms

Body and Head

Begin with white yarn for the body section.

The body should be stuffed firmly as you work.

Stuff firmly throughout the head section.

Rounds 1–23

Begin with a magic ring of 6 single crochets, then gradually increase to create the rounded body shape, incorporating a blue stripe detail and transitioning from white to beige for the head section.

Rounds 24–43

Continue from round 24 with beige yarn, creating dramatic increases to form the head (20 rounds total for the head section); place safety eyes between rounds 30 and 31, spacing them 9 stitches apart; gradually decrease to close the head.

Main Hair Piece

Rounds 1–17

Work with yellow yarn, creating a cap that fits over the head; the final round incorporates a special curl technique using chain stitches to create her distinctive hair texture.

Sailor Collar

Round 1

Create the iconic blue sailor collar using a foundation chain and various stitch heights to achieve the proper curved shape.

Arms

Only stuff the lower half of each arm to prevent them from sticking out awkwardly when attached to the body.

Rounds 1–13

Work using white yarn for the gloves, red for the sleeve detail, and beige for the skin tone.

Hair Buns

Stuff lightly for shape.

Rounds 1–10

Craft bun caps using yellow yarn, working with gradual increases and decreases.

Bow Tie

Round 1

Construct a charming bow using red yarn for the main pieces and yellow for the center detail, creating two circular pieces and one small connecting piece.

School Skirt

Round 1

Attach the pleated blue skirt by working into the front loops of the body's round 13, creating dramatic increases for that full, flouncy appearance.

Legs

Round 1

Work each leg starting with red yarn for the shoes, transitioning to white for socks, and finishing with beige for the skin, using special shaping techniques to create a realistic foot appearance.

Assembly, in order

Step 1Create two long hair curls using yellow yarn.
Step 2Add small red and white accent pieces.
Step 3Attach all components securely using the long tails left from each piece.
Step 4Sew legs to the body for stability.
Step 5Attach arms symmetrically to the sides.
Step 6Add the collar and bow tie to the front.
Step 7Secure the main hair piece to the head.
Step 8Attach bun caps and curls for the complete hairstyle.
Step 9Add final decorative elements between the hair curls.

Check these before you start

  • Work the color change by pulling the new shade through the final two loops of the last stitch in the old color; this keeps the transition clean where white meets beige and where red meets the arm's skin tone.
  • Stuff the head and body firmly as each round is completed rather than at the end — once the head closes at round 43, later access is limited.
  • the arms, stuff only the lower half; this keeps them slim enough to sit flush against the body when attached rather than pushing outward.
  • Use a stitch marker at the start of every round without exception, since the body and head run 43 rounds without a break and losing the round start is easy to do.
  • Work continuously in a spiral unless specified otherwise.
  • Use a stitch marker to track the beginning of each round.
  • Crochet tightly to prevent stuffing from showing through.
  • Stuff firmly as you work, especially the head and body.
  • The finished size may vary based on yarn weight and tension.
  • Stuffing Strategy: Stuff components gradually as you work rather than waiting until the end to ensure proper shaping.
  • Tension Consistency: Maintain even tension throughout for a professional, uniform shape.

On one line

Rounds9
Parts8
LevelIntermediate
Time4-6 hours
Hook2.00 mm
YarnFingering

Set-up

  • Sort the six yarn colors (beige, blue, red, white, yellow, light yellow) before starting so color changes do not interrupt a round.
  • Confirm the 2.00mm hook gives a tight enough gauge to keep stuffing from peeking through — this pattern relies on dense fabric, not a swatch measurement.
  • Read through Rounds 24-43 first, since the head is worked as a continuation of the body without a break, and eye placement falls mid-section.
  • Set aside stitch markers now — every round needs one to track the spiral start, especially through the long head and skirt sections.

Finishing

  1. Weave in all loose ends from color changes as each piece is finished, working them through the inside of the stuffed fabric so they stay hidden under tension.
  2. Complete the decrease rounds at the top of the head firmly, closing the opening while the last of the stuffing is still packed tight against the sides.
  3. Leave long tails on every separate piece — arms, hair cap, buns, collar, bow tie, skirt, and legs — and use those tails to sew each part directly onto the body during assembly.

Construction

The body and head are worked as one continuous 43-round spiral rather than two joined pieces, so the increase-to-decrease shaping through rounds 24-43 forms the head directly off the shoulders with no seam at the neck.

The safety eyes are placed between rounds 30 and 31, 9 stitches apart, positioning them just past the widest increase point of the head so the face sits centered once the crown closes.

Time per section

Body and Headabout 2 hours because the section runs 43 rounds with firm stuffing required throughout
Arms, Legs, and Main Hair Pieceabout 1.5 hours because each piece is short but the hair cap's final round uses a chain-stitch curl technique that takes patience
Small pieces and assemblyabout 1.5 hours because the collar, bow tie, skirt, and hair buns are all single-round pieces that still need sewing onto the body with their tails

Photographs of this one

Every one was taken by whoever published the pattern, in the order the source listed them.
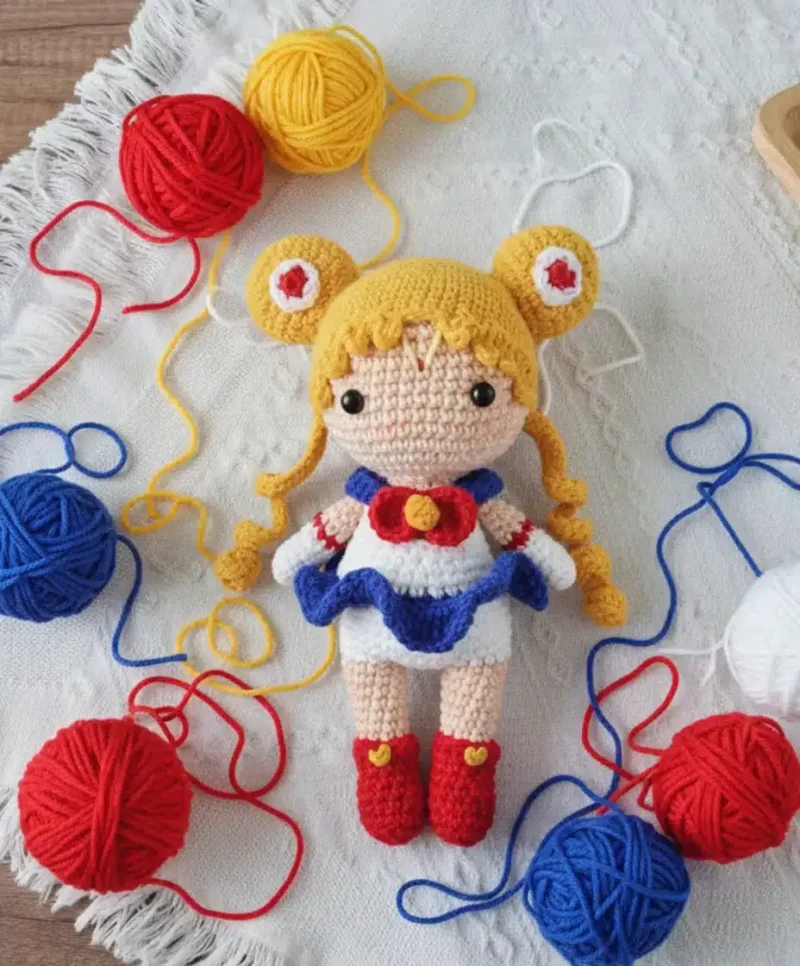
Moon guardian amigurumi doll pattern in 13cm scale — photo 2
Moon guardian amigurumi doll pattern in 13cm scale — photo 4
Moon guardian amigurumi doll pattern in 13cm scale — photo 2

Common questions

Why does the head continue directly from the body instead of being a separate piece?
The pattern works both as one 43-round spiral, so the increases that shape the head begin right where the body's stripe detail ends. This avoids a neck seam and keeps the stuffing continuous from shoulders to crown.
How far apart should the safety eyes sit?
Place them between rounds 30 and 31, spaced 9 stitches apart. This falls just after the head's widest point, so the eyes read as centered once the crown closes.
Why only stuff the lower half of the arms?
Full stuffing makes the arms too stiff to lie flush against the body once attached. Leaving the upper half softer lets the arm bend slightly at the shoulder join for a more natural set.

These answers came from whoever first published the pattern, kept word for word.