
Intermediate
What the pattern's own author called it. Nothing here is graded again.
 Crochet·Rituals
Baby & Kids 5 Laid out for paper No account, no download
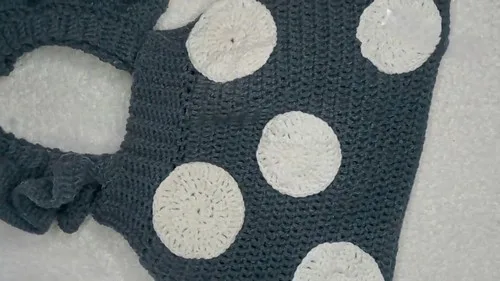
Baby skirt: flat waistband, 24+ rounds of double crochet ruffles, no increase math to track.
Crochet Rituals · retyped from the source and laid out for print · added 7 Oct 2026
What the pattern's own author called it. Nothing here is graded again.

What the sample was worked in. Any weight works; the size moves with it.

Each one is typed out whole and gets its own line.
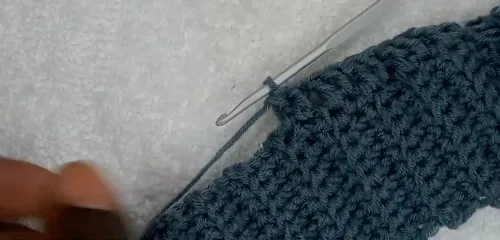
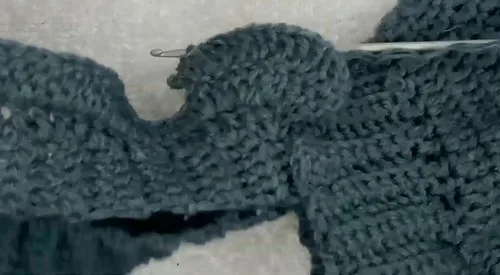
This skirt starts flat, as a plain strip worked back and forth in single crochet through the back loop only, then turns into a joined round once that strip measures 19.5 inches stretched and is folded and seamed into a waistband. From there the body takes over: a tall stack of double crochet rounds, the first worked even and every round after built on steady increases, flaring the fabric into the ruffled polka dot skirt shape. Have a tape measure on hand for the waistband length, and expect to work through at least 24 rounds before the hem is reached.
Listed by the pattern's own author, in their words.
Key to this pattern, 10 short forms
No Increase Chain two. Do a double crochet in each stitch around the waistband, ensuring not to increase.Join with a slip stitch at the end.
Increase Row Chain two. Do two double crochets in the very first stitch (the two chains count as one double crochet).Continue by doing two double crochets in every stitch around.Join with a slip stitch at the end.For Row 3 (No Increase): Chain two.Skip the very first stitch and make a single double crochet in every stitch around.Join with a slip stitch at the end.
Remaining Rows (No Increase): Chain two.
Skip the first stitch and make a single double crochet in every stitch.
Continue this pattern until you have a total of 20 rows from the beginning of the skirt part or until the skirt measures 10 inches in height.
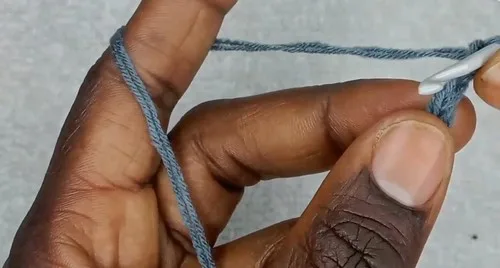
Suspenders Start with a foundation chain.
Chain five.
Increase Chain two, make a double crochet in the first stitch, then alternate between one double crochet in the next stitch and two double crochets (an increase) in the following stitch.
Increase Chain two, make a double crochet in the first stitch, then do two double crochets without an increase, followed by an increase on the third stitch.Cut and secure the yarn.Repeat the ruffle process on the other side of the skirt.
Polka Dots (Optional Decoration)
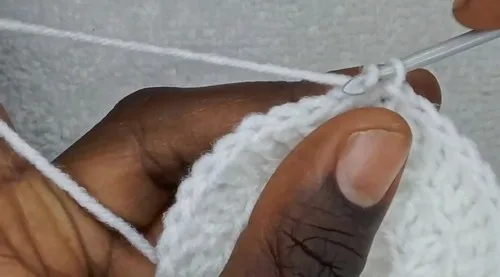
Make a magic ring.
Chain two, then make 11 double crochets into the magic ring (total of 12 stitches including the chain two).
Tighten the magic ring and make a slip stitch. Row 2 (Increase):
Chain two, make a double crochet in the very first stitch, then do two double crochets in every stitch around (total of 24 stitches).
Put a slip stitch at the end.
Increase Chain two, make a double crochet in the first stitch, then alternate between not increasing in the next stitch and increasing (two double crochets) in the following stitch.End with a slip stitch.Chain one, cut the yarn leaving a long tail, and secure it.Attach these polka dots to the skirt using a needle, ensuring the color of the yarn matches the polka dot for a seamless look.
| Rounds | 5 |
|---|---|
| Level | Intermediate |
| Time | 4-6 hours |
| Yarn | Worsted |
The waistband is worked flat and only joined into a round afterward, which is what allows the back-loop-only ridge to form along one edge — that ridge becomes the visible seam line between waistband and ruffle.
Row 1 of the Main Pattern is worked with no increases directly on top of the joined waistband, giving the stitch count a stable baseline before Row 2 begins doubling every stitch to build the ruffle's flare.
| Waistband strip | about 45-60 minutes because it is worked flat, row by row, until it reaches 19.5 inches stretched |
|---|---|
| Waistband join and Row 1 | about 15-20 minutes because the fold, seam, and single even round are quick but need care for a flush edge |
| Main Pattern increase rounds | about 3-4 hours because the pattern runs to at least 24 rounds, each one worked in double crochet with increases to track |
Every one was taken by whoever published the pattern, in the order the source listed them.
These answers came from whoever first published the pattern, kept word for word.