
Intermediate
What the pattern's own author called it. Nothing here is graded again.
 Crochet·Rituals
Amigurumi 47 Laid out for paper No account, no download
Strawberry cow amigurumi: 19-round body, 14-round head, 4mm hook, safety eyes.
Crochet Rituals · retyped from the source and laid out for print · added 16 Sep 2026
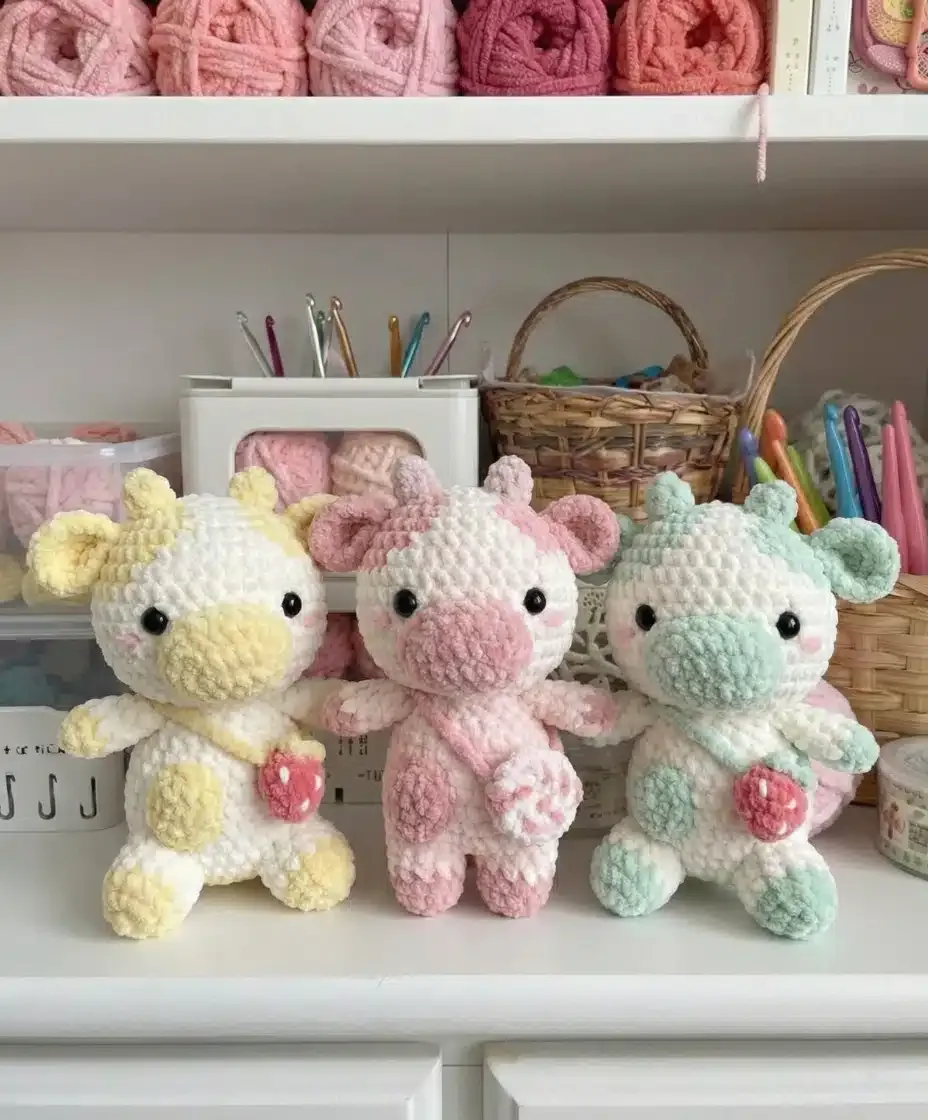
What the pattern's own author called it. Nothing here is graded again.

What the sample was worked in. Any weight works; the size moves with it.

Each one is typed out whole and gets its own line.
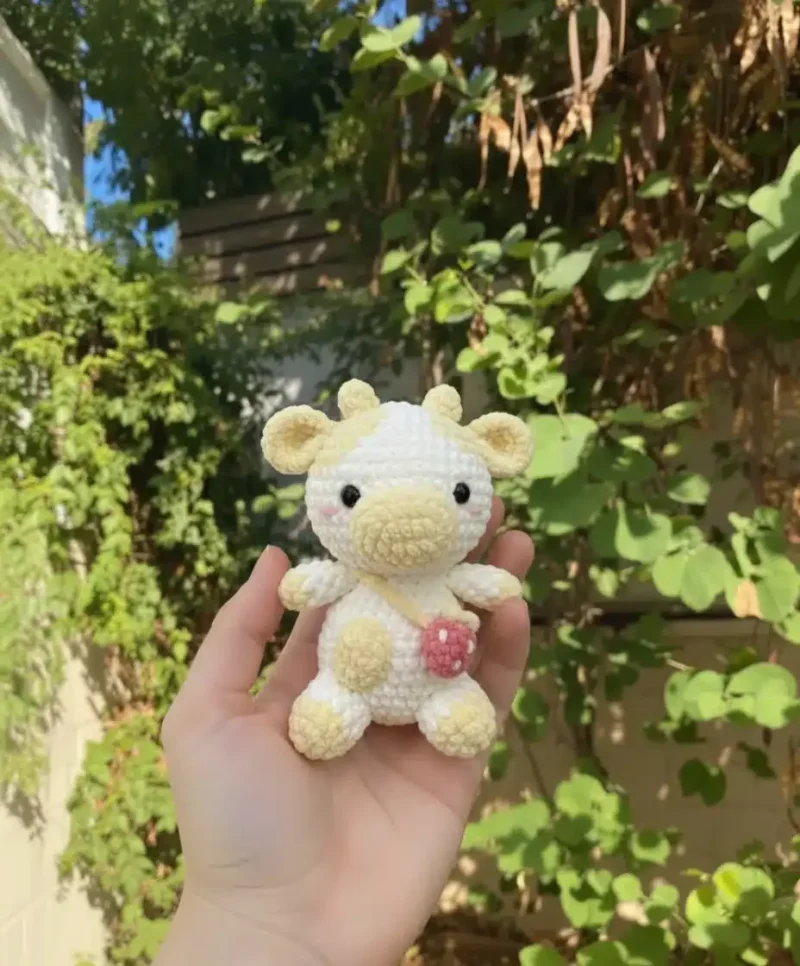
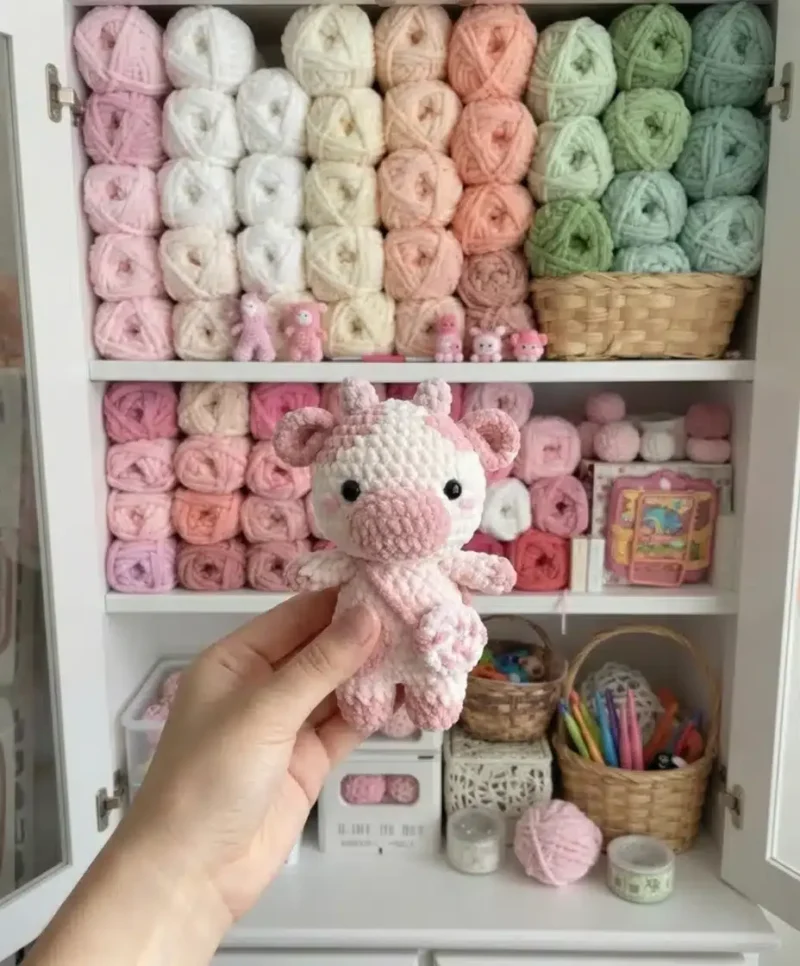
This piece assembles from eight separate parts: a 14-round head, a 19-round body, two ears, two horns, a nose, two arms, a tail, and a small decorative bag with strap. Pink and white or cream yarn carries the main shape, while beige covers hooves, horns, and detail work. Have both colors wound and ready, along with a 4mm hook, 12mm safety eyes, stuffing, and a darning needle for the sewing that joins every piece at the end.
Listed by the pattern's own author, in their words.
Key to this pattern, 6 short forms
The head serves as the heart of your strawberry cow and requires thoughtful attention to shaping for the best results. This gradual expansion creates the rounded, bulbous shape characteristic of your cow's head, with strategic color changes building the strawberry pattern detail.
7 sc in MR (7)
7 inc (14)
(1sc,inc)*7 (21)
(2sc,inc)*7 (28)
(3sc,inc)*7 (35)
sc in each (35)
18sc, 3sc, 14sc (35)
17sc, 6sc, 12sc (35)
17sc, 10sc, 8sc (35)
18sc, 7sc, 10sc (35)
20sc, 4sc, 11sc (35)
sc in each (35)Add safety eyes between rounds 10 and 11, spaced 8-9 stitches apart.
(3sc,dec)*7 (28)
2sc, (1sc,2dec)*5, 1sc (18)Slst and fasten off, stuffing the head firmly as you close.Key Notes: The strawberry pattern detail is created through rounds 8-12 where you work the colored sections strategically. Position your safety eyes between rounds 10 and 11, spacing them 8-9 stitches apart for balanced, natural-looking placement. Stuff the head firmly as you fasten off.
Your cow's personality emerges through thoughtful ear construction. Create two identical ears using these instructions. This placement sits naturally between the horns and the face, giving your cow an endearing expression.
7 sc in MR (7)
7 inc (14)
sc in each (14)Slst and fasten off, leave a long tail to sew.Sew each ear between round 6 and 7 of the head.
Create two small horns in beige yarn to establish that authentic bovine appearance, positioned above the ears on your cow's head.
Slst and fasten off, leaving a long tail to sew the head above ears.
8 sc in MR (8)
sc in each (8)
Fashion an oval-shaped nose using a chain foundation, then working in rounds to create the characteristic cow snout shape. Position this component between rounds nine and twelve of the head, centered for maximum charm and character.
Ch 6; start in 2nd ch from hook; 4sc, 3sc in ch, 3sc, inc (12)
inc, 3sc, inc, sc, inc, 5sc, inc (17)Slst and fasten off, leaving a long tail to sew.
Create two arms in beige yarn for adorable hoof details, then change to main color after round 3.
Slst and fasten off, leaving a long tail to sew.
Lightly stuff each arm.
5 sc in MR (5)
5 inc (10)
sc in each (10)
sc in each (10)
The body starts by creating two separate legs that join together, creating a sturdy foundation for your cow. This joining technique creates a seamless transition from individual legs to the unified body, which you then build upward with strategic decreases and color changes.
Both legs worked in beige yarn, then changed to main color after round 3 of each leg.
Slst and fasten off each leg before joining.
Stuff the legs before continuing to round 8.
Stuff at round 15.
Stuff some more at round 18.
The strawberry pattern spot should land on the front left side of the body.
Slst and fasten off, leaving a long tail to sew the head.
First Leg 6 sc in MR (6)
First Leg 6 inc (12)
First Leg sc in each (12)
First Leg sc in each (12)
Second Leg 6 sc in MR (6)
Second Leg 6 inc (12)
Second Leg sc in each (12)
Second Leg 12 sc; ch 2 at the end of round 6 (12)
Join to first leg with a sc, 11sc, 2sc in ch 2, 12sc, 2 sc in ch 2 (28)
(13sc,inc)*2 (30)
2sc, 4sc, 24sc (30)
1sc, 6sc, 23sc (30)
2sc, 4sc, 24sc (30)
3sc, 3sc, 24sc (30)
(13sc,dec)*2 (28)
sc in each (28)
(5sc,dec)*4 (24)
sc in each (24)
(2sc,dec)*6 (18)
Create a charming tail in your main color with these simple steps. Position the tail between rounds ten and eleven of the body for perfect placement.
Fasten off, leaving a long tail to sew.
Ch 6; sc in 2nd ch from hook, 4sc
Complete your gift set with a matching bag that perfectly complements your finished cow. This charming accessory adds functionality and charm to your creation. Made from two circles.
8 sc in MR (8)
8 inc (16)Slst and fasten off, in one circle leave a long tail.Sew the two parts together but leave a small opening.Make a purse strap out of a separate piece of yarn.
| Rounds | 47 |
|---|---|
| Parts | 8 |
| Level | Intermediate |
| Time | 4-6 hours |
| Hook | 4 mm |
| Yarn | Worsted |
The head's increase pattern spaces one plain stitch further apart each round (Round 3 through Round 5 and beyond), spreading shaping evenly so the sphere curves rather than points at the top.
Horns are worked in straight rounds after their initial magic ring, with no increases across rounds 2 and 3, which keeps them narrow and upright rather than flared.
| Head and facial details | about 1.5 hours because the head runs 14 rounds and the nose, ears, and horns each add their own short rounds and sewing |
|---|---|
| Body, arms, and tail | about 2 hours because the body's 19 rounds are the longest single piece, plus two arms and the tail to finish |
| Assembly and decorative bag | about 1 hour because eleven assembly steps and the two-piece bag with strap all happen after every part is stuffed |
Every one was taken by whoever published the pattern, in the order the source listed them.
These answers came from whoever first published the pattern, kept word for word.