Skip to the patterns
Crochet·Rituals
Menu

Amigurumi 10 Laid out for paper No account, no download

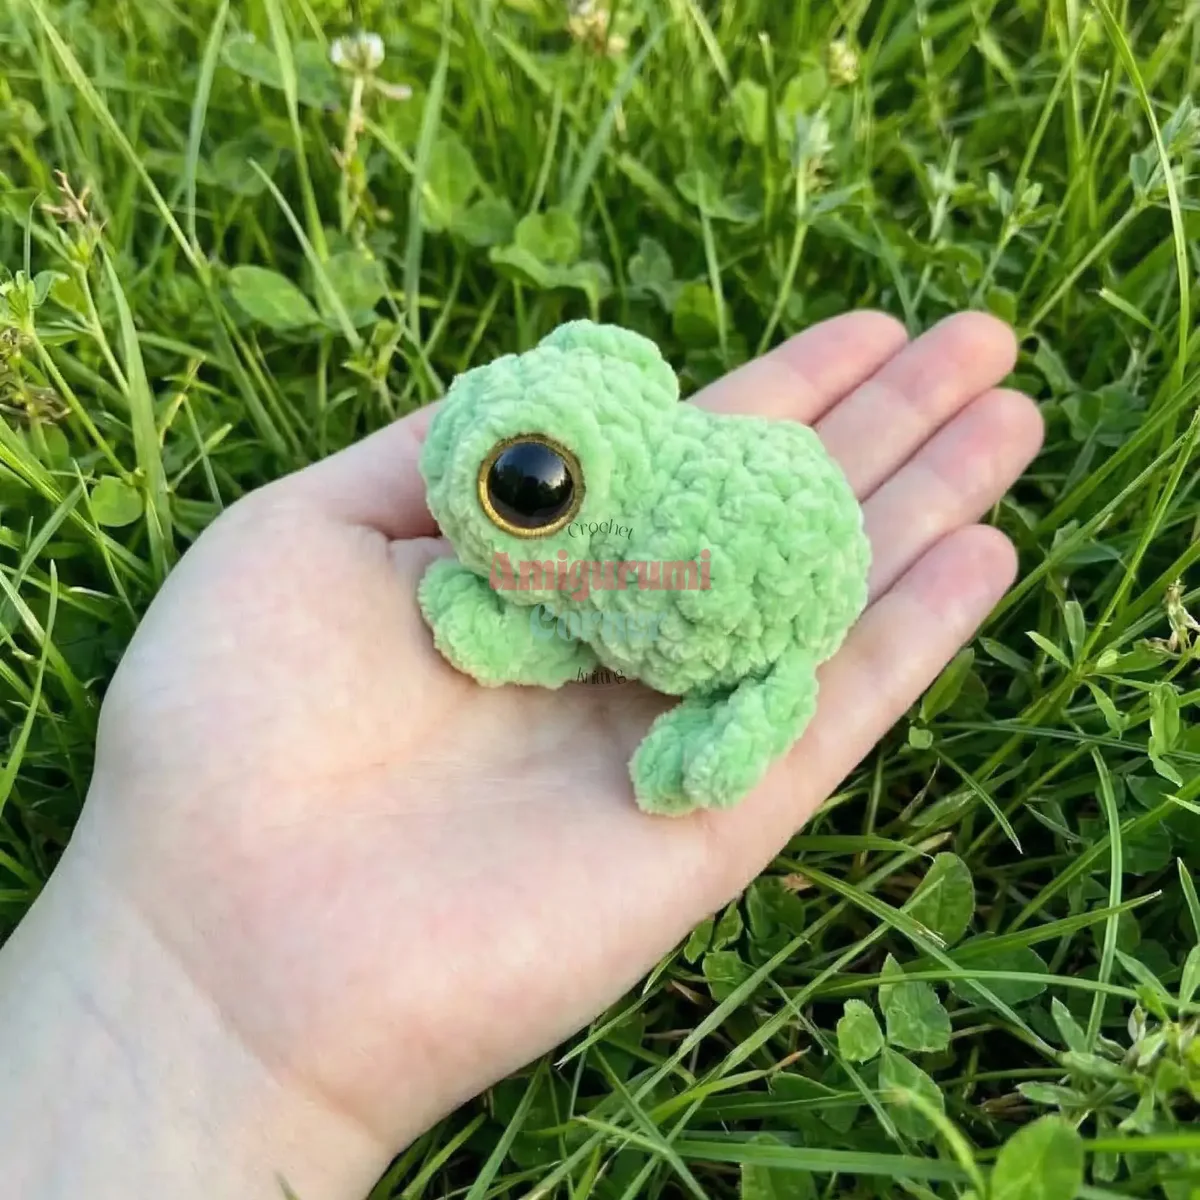
Tiny amigurumi frog pattern with popcorn-stitch eyes

6 cm amigurumi frog, 11 rounds, 3 mm hook, popcorn-stitch eyes, legs built into the body.

Jump to the rounds Pin it
Tiny amigurumi frog pattern with popcorn-stitch eyes
Amigurumi · Worsted
Skill
Intermediate
Time
1-2 hours
Yarn weight
Worsted
Hook
3 mm
Rounds
10

Intermediate

What the pattern's own author called it. Nothing here is graded again.

Worsted

What the sample was worked in. Any weight works; the size moves with it.

10

Each one is typed out whole and gets its own line.

This mini frog is worked in continuous rounds from a magic ring, growing from 6 to 16 stitches before shaping narrows again, with a pair of 4-dc popcorn bumps set into round 4 to form the bulging eyes. Each leg is not made separately but built directly onto the body: a chain-6 foundation and a short run of slip stitches at a marked stitch in rounds 7 and 10, forming three toes per leg. Before starting, have a 3 mm hook, one color of yarn, stuffing, a stitch marker, a tapestry needle, yellow cotton-blend yarn for eye detail, and 12 mm safety eyes within reach.

Common mistakes and their fixes

Popcorn eye bump collapses flat
Pull the working yarn snug when closing the shared top of the 4-dc popcorn so the loop stays small; a loose top lets the bump sag instead of standing out as an eye.
Losing track of round starts
Move the stitch marker at the end of every round. Without it, the specific placement of the eye bumps in round 4 and the leg attachment points in rounds 7 and 10 are easy to miscount.
Leg attachment pulls the body chain tight
Work the toe sequence — base toe, second toe, third toe — at even, gentle tension so the return along the ch-6 foundation doesn't cinch the marked body stitch out of shape.

The materials list

  1. Yarn in one color (sample uses YarnArt Dolce Plush #772 and #793)
  2. 3 mm crochet hook
  3. Stuffing (polyfill or fiberfill)
  4. Yellow cotton-blend yarn for eye embroidery
  5. Tapestry needle
  6. Stitch marker
  7. Scissors
  8. 12 mm safety eyes (sew-on or safety-back)

Size note

  1. Using the materials listed above, the finished frog measures approximately 6 cm (about 2.4 inches). Your finished size may vary depending on your hook size and personal tension. This sample was worked tightly with a 3 mm hook, which creates a firm, dense fabric — ideal for amigurumi.

Listed by the pattern's own author, in their words.

Key to this pattern, 8 short forms

Main Pattern

The body is worked in continuous spiral rounds. Use a stitch marker to track the beginning of each round.

Round 1

6 sc in mr (6)

Round 2

(sc, inc) x3 (9)

Round 3

(sc, inc, sc) x3 (12)

Round 4

2 sc, inc 3 times, [eye bump], 4 sc, [eye bump], inc 3 times, 2 sc (16)Work a 4-dc Popcorn stitch — 4 double crochets all into the same stitch, with a shared top (closed at the tip). This creates the raised, rounded bump that gives the frog its characteristic bulging eyes.

Round 5

6 sc, dec 2 times, 6 sc (14)📌 Insert safety eyes into the center of each eye bump (the 4-dc popcorn cluster worked into one stitch).

Round 6

2 sc, dec 3 times, 4 sc, dec 3 times, 2 sc (10)

Round 7

1 sc, [leg], inc 3 times, inc, 2 sc, inc, inc 3 times, [leg], sc (16)

Rounds 8–9

16 sc (work 2 rounds even) (16)

Round 10

3 sc, [leg], dec 3 times, 4 sc, dec 3 times, [leg], sc (12)

📌 Stuff the body firmly with fiberfill before continuing.

Round 11

dec 6 times (6)Fasten off, close the opening, and weave in all ends. Embroider the eye outline using yellow yarn.

Leg

Work the leg as an attached appendage directly at the marked stitch in rounds 7 and 10.

Step by step Step by step: sc into the body stitch; ch 6; sl st into the 3rd ch from hook (this is the base toe; the next two sl sts are also worked into this same ch); ch 2, sl st into the 3rd ch from hook (second toe); ch 2, sl st into the 3rd ch from hook (third toe); 3 sl st back along the main ch-6 foundation chain to return to the body.

Assembly, in order

Step 1Once all rounds are complete and the body is stuffed:
Step 2Close the opening by pulling the yarn tail through the remaining 6 stitches and cinching tight.
Step 3Weave in all ends securely on the inside of the toy.
Step 4Embroider eye outlines using yellow cotton-blend yarn and a tapestry needle, stitching around each safety eye for a polished, cartoon-like finish.
Step 5The legs are worked directly into the body during rounds 7 and 10, so no separate attachment is needed — they’re already part of the structure!

Check these before you start

  • Keep tension firm throughout the Main Pattern's 11 rounds; the dense fabric produced at 3 mm is what holds the shape and contains the stuffing at this small scale.
  • Place a stitch marker at the start of every round to track position, and mark the exact stitches in rounds 7 and 10 where each leg will attach.
  • Add stuffing gradually as the rounds progress rather than all at once at the end, since the shape narrows quickly after the increases in round 4 and the decreases in round 5.

On one line

Rounds10
Parts2
LevelIntermediate
Time1-2 hours
Hook3 mm
YarnWorsted

Set-up

  • Work a small swatch first — the sample's 6 cm finished size depends on a tight, dense fabric at 3 mm, and a looser tension will change the measurement.
  • Confirm you have enough yarn in a single color; the pattern uses only one shade for the entire Main Pattern and both legs.
  • Read round 4 before starting the body — the popcorn eye bumps are worked mid-round while the surrounding stitches continue in single crochet, so it helps to see the placement in advance.
  • Read through the Leg part before reaching round 7, since the legs attach directly at a marked body stitch rather than being made as a separate piece.

Finishing

  1. Weave in the starting tail from the magic ring and any other loose ends with a tapestry needle.
  2. Insert the 12 mm safety eyes at the popcorn bumps formed in round 4, then stuff the body firmly before the final rounds close.
  3. Close the last round and fasten off, work each leg's chain-6 toes at the marked stitches in rounds 7 and 10, and finish by embroidering eye detail with the yellow cotton-blend yarn.

Construction

The Main Pattern increases steadily from 6 to 9 to 12 to 16 stitches across rounds 1 through 4, spreading the shaping evenly around the head before the two popcorn eye bumps are set into round 4 itself, then round 5 removes 2 stitches to begin narrowing.

The legs are built as flat chain-and-slip-stitch appendages rather than worked in the round, then returned along the same ch-6 foundation to rejoin the body — this produces three protruding toes per leg without altering the Main Pattern's stitch count.

Time per section

Main Pattern (11 rounds)about 45-60 minutes because the body shapes through increases, two popcorn eye bumps, and decreases across 11 rounds.
Legs (attached at rounds 7 and 10)about 20-30 minutes because each three-toed leg requires a separate chain-6 foundation and several slip stitches worked at a marked body stitch.
Finishing (eyes, stuffing, embroidery)about 15-20 minutes because the safety eyes, stuffing, and yellow-yarn eye embroidery each need careful placement on a piece only 6 cm tall.

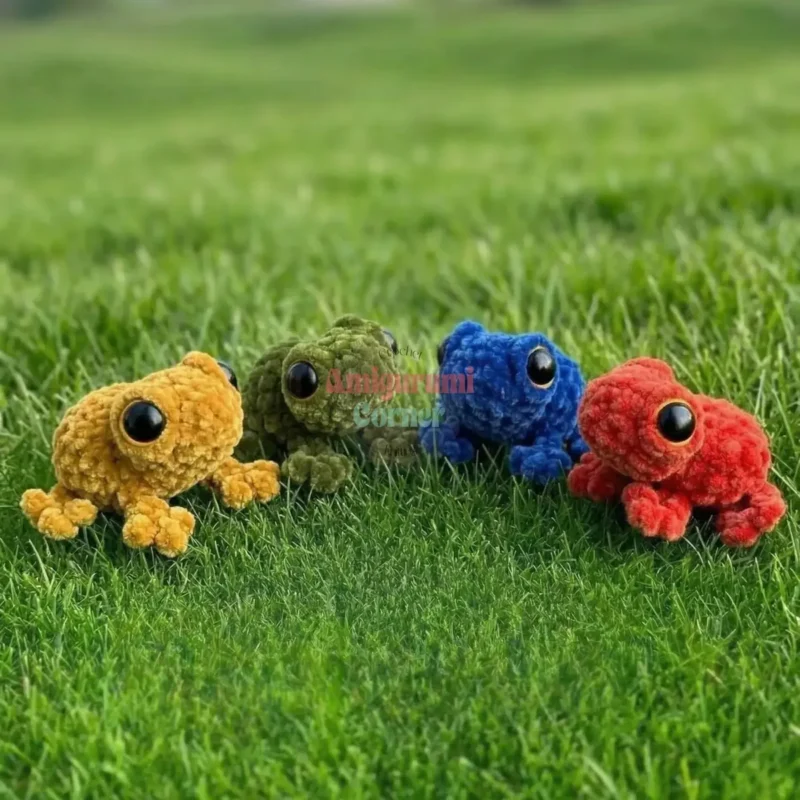
Photographs of this one

Every one was taken by whoever published the pattern, in the order the source listed them.
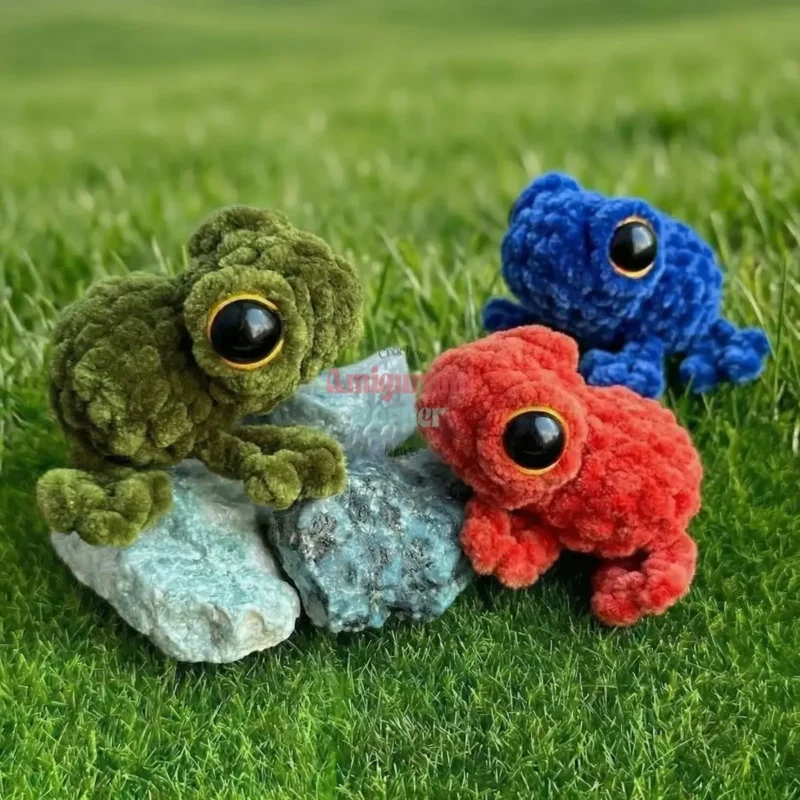
Tiny amigurumi frog pattern with popcorn-stitch eyes — photo 2
Tiny amigurumi frog pattern with popcorn-stitch eyes — photo 3

Common questions

What yarn is best for this crochet frog amigurumi pattern?
The sample was made using YarnArt Dolce Plush yarn, which gives the frog a soft, velvety texture. However, any worsted-weight or DK yarn paired with a 3 mm hook will work well. For a firmer finish ideal for amigurumi, choose a tightly spun cotton or cotton-blend yarn.
How do I attach the safety eyes securely?
Insert each safety eye into the center of the eye bump (the 4-dc popcorn cluster) after completing Round 5. Push the post of the safety eye through the fabric and secure the washer on the inside before stuffing and closing the body. If making this toy for a small child, sew the eyes on with yarn instead of using safety eyes.
Is this pattern suitable for beginners?
Yes! This pattern primarily uses single crochet, increases, and decreases — all fundamental amigurumi techniques. The only slightly advanced element is the popcorn stitch for the eye bumps and the leg construction, but both are clearly explained in the Special Stitches section above.
What is the finished size of this amigurumi frog?
Using YarnArt Dolce Plush yarn and a 3 mm hook with tight tension, the finished frog measures approximately 6 cm (about 2.4 inches). Working with a larger hook or looser tension will produce a bigger frog, while a smaller hook or tighter tension will make it even more compact.

These answers came from whoever first published the pattern, kept word for word.